Advertisement
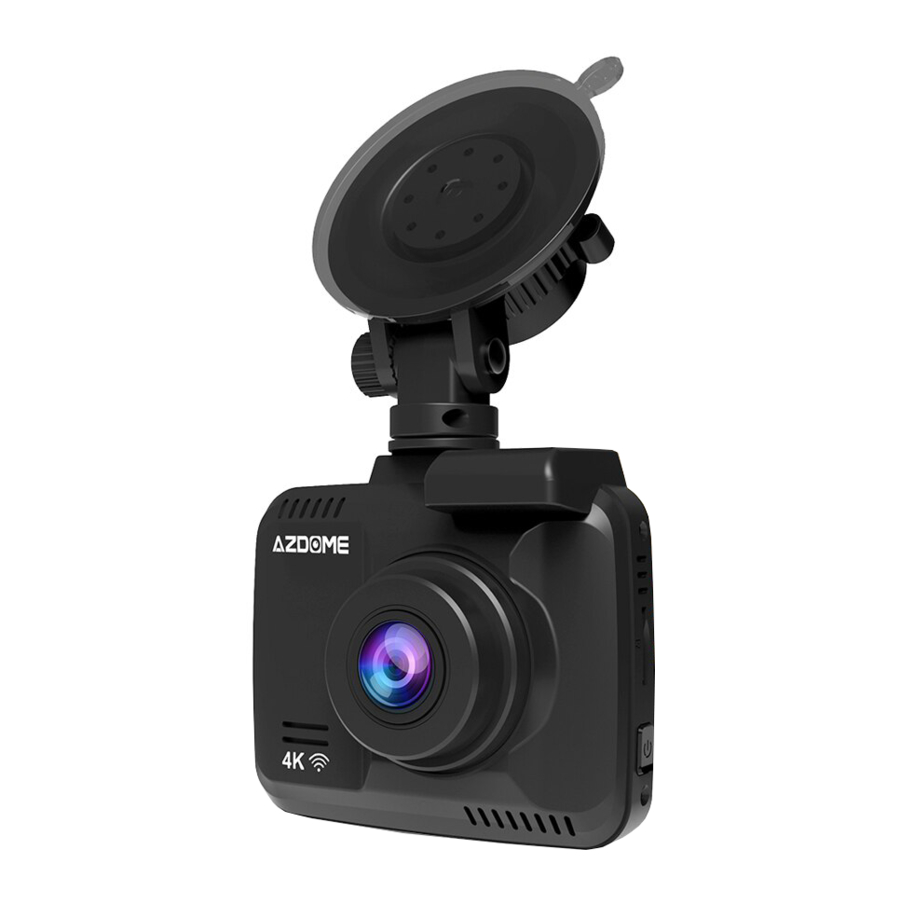
1. Product Illustration
2. Keys and Functions
3. Charging and Turn on
4. Shooting video/Taking picture/Video playback
5. Menu Setting Instructions
6. Product Specifications
7. GPS Player Software Installation and using Instructions
8. Steps to install APP on smart phone
9. WIFI Connection Instructions
10. FAQ
11.Installation Scene
- 1 -
Advertisement
Table of Contents

Related Manuals for Azdome GS63H


Summary of Contents for Azdome GS63H
- Page 1 1. Product Illustration 2. Keys and Functions 3. Charging and Turn on 4. Shooting video/Taking picture/Video playback 5. Menu Setting Instructions 6. Product Specifications 7. GPS Player Software Installation and using Instructions 8. Steps to install APP on smart phone 9.
-
Page 2: Product Illustration
1. Product Illustration 1)Menu/Mode 2)Up 3)SOS/WIFI switch 4)Down 5)OK/Confirm 6)Power 7)TF slot 8)HDMI port 9)USB port 10)MIC 11) Reset 12)Speaker 13)Lens 14)Holder 15)TV OUT port 16)LCD screen - 2 -... -
Page 3: Keys And Functions
2. Keys and Functions Function Instruction 1.Turn on:Short press Power to turn on and indicator lighted Power Turn on/Turn off 2.Turn off:Long press Power to turn off and indicator off When device crashes,shot press here to Reset Reset reboot 1.Record mode:short press to start/stop Start/Stop recording recording Confirm setting... - Page 4 TF slot The golden side of TF card face the lens TF card slot side then insert HDMI HDMI output Connect HDMI to TV,to see video/photo Holder Connect the holder The holder connect to the camera 1.Connect to PC by USB cable,we can check video/photo and charge/ as the web camera for PC Charging/USB...
- Page 5 cigarette lighter; 2.the vehicle start on/shut down, the cigarette lighter must have the two actions of electrify/outage) Attention: very few vehicles the cigarette lighter have no outage after the vehicle shut down; if there is no two actions of electrify/outage, then the machine can’t auto power on/off, if such condition happened please consult 4’S shops or vehicle beauty shops for modify to solve the problem 3.
-
Page 6: Menu Setting Instruction
record——short press OK button again to stop recording. Photo Mode: Turn on and the camera will be in video mode, long press M button to switch to photo mode, there is a photo shooting icon shown on the top left corner of the LCD, short press OK button to shooting, when photography is finished, the LCD will flash one time. - Page 7 Video setting After power on enter the video mode, short press M button one time to switch the video setting, the blue video icon will be shown on the LCD top right corner: there are 10 setting : Video resolution, Loop Record, Exposure, Motion Detection, Parking Mode, Record Audio, Date Stamp, GPS Stamp, G-sensor, Speed Unit, LDWS,FCWS Short press up/down to switch the setting options, short press OK button to enter the setting, short press up/down button to modify the setting, and short press OK button...
- Page 8 Record Audio:on/off Default on :on/off Default on Date Stamp :on/off Default on. GPS Stamp : High/Medium/Low Default medium. G-sensor Speed Unit: KMH/ MPH Default KM/H. LDWS: on/off Default off. FCWS: on/off Default off. About ADAS functions Prerequisite for ADAS WIFI must be off, Resolution must be P30 1.Front car moving function (FCMS) and front car warning function(FCWS) require the GPS get location signal and speed lower than 50km/h...
- Page 9 Wifi, Date/Time, Timezone Setting, Auto Power off, Beep Sound, Language, TV mode, License Plate, Frequency, Card Volume, Format, Default Setting, Screen saver, Version. 1.Short press up/down to switch the setting options, 2.short press OK button to enter the setting, short press up/down button to modify the setting, 3.short press OK button to confirm the modification.
- Page 10 After power on enter the video mode, long press M button to switch the photograph mode, the photo icon will be shown on the LCD top right corner, short press M button one time to switch the photo menu: there are 12 setting : Capture Mode, Resolution, Sequence, Quality, Sharpness, White Balance, Color, ISO, Exposure, Anti-Shaking, Quick Review, Date Stamp,.
-
Page 11: Product Specification
playback icon will be shown on the LCD top right corner, press M button one time to enter setting, there are 3 setting options : Delete, Protect, Slide Show ; Delete: Delete Current/ Delete All, default Delete Current Protect: Lock Current/Unlock Current/Lock All/Unlock All Slide show:... - Page 12 Photo Format 64GB Memory card TF card,Class 10 or above,Max support Support Speaker Support Built in 1:Storage 2:Charging 3.Power on and recording USB port Power Interface 5V 1.5A Battery Built-in Li-ion Battery Parking Mode Support Working temperature -20° C to 60° C 7.
- Page 13 8.Steps to install APP on smart phone A.Android system mobile phone Open the "Google play store" search "Lerccenker" or scan the following two-dimensional code to download and install. - 13 -...
- Page 14 B.IOS system Apple phone. Open the "Apple store" search "Lerccenker" or scan the following two-dimensional code to download and install. After installation, open the APP "Lerccenker" and it will apply to access to the smart phone photos, please click "OK" (Note: you have to select "OK", otherwise you can not preview the pictures download by APP ) 9.
- Page 15 2. Click WiFi Settings, enter the connection settings interface, search the machine WiFi, name GS63H-.., then enter the password: 12345678. as shown below: 3. Click Connect, the phone and camera will be connected, click the back button to see the camera shooting screen.
-
Page 16: Basic Settings
A. Basic settings 1. Time setting: Click "Set Date and Time", the menu options "Automatic synchronization" and "Manual synchronization" will pop up. Select the time synchronization and click "Apply" to set the time for dash cam, as shown below: 【Note】In order to effectively record the date and time of the traffic safety accident forensics, please synchronize the latest time of the mobile phone before using this machine. - Page 17 Note: When the cycle recording setting is off, the recording file will not be looped .It will always record video until card is full, then stop record automatically. 4. System Settings: "Reset Camera Setting" is to restores all settings of the dash cam to their default values.
-
Page 18: Recording Settings
B. Recording settings Video operation: Click the icon , the camera starts recording, click icon , the camera stop recording, click the icon , enter the video settings menu. As shown below: 2. Record Audio: Click the " " icon to turn off / on recording audio.As shown - 18 -... - Page 19 below: You can also click the upper icon " "to quickly open / close the recording audio. 3. Gravity sensor: Click "G-sensor" to enter the menu item "OFF / Low / Mid / High", select the appropriate sensitivity and click OK, As shown below: - 19 -...
- Page 20 C. Setup is completed. 1. Video: Click the camera icon in the bottom of the navigation column, then enter the video screen, you can watch real time video. 2. Quick taking picture: Click the upper icon , you can quickly capture the current picture, the photos of snapshots will exist directly in phone memory! 3.
-
Page 21: Common Troubleshooting
Please check the “white balance” is Auto or not in the menu. Horizontal stripes interference in the image, This is due to the wrong setting of light frequency error, please set the frequency 60HZ or 50HZ according to the local power supply. Hang off Please reset to recover when device hangs off. - Page 22 6.APP picture is not smooth or can not be achieved: try to keep the number of background software less in your mobile phone, or keep the phone near the dash cam; or close APP and restart. Disclaimer Dash Cam is the recorder device of video, audio and other related information for vehicle on the road ,its files are only as auxiliary reference for accident .
-
Page 23: Fcc Statement
11.Installation Scene FCC Statement 1. This device complies with Part 15 of the FCC Rules. Operation is subject to the following two conditions: (1) This device may not cause harmful interference. - 23 -... - Page 24 (2) This device must accept any interference received, including interference that may cause undesired operation. 2. Changes or modifications not expressly approved by the party responsible for compliance could void the user's authority to operate the equipment. NOTE: This equipment has been tested and found to comply with the limits for a Class B digital device, pursuant to Part 15 of the FCC Rules.
- Page 25 interference by one or more of the following measures: Reorient or relocate the receiving antenna. Increase the separation between the equipment and receiver. Connect the equipment into an outlet on a circuit different from that to which the receiver is connected. Consult the dealer or an experienced radio/TV technician for help.
Need help?
Do you have a question about the GS63H and is the answer not in the manual?
Questions and answers