
Summary of Contents for Henley Fan 6HE84+LK
- Page 1 6HE52+LK 6HE84+LK HELICOPTER 6HE52+LK 6HE84+LK Net weight Net weight 11.5 KGS. 13.0 KGS. 25.3 LBS. 28.6 LBS. WARNING : Read and follow these instructions carefully and be mindful of all warnings shown throughout.
- Page 2 READ AND SAVE THESE INSTRUCTIONS WARNING : TO REDUCE THE RISK OF FIRE, ELECTRICAL SHOCK, OR INJURY TO PERSONS, PLEASE OBSERVE THE FOLLOWING : 1]. To ensure the success of the installation, be sure to read the instructions and review the diagrams thoroughly before beginning.
-
Page 3: Canopy Installation
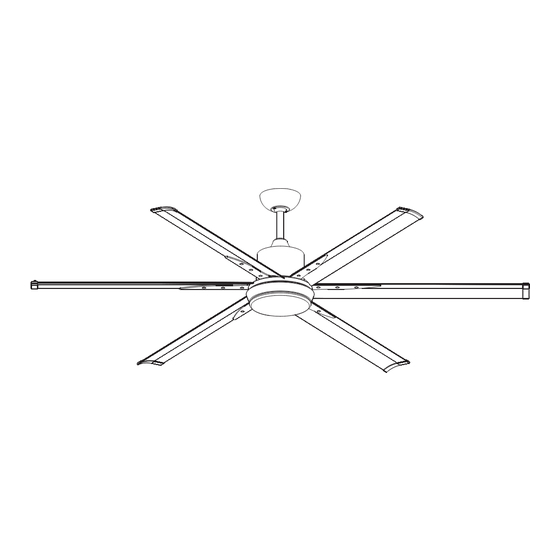
Fan Assembly Wood Screw x2 (For non-light use) Bottom plate Glass For 6HE52+LK - Unit pack / All in one box For 6HE84+LK- Blades packed separately (84" Extruded alum. blades) 6 pieces per set in a box 3. CANOPY INSTALLATION... - Page 4 WARNING: blades should be at least 10 feet from floor Note 1: Note 2: Turn off power at breaker Use metal outlet box suitable box to avoid possible for fan support. electrical shock. Outlet box must support 35 lbs min. OF F OF F OF 1.
-
Page 5: Hanging The Fan
Hanging the fan Rotate fan so that the groove on the ball engages the ridge in the mounting bracket. Lift fan assembly onto mounting bracket. Mounting Bracket Mounting Bracket Ridge Ball Groove Fan Assembly 2. WIRE CONNECTION 2A. Attaching safety cable to ceiling joist Use wood screw, spring washer, and flat washer from hardware bag. -
Page 6: Blade Installation
3. CANOPY INSTALLATION Note: Two screws are pre-installed on mounting bracket for canopy installation. Push up canopy until two screws pre-screwed on mounting bracket are engaged with two key holes on canopy. Rotate canopy slightly until two pre-installed screw heads are engaged in the narrow end of key holes. Tighten both screws. -
Page 7: Remote Setting
6.REMOTE SETTING 6A. Initial Settings (Back side of Transmitter) 1. Code setting on TRANSMITTER. Remove battery cover. FAN code setting: There are 4 switches for 16 possible code combinations just in case your house has other fans installed with the same codes. You may change your code switches by using a small screwdriver or ball point pen to slide each code switch firmly up or down. - Page 8 Special note: to install more than 1 fan in the same room. If you are installing more than one fan in the same area, the remote setup can affect all fans in the area. To have precise control over each fan and light, each fan / remote must be set-up by itself. To avoid frequency interference, please do the following steps so the fans can be operated by its own remote in the same room.
- Page 9 6B.Turn on power at breaker box for remote setting. 6C. SETTING before starting fan. Note : Do not press any other button on the transmitter before setting as it will cause the procedure to fail. Pressing the button " " for over 5 seconds till the receiver makes Bi-Bi sound.
Need help?
Do you have a question about the 6HE84+LK and is the answer not in the manual?
Questions and answers