
Related Manuals for AmeriGlide Stair Lift


Summary of Contents for AmeriGlide Stair Lift
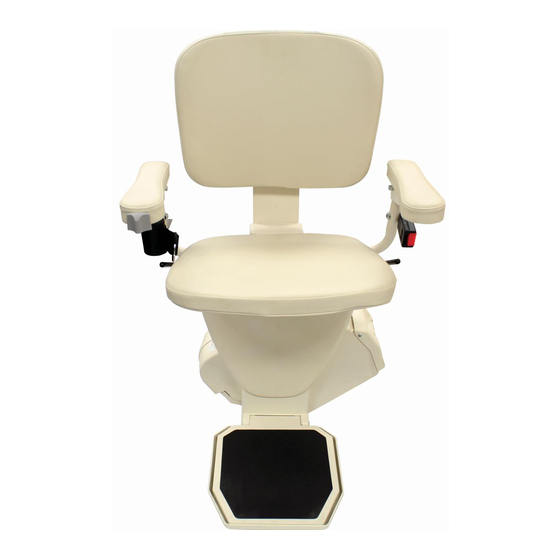
- Page 1 Guide to Installing Your Guide to Installing Your AmeriGlide Stair Lift AmeriGlide Stair Lift AmeriGlide...
- Page 2 A M E R I G L I D E F A M I L Y ongratulations on your purchase of an AmeriGlide Stair Lift. These instructions will assist you in making sure your installation is safe and successful. Please read through them completely prior to attempting to install the unit.
-
Page 3: Pre-Installation Checklist
ASME Clause 4.1.2* This ETL listed stair lift must meet the latest ASME A18.1 standards for The structure on which the equipment the ETL listing to be valid. - Page 4 allen You will need the following tools to wrench complete the installation: a) 5/32 allen wrench b) 3/8, 7/16 & 9/16 open-end wrench open-end c) phillips screwdriver wrench d) 3/8 socket on 8” extension in an electric or cordless drill phillips screwdriver electric drill...
- Page 5 I N S T A L L I N G T H E L O W E R T R A C K S 3 Carry the seat box and unit box to the top step and leave aside. 4 Bring the track box to the lower landing of the staircase.
- Page 6 I N S T A L L I N G T H E L O W E R T R A C K S Use the track bracket bolts to fasten brackets to nuts in the track channel. Position track brackets as follows: do not remove foam a) 1 bracket pair on bottom step packing...
- Page 7 Slide the track and brackets against the wall or molding. This will position the track the required 2” from the wall. If there is an obstruction on the wall; ex: handrail, window sill, etc; the track will need to be positioned 2” out further than the obstruction. Temporarily set something under the bottom of the track to raise it 1/2”...
- Page 8 R O U T I N G T H E L O W E R C A L L C O N T R O L W I R E 1 On the wall-side of the track, attach 3 At the top of the middle section call control bracket to the second of track, tuck the wire underneath nut up from the bottom just...
- Page 9 track section showing position of splice bars Loosen the splice bars ALLEN WRENCH from their ALLEN WRENCH shipping splice ba position and slide them out to half way. Tighten the splice bars. Slide the upper track CAUTION: section onto the lower Do not put your track section.
- Page 10 S L A C K C A B L E R E S E T P R O C E D U R E I N S TA L L I N G P L A S T I C C H A I N A N D T R AV E L I N G P O W E R C A B L E Take one side of the traveling cable and tuck into the bottom channel in the middle of the track.
-
Page 11: T H E P O W E R
I N S TA L L I N G P L A S T I C C H A I N A N D T R AV E L I N G P O W E R C A B L E 4 After laying the trailing cable and 5 While holding the cable tight in guide chain into the track channel,... - Page 12 I N S T A L L I N G T H E L O W E R L I M I T C A M The upper and lower limit cams are safety devices that automati- cally stop the unit at each Lower limit cam landing.
- Page 13 Remove the four screws from the top of the unit. Set the screws/washers aside. CAUTION: Be careful not to drop screws/ washers into unit while removing. Set seat on top of unit chassis. Tip seat sideways and locate seat control wire. Plug into the unit seat control wire.
- Page 14 I N S T A L L I N G T H E U P P E R L I M I T C A M To install the upper limit cam, run the lift down about 1 foot by using the control on the armrest.
- Page 15 - run unit a short distance down and up. Test of operation of upper and lower call controls. Check footrest safety. Warranty is in the Owner’s Manual. Start enjoying years of reliable service from your new AmeriGlide Stair Lift.
Need help?
Do you have a question about the Stair Lift and is the answer not in the manual?
Questions and answers