Table of Contents
Advertisement
Advertisement
Table of Contents

Related Manuals for Belkin F9K1127


Summary of Contents for Belkin F9K1127
-
Page 1: User Guide
User Guide F9K1127/F9K1126... -
Page 2: Table Of Contents
Introduction This User Guide can help you connect the extender to your network and solve common setup issues. You can find more help from our award-winning, 24/7 customer support at Linksys.com/support. Contents Overview ........1 How to install the range extender.... -
Page 3: Overview
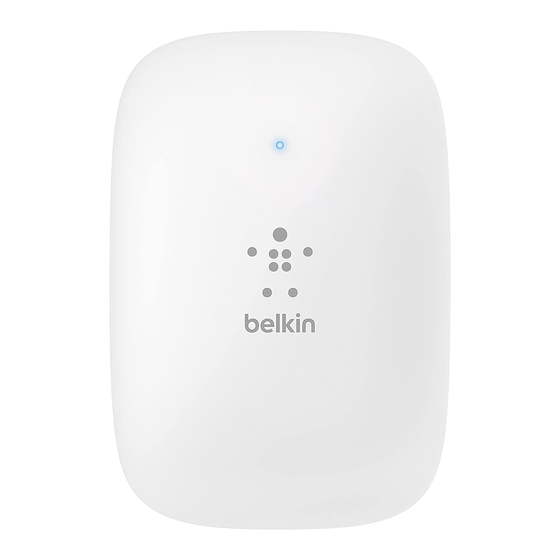
Overview Front The light on the front of the range extender gives you information about power, updating and signal strength. Power Light Status/ description Blinking blue Booting up Resetting to factory defaults Upgrading firmware Solid blue Ready to use ... -
Page 4: How To Install The Range Extender
<Diagram> 2. Wait for a solid light on the cover of the range extender. It could take up to two minutes. On a computer, phone or tablet, connect to the Wi-Fi network “Belkin Extender Setup.” <diagram2> 3. If setup doesn’t start automatically, open a browser to http://extender.belkin.com. -
Page 5: How To Access The Browser-Based Utility
farther from your router to improve the signal. If you nailed it with your first placement you will not see Spot finder screens. <screenshot of Too Far page> 4. During setup you will be asked whether you want the range extender to update itself automatically. If you allow automatic updates, the range extender will download and install updates when released by Linksys. Automatic updates will take place overnight so they do not disrupt your network activity. You also can decide to manually update your range extender at your convenience. <screen shot> Post set-up LED behavior mention here as well and in the QSG You can also connect the range extender by using Wi-Fi Protected Setup. For more information, see “Using Wi-Fi Protected Setup”... -
Page 6: Using Range Extender Settings
2. Open Windows Explorer. Click My Network Places on the left panel. 3. Look for the F9K1127/F9K1126 icon on the right panel. (You might be required to change the firewall settings to allow the display of networked computers. Refer to your operating system’s help for instructions.) -
Page 7: Using Wi-Fi Protected Setup
Using Wi-Fi Protected Setup Wi-Fi Protected Setup™ makes it easy to connect your extender to your network, and connect other devices to your network through the extender. Wi-Fi Protected Setup light activity <WPSButtonOnly.PNG> WPS Light Status/ description Solid (10 WPS connection was seconds) successful... - Page 8 If you have an access point or a router that does not support Wi-Fi Protected Setup, note the wireless settings, and then manually configure the extender. Connecting with the Wi-Fi Protected Setup Button Use this method if your router or access point has a Wi-Fi Protected Setup button 1.
- Page 9 You can also access WPS in the browser-based utility by clicking WPS in the left navigation bar. Connecting with the range extender’s PIN The Wi-Fi Protected Setup PIN (Personal Identification Number) can be found on the product label on the back of the extender. You can use this method only if your router’s administration utility has a Wi-Fi Protected Setup menu.
-
Page 10: How To Use Site Survey
1. Pres ss the Wi-Fi Protected S Setup butto on on the cli ent device. 2. Click k the Wi-Fi Protected S Setup butto on on the ex xtender’s W Wi-Fi Protect ted Setup scree en, OR pres ss and hold d the Wi-Fi P Protected S Setup button... -
Page 11: Cross-Band
Cross-Band is the simultaneous use of both bands for high-speed data transfer and uninterrupted streaming and gaming. Troubleshooting NOTE Your F9K1127/F9K1126 works on 2.4GHz and 5 GHz networks. You cannot get your extender connected Check the position of your router and extender ... - Page 12 If you’r re using W i-Fi Protec cted Setup to connec ct, wait unti l the Wi-Fi Protected Setup i indicator s tops blinki ng before trying to m make the co onnection a again. You ca annot acce ess your r range exte ender To acc...
- Page 13 If you are prompted to enter a network ke ey, type yo our passwo ord (Securi Key) into t the Networ rk key and Confirm n network key y fields. Cl ick Conne ect. You shoul d now be a able to acc cess the ra ange exten...
-
Page 14: Specifications
Specifications F9K1127/F9K1126 Model Name Belkin F9K1127/F9K1126 Model Description Dual-band Wi-Fi Range Extender Model Number F9K1127/F9K1126 Standards IEEE 802.11ac, 802.11a, 802.11n, 802.11g, 802.11b, Ports Buttons Reset, Wi-Fi Protected Setup™, Power (European model only) LEDs Power/Wi-Fi Protected Setup, Ethernet (link, activity) Antennas... - Page 15 Specifications are subject to change without notice. Visit linksys.com/support for award-winning 24/7 technical support BELKIN, LINKSYS and many product names and logos are trademarks of the Belkin group of companies. Third-party trademarks mentioned are the property of their respective owners. Licenses and notices for third party software used in this product may be viewed here: http://support.linksys.com/en-us/license.
- Page 16 to radio communications. However, there is no guarantee that interference will not occur in a particular installation. If this equipment does cause harmful interference to radio or television reception, which can be determined by turning the equipment off and on, the user is encouraged to try to correct the interference by one of the following measures: ‐ Reorient or relocate the receiving antenna. ‐ Increase the separation between the equipment and receiver. ‐ Connect the equipment into an outlet on a circuit different from that to which the receiver is connected. ‐ Consult the dealer or an experienced radio/TV technician for help. FCC Caution: Any changes or modifications not expressly approved by the party responsible for compliance could void the user's authority to operate this equipment. ...
- Page 17 Canada Statement This device complies with Industry Canada’s licence-exempt RSSs. Operation is subject to the following two conditions: (1) This device may not cause interference; and (2) This device must accept any interference, including interference that may cause undesired operation of the device.
Need help?
Do you have a question about the F9K1127 and is the answer not in the manual?
Questions and answers