Electrolux EWC 1350 User Manual
Hide thumbs
Also See for EWC 1350:
- User manual (72 pages) ,
- Instruction book (21 pages) ,
- User manual (44 pages)
Table of Contents
Advertisement
Quick Links
Advertisement
Table of Contents

Related Manuals for Electrolux EWC 1350


Summary of Contents for Electrolux EWC 1350
- Page 1 EWC 1350 Washing Machine User Manual...
-
Page 2: Table Of Contents
13. INSTALLATION....................21 WE’RE THINKING OF YOU Thank you for purchasing an Electrolux appliance. You’ve chosen a product that brings with it decades of professional experience and innovation. Ingenious and stylish, it has been designed with you in mind. So whenever you use it, you can be safe in the knowledge that you’ll get great results every time. -
Page 3: Safety Information
ENGLISH SAFETY INFORMATION Before the installation and use of the appliance, carefully read the supplied instructions. The manufacturer is not responsible for any injuries or damages that are the result of incorrect installation or usage. Always keep the instructions in a safe and accessible location for future reference. -
Page 4: Safety Instructions
The appliance must be connected to the water mains • using the new supplied hose sets, or other new hose sets supplied by the Authorised Service Centre. Old hose sets must not be reused. • If the mains power supply cable is damaged, it must •... -
Page 5: Water Connection
ENGLISH access to the mains plug after the • Follow the safety instructions on the installation. detergent packaging. • Do not touch the mains cable or the • Do not put flammable products or mains plug with wet hands. items that are wet with flammable •... -
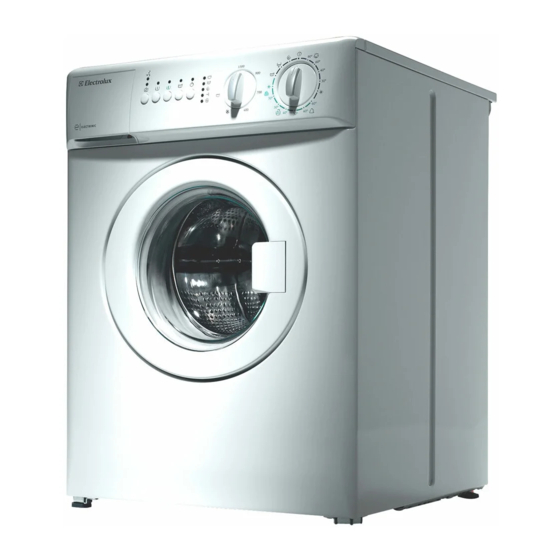
Page 6: Product Description
3. PRODUCT DESCRIPTION 3.1 Machine front Detergent dispenser drawer Control panel Door opening handle Outer door frame Feet for the appliance level 3.2 Machine rear Drain hose Inlet hose Transit locking devices Electrical lead Feet... -
Page 7: Control Panel
ENGLISH 3.3 Detergent dispenser drawer Compartment for liquid additives (fabric softener, starch). Any fabric softener or starching additives must be poured into the compartment before starting the wash programme. Compartment for powder or liquid detergent used for main wash. If using liquid detergent, pour it just before starting the programme. -
Page 8: Detergent Drawer
4.2 Detergent drawer The light A illuminates when the machine is performing the washing phase. Detergent drawer has 2 separate The light B illuminates when the machine compartments for detergent and fabric is rinsing. conditioner. The light C illuminates when the machine 4.3 Time Manager... -
Page 9: Before First Use
ENGLISH 5. BEFORE FIRST USE have been left by the manufacturing WARNING! process. Pour approx. 100 ml of Remove any material from detergent straight into the drum and run the drum. a cotton cycle at 60°C. When the programme is finished the machine will Run a wash programme without any be ready to use. - Page 10 6.3 Select the required By selecting this option all the spinning phases are excluded. To be used for programme by means of the extremely delicate material. The machine programme selector dial will add some additional rinses to the cotton and synthetic programmes.
-
Page 11: Cancelling A Programme
ENGLISH 6.10 Cancelling a programme Turn the selector dial to position to cancel a programme which is running. Now you can select a new programme. 6.11 Opening the door after the programme has started If an incorrect option is selected, the First set the machine to pause by corresponding indicator lamp flashes for pressing the button... -
Page 12: Washing Programmes
Remove the laundry from the drum and Leave the door open to prevent the carefully check that the drum is empty. If formation of mildew and unpleasant you do not intend to carry out another smells. wash, close the water tap. - Page 13 ENGLISH Programme/ Type of laundry Available options Description of the Temperature programme Synthetic or mixed SPIN Main wash SYNTHETIC fabrics: underwear, REDUCTION/NO Rinses 60°C - 30°C coloured garments, SPIN/RINSE HOLD Short spin max. 900 non-shrink shirts, EXTRA QUICK/ blouses. Max Load 1,5 kg QUICK PREWASH EXTRA RINSE...
-
Page 14: Consumption Values
Programme/ Type of laundry Available options Description of the Temperature programme Separate spin for SPIN REDUCTION Drain and long spin SPIN hand washed gar‐ Max. spin speed ments and after 1300 rpm programmes with Max Load 3 kg the Rinse Hold op‐... -
Page 15: Hints And Tips
ENGLISH Programmes Load Energy Water con‐ Approxi‐ Remaining (kg) consump‐ sumption mate pro‐ moisture tion (kWh) (litre) gramme duration (minutes) Wool/Handwash 30°C 0,30 Standard cotton programmes Standard 60°C 0,59 cotton Standard 60°C 0,54 cotton Standard 40°C 0,49 cotton 1) At the end of spin phase. 2) Not available for some models. -
Page 16: Care And Cleaning
We recommend that you pre-treat these device, add the liquid detergents with stains before you put the items in the a dosing ball (supplied by the appliance. detergent's manufacturer). Special stain removers are available. 9.4 Ecological hints Use the special stain remover that is applicable to the type of stain and fabric. -
Page 17: Door Seal
ENGLISH • Select the cotton programme with the need to press it inwards and pull it highest temperature with a small upwards at the same time. Flush it quantity of detergent. out under a tap, to remove any traces of accumulated powder. When you 10.4 Door seal put it back, press it downwards until you hear a distinct click. -
Page 18: Troubleshooting
10.7 Cleaning the inlet hose and the valve filter 45° 20° 10.8 The dangers of freezing drain) set into the floor. Make sure that the end of the hose does not go If the machine is exposed to below the water level in the gully's temperatures below 0°C, certain... - Page 19 ENGLISH Authorised Service Centre, please carry • 4 flashes: door open. out the checks listed below. Once the problem has been eliminated, press the button to restart the During machine operation it is possible programme. If after all checks, the that the pilot light D blinks to indicate that problem persists, contact your the machine is not working:...
- Page 20 Problem Possible cause/Solution There is water on the Too much detergent or unsuitable detergent (creates too floor: much foam) has been used. • Reduce the detergent quantity or use another one. Check whether there are any leaks from one of the inlet hose fittings.
-
Page 21: Technical Data
ENGLISH After the check, activate the appliance. If the problem occurs again, contact the The programme continues from the point Authorised Service Centre. of interruption. 12. TECHNICAL DATA Dimension Width/ Height/ Depth/ 495 mm/ 670 mm/ 515 mm/ 550 Total depth Electrical connection Voltage 230 V... - Page 22 13.2 Unpacking When supplied the washing machine is packed using a number of locking devices/packing pieces to prevent drum and motor from damage in transit All transit bolts and packing must be removed before using the appliance. You are advised to keep all transit...
-
Page 23: Water Drainage
ENGLISH Do not use the hose from your previous machine to connect to the water supply. 2. The machine end of the inlet hose can be turned in any direction. Set the hose correctly by loosening the ring nut. After positioning the inlet hose, be sure to tighten the ring nut again to prevent leaks. -
Page 24: Environmental Concerns
ø40 mm 650-800 mm In this case, make sure the end cannot There must be an air gap around and come unhooked when the machine is below the end of drain hose. This means emptying. This could be done by tying it... - Page 25 ENGLISH...
- Page 26 www.electrolux.com...
- Page 27 ENGLISH...
- Page 28 www.electrolux.com/shop...
Need help?
Do you have a question about the EWC 1350 and is the answer not in the manual?
Questions and answers