Table of Contents
Advertisement
Quick Links
Advertisement
Table of Contents

Summary of Contents for Gardenlife BIRD
- Page 1 User Manual for WIFI Camera www.gardenlife.dk...
- Page 2 Congratulations on your new nest box with camera. When you have read and observed these instruc- tions you are ready to offer the birds in your garden a new home – and you will be able to watch their activities on your smartphone or tablet.
- Page 3 Note: Connection to camera can only be established via app. 1. Download the app „IEye“, install and register. A. NOTE: Only hang up the nest box when the camera is connected to your smartphone or tablet. You will find the IEye app on Google Play or in App Store. You may also scan the QR codes below.
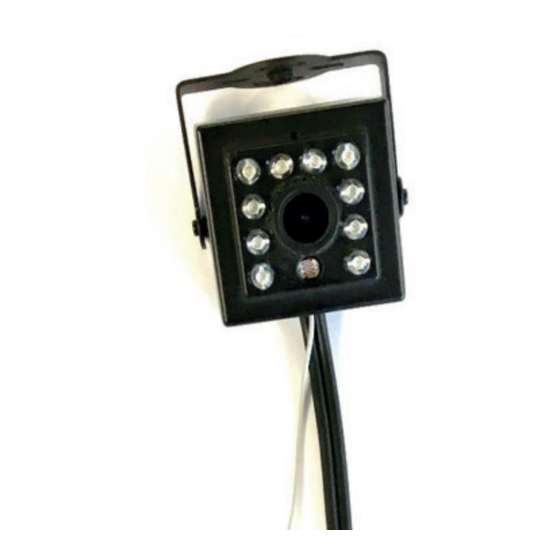
- Page 4 C. Connect smartphone or tablet to the desired WIFI. D. Open the nest box by removing the screw on the side of the nest box. This will allow you to push up the acrylic glass and get free access to the camera. Connect the 20 m cable to the camera in the nest box.
-
Page 5: Reset Button
2. Add WIFI camera to the app. A. Open the IEye app and press to add a camera. Choose “Smartlink”. B. Reset the camera with the black reset button at the camera cable. After app. 15 sec. press until a ding sound is heard from the camera. - Page 6 C. The camera must now be connected to the desired WIFI network. Please check that the network in the upper window is correct. In the lower window indicate the code for the network. Then press ”Next”...
- Page 7 The camera now searches for the network. You will receive a pop-up with “Setting Success”. This may last a couple of minutes. If unsuccessful, reset the camera and try again.
- Page 8 E. The camera is connected. Name the camera in the upper window. In the lower window indicate the code. The camera code is always: 123456 Press “OK” and „Save“.
- Page 9 3. Use of camera A. To view live, press the picture with the blue arrow.
- Page 10 B. Press the camera name – this brings you to Set Up where you have 3 choices. Press „Settings“. Here you can adjust time, date and alarm.
- Page 11 C. Alarm settings In case you want a pop-up when a movement near the camera is registered, go to „Alarm Settings“. Connect the following: Receive Alarm, Motion Detection.
- Page 12 Return to the list with your cameras. Take care that the padlock is closed. You open and close by pressing the padlock Now you will receive an alarm pop-up when a move- ment near the camera is registered.
- Page 13 4. Delete a camera from the list Android: Press long on the camera to be removed. Next you receive a pop-up information and you press ok. IOS: Place yourself in the camera list. Slide left and press ”Delete”...
- Page 14 5. Take photos with the WIFI camera Go to camera and watch live. Press on the picture of a camera. You will get a pop-up with “Snapshot Success”. Next go back to the camera list, choose “Images” on the app. Here you will see all pictures taken with the camera.
- Page 15 6. Mounting of the nest box Now the camera is ok and you can assemble and hang up the WIFI nest box. The nest box shall be placed within reach of the wire- less network. You will find the range of the network when you register the WIFI signal on your smartphone or tablet.
- Page 16 GardenLife Grønvangsallé 4 6600 Vejen Tlf: 7536 3800 www.gardenlife.dk...
Need help?
Do you have a question about the BIRD and is the answer not in the manual?
Questions and answers
I have bought the GL BIRD nest box with WIFI camera. I can't find the IEye app. How can I see the camera is 'on'/ working and how can I connect it to a suitable alternative app?
To check if the Gardenlife GL BIRD nest box camera is working, follow these steps:
1. Connect your smartphone or tablet to the desired WiFi network.
2. Download and install the “IEye” app from Google Play or the App Store.
3. Open the app, register an account, and create a password.
4. Open the nest box by removing the screw on the side and lifting the acrylic glass to access the camera.
5. Connect the 20-meter cable to the camera.
6. Follow the app instructions to connect the camera to the network. Wait for the “Setting Success” pop-up.
7. If unsuccessful, reset the camera and try again.
8. Once connected, name the camera and enter the camera code: 123456. Press “OK” and “Save.”
The camera is working if the app shows a live view or lets you access setup features.
Connecting the camera to an alternative app is not supported, as connection can only be established via the “IEye” app.
This answer is automatically generated