Table of Contents
Advertisement
Advertisement
Table of Contents

Summary of Contents for Crystal Vision CVT9604E-3010W
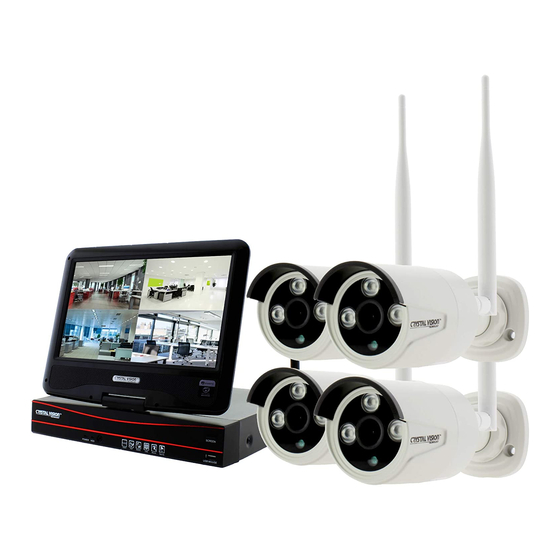
- Page 1 Wireless HD NVR USER MANUAL Page 1...
-
Page 2: Table Of Contents
Safety Information · · · · · · · · · · · · · · · · · · · · · · · · · · · · · · · · · · · · · · · · · · · · · · · · · · · · · · · · · · · · · · · · · · · · · · · · · · · · · · · · 3 Product Overview ·... -
Page 3: Safety Information
Safety Information Safety Precautions Do not touch live electrical parts. Always wear high, snug fitting shoes. Electric shock can be avoided. Follow the Always wear clean clothes without grease or oil. recommended practices listed below. Faulty installation, improper grounding, and incorrect Protect neighboring workers from exposure to arc operation and maintenance of electrical... -
Page 4: Product Overview
Product Overview Page 4... -
Page 5: Connection Diagram
Connection Diagram Page 5... -
Page 6: Getting Started
Getting Started 1. Powering up the NVR 1. Power up the NVR using 2. Connect the USB mouse 3. Connect the Cat5e (LAN) the provided 3 Amp power next to the power port on cable to the NVR and plug adapter within the package the back of the device. -
Page 7: Connecting Cameras
4. Next on HDD setup check If you are having issue Advanced users can also connecting to the internet the status of the hard drive. manual config Network please double check the If it shows as “Formatted” setting and configure the IP than it is ready to be used. -
Page 8: Smartphone Application
4. Smartphone Application IP PRO 1. If you have not yet 2. Once the installation is 3. Please input a user name downloaded the finish open up the IP PRO and password (6~12 applications you may do and touch “Register” to characters) and type the so now. - Page 9 7. On the descriptions you 8. Now you can see the 9. Within the live view you can leave it as blank or newly added list on the can choose the video enter the location main page. Now you can quality by touch “Stream”...
-
Page 10: Web Viewer
5. Web Viewer 3. Once you log in it will ask 1. Using the internet explorer 2. If you have not already you to add device. If it go to “www.e-seenet.com”. made the account click on Once you are at the log in does not show “New account”... -
Page 11: System Menu
System Menu 6. Menu Bar Use the mouse and right click anywhere in the screen to bring up the menu bar Split Screen Choose between x1 or x4 view Video Manage Sync or add new IP camera System Setup Configure NVR system setting Video Playback Quick play back of 5, 10, 30 min or manual search... -
Page 12: Video Playback
7. Video Playback 1. Right click on the mouse to bring up the main menu. 2. Click “Video Playback” > “Manual Search” 3. Select the video channel you like to playback 4. Select the record mode (To search everything make sure to check all 4 box) 5. -
Page 13: Video Backup
8. Video Backup 1. Right click on the mouse to bring up the main menu. 2. Click “Video backup” 3. First select the video channel you want to backup 4. Second select the “Record mode” 5. Third select the date and time you like to backup and click “Search” 6. -
Page 14: Record Setup
9. Record Setup 1. Right click on the mouse to bring up the main menu. 2. Click “System setup” 3. Click “Record setup” 4. On the “Record Plan” you set a recording schedule by Time, Motion, Sensor, (Time: record continually / Motion: record when motion is detected / Sensor: N/A) 5. -
Page 15: Generate Esee Id
10. Generate Esee ID 1. Right click on the mouse to bring up the main menu. 2. Click “System setup” 3. Click “Network setup” 4. Check the “DHCP” to get IP address automatically. 5. Once you have check the “DHCP” click “Apply” to save the setting 6. -
Page 16: Add & Edit User Account
11. Add & Edit User Account 1. Right click on the mouse to bring up the main menu. 2. Click “System setup” 3. Click “System Admin” 4. Click “User” 5. To add a new user click “Add user” 6. Type in username, password and select the permissions that user can access than click “Ok”... -
Page 17: Date / Time Setup
12. Date / Time Setup 1. Right click on the mouse to bring up the main menu. 2. Click “System setup” > “General Setup” > “Time Setup” 3. If you have the NVR connected to the internet you may check the “Sync Time” to automatically sync the correct time. -
Page 18: Adding Camera By Matching Code
14. Adding Camera By Matching Code 1. Right click on the mouse to bring up the main menu. 2. Click “Video Manage” 3. Use the LAN (CAT5) cable that came with the package to connect the “Camera” to the “NVR”, and power up the connected camera. 4. -
Page 19: Specification & Other Information
15. NVR Spec Embedded Linux OS Operation System 4 Channel NVR Channel 1024x768, 1366x768, Video Output HDMI Output 1440x900, 1920x1080p Video Resolution 720P 4 Channel Synch-Playback Video / Capture mode Manual / Time / Motion Video Control Playback mode Real time / Manual / Motion Backup USB Backup Interface... -
Page 20: Camera Spec
16. Camera Spec 1.0MP Mega Pixel Operation System Embedded Linux 1/4” Progressive Scan Senor Image Sensor > 39.1dB S/N Ratio 1280 x 720 (16:9) High Definition Resolution Minimum Illumination Color: 0.1 Lux, B/W: 0.1 Lux Date, Time, Title Auto White Balance Auto / Color / BW Day &... -
Page 21: Warranty Information
17. Warranty Information The system comes with 1 year manufactory warranty. Warranty will be void for following issue: 1. Accident, Negligence, Disaster, Mis-Operation. 2. Damage cause by weather do to not sealing the wire connection or power adapter. 3. Damage cause by operating the NVR in high or low temperature area. 4.
Need help?
Do you have a question about the CVT9604E-3010W and is the answer not in the manual?
Questions and answers
on my camera one of the screen got deleted how do i fix it and its goes blank after a few minutes