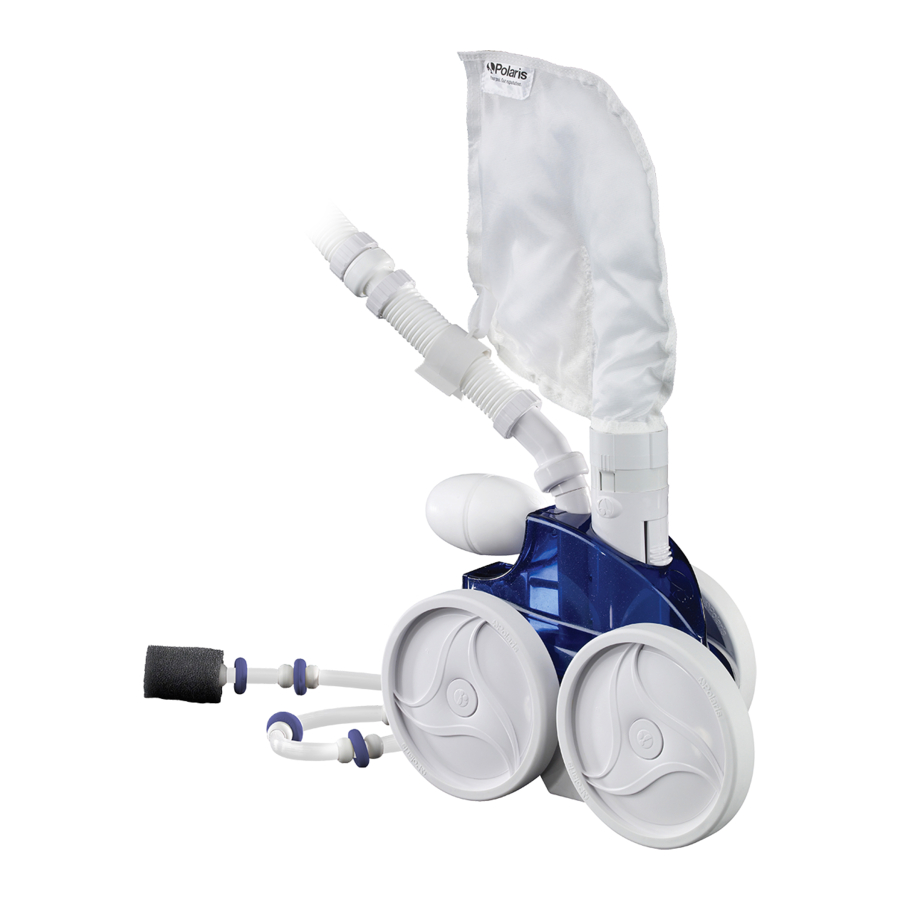
Polaris Vac-Sweep 360 Owner's Manual
Polaris vac-sweep owner's manual
Hide thumbs
Also See for Vac-Sweep 360:
- Owner's manual (65 pages) ,
- Instruction manual (10 pages) ,
- Owner's manual (49 pages)
Advertisement
Table of Contents
- 1 Vacuum Overview
- 2 Quick Installation Instructions
- 3 Install the Universal Wall Fitting
- 4 Install Eyeball Regulators
- 5 Test and Adjust Water Pressure
- 6 Adjust Feed Hose to Fit Pool Length
- 7 Assemble Cleaner
- 8 Check for Proper Wheel RPM
- 9 Cleaning the Filter Bag
- 10 Fine Tuning the Polaris Cleaner
- 11 Routine Maintenance
- 12 Thrust Jet Adjustment
- 13 Sweep Hose Adjustment
- 14 Exploded Parts Diagram
- 15 Troubleshooting
- 16 Troubleshooting Worksheet
- Download this manual
See also:
Owner's Manual
Advertisement
Table of Contents

Summary of Contents for Polaris Vac-Sweep 360
- Page 1 I M P O R TA N T I N F O R M AT I O N SERIAL NUMBER...
- Page 2 Some vinyl liner patterns can be seriously scratched or abraded simply by rubbing the surface with a pool brush. Ink from the pattern can also rub off during the installation process or when it comes into contact with objects in the pool. Polaris is not responsible for, and the Limited Warranty does not cover, pattern removal, abrasion or markings on vinyl liners.
-
Page 3: Vacuum Overview
Polaris checked occasionally by your local Polaris dealer or authorized service center. Always insist on genuine Polaris replacement parts. Non-Polaris parts are not made to our specifications. They may have an adverse effect on the operation of your Polaris or may even damage it. -
Page 4: Quick Installation Instructions
Quick Installation Instructions Four quick steps to install and get maximum performance from the Polaris 360: • Install the Universal Wall Fitting (UWF) with Quick Disconnect and Eyeball Regulators • Test and adjust water pressure • Adjust feed hose to fit pool length •... - Page 5 Installing Other Pool Connections 1" Stub Pipe Connection Kit If the pool does not have a dedicated return line, the Polaris 360 connects to most common (part #9-100-8002) return lines using special adapter kits available for purchase at a participating Polaris dealer.
-
Page 6: Test And Adjust Water Pressure
Test and Adjust Water Pressure The Polaris is packaged with a pressure tester installed on the hose. Simply attach the hose to pool wall using the Quick Disconnect fitting. Turn pump on, cover large hole with thumb and confirm that water is released from the Pressure Relief Valve. -
Page 7: Assemble Cleaner
5. Place the Polaris into the pool. Turn on the pool filtration pump. Check for Proper Wheel RPM Before operating the Polaris, check for proper wheel revolutions per minute (RPM). For maximum efficiency, the Polaris should operate between 28 and 32 RPM. 1. Mark the single-wheel side tire. -
Page 8: Cleaning The Filter Bag
The climbing ability of the Polaris depends on the pool’s shape and water pressure or flow. The Polaris climbs best in pools without sharp angles or curves in the transition from the pool floor to the pool wall. -
Page 9: Exploded Parts Diagram
Lock Washer, Axle Block 18 9-100-1132 Drive Train Gear Kit 19 9-100-1103 Turbine Wheel with Bearing Serial Number Serial number To the Polaris Polaris Description Qty No. Part # 20 9-100-1116 Wheel, Single-side 21 C131 Thrust Jet Kit 22 9-100-7008... -
Page 10: Troubleshooting
Troubleshooting If the Polaris cleaner displays the following actions, adjustments may be necessary to restore performance. Refer to the exploded parts diagram for part references. Action: Hangs up on steps or other obstacles longer than 3-1/2 minutes. Solution: 1. Check the wheel RPM. -
Page 11: Troubleshooting Worksheet
Troubleshooting Worksheet If these solutions do not result in improved performance, contact the Polaris dealer who sold you the cleaner or call Customer Service. In order to provide faster and more convenient service, please have the following information available at the time of your call or when taking the Polaris in for service.


Need help?
Do you have a question about the Vac-Sweep 360 and is the answer not in the manual?
Questions and answers