Table of Contents
Advertisement
Advertisement
Table of Contents

Related Manuals for Schumacher SE-4020-CA


Summary of Contents for Schumacher SE-4020-CA
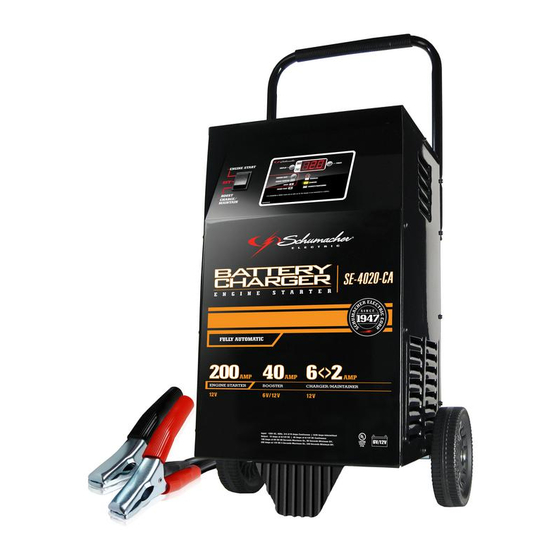
- Page 1 OWNERS MANUAL Model: SE-4020-CA Automatic Battery Charger PLEASE SAVE THIS OWNERS MANUAL AND READ BEFORE EACH USE. This manual will explain how to use the battery charger safely and effectively. Please read and follow these instructions and precautions carefully.
-
Page 2: Table Of Contents
CONTENTS IMPORTANT SAFETY INSTRUCTIONS ................3 PERSONAL SAFETY PRECAUTIONS................3 ASSEMBLY INSTRUCTIONS ..................4 GROUNDING AND AC POWER CORD CONNECTIONS ..........5 CONTROL PANEL ......................5 OPERATING INSTRUCTIONS ..................6 MAINTENANCE AND CARE ..................7 TROUBLESHOOTING AND ERROR CODES ..............8... -
Page 3: Important Safety Instructions
IMPORTANT SAFETY INSTRUCTIONS WARNING – RISK OF EXPLOSIVE GASES WORKING IN THE VICINITY OF A LEAD-ACID BATTERY IS DANGEROUS. BATTERIES GENERATE EXPLOSIVE GASES DURING NORMAL OPERATION. FOR THIS REASON, IT IS IMPORTANT THAT YOU FOLLOW THESE INSTRUCTIONS EACH TIME YOU USE THE CHARGER. -
Page 4: Assembly Instructions
ASSEMBLY INSTRUCTIONS It is important to fully assemble your charger before use. Remove all cord wraps and uncoil the cables prior to using the battery charger. Follow these instructions for assembly. PARTS TOOLS NEEDED (2) 10-32 thread cutting screws 3/8" wrench (for mounting foot) (2) 10-24 x 5/8"... -
Page 5: Grounding And Ac Power Cord Connections
GROUNDING AND AC POWER CORD CONNECTIONS This battery charger is for use on a nominal USING AN EXTENSION CORD 120 volt circuit and has a grounded plug. The use of an extension cord is not The charger must be grounded, to reduce recommended. -
Page 6: Operating Instructions
To set the timer: 12V Battery Reading Battery Condition 1. Press the DISPLAY BUTTON and choose 12.8 volts or more Charged TIME. 2. Press the TIMER BUTTON to set the 12.2 to 12.7 volts Needs Charging appropriate time. Less than 12.2 volts Discharged 3. -
Page 7: Maintenance And Care
3. Plug the charger AC power cord into the DESULFATION MODE AC outlet. Desulfation could take 8 to 10 hours. If desulfation fails, charging will abort and 4. With the charger plugged in and connected to the battery of the vehicle, set the ON/OFF the CHARGING (yellow/orange) LED switch to the Engine Start position. -
Page 8: Troubleshooting And Error Codes
TROUBLESHOOTING AND ERROR CODES Error Codes ERROR DESCRIPTION REASON/SOLUTION CODE The battery voltage is still under 10V (for a 12V battery) or 5V (for a 6V The battery could be bad. Have it checked or replaced. battery) after 2 hours of charging. The charger cannot desulfate the The battery could not be desulfated;...
Need help?
Do you have a question about the SE-4020-CA and is the answer not in the manual?
Questions and answers