Table of Contents
Advertisement
Quick Links
::
.com
bathroomsource
www.bathroomsource.com
Call 1-800-667-8721 anywhere in the US and Canada -
1
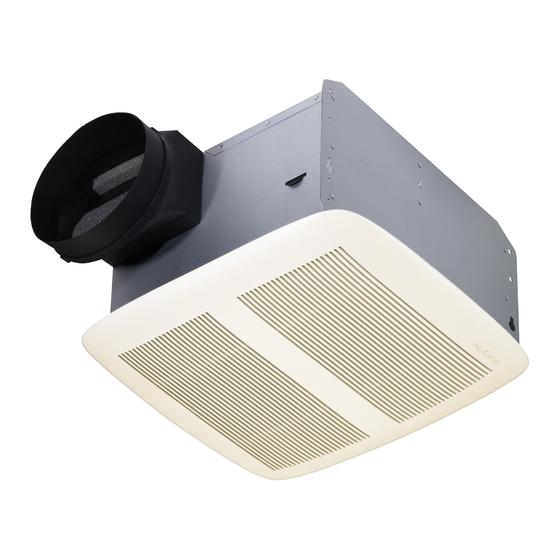
QT Fan Series Installation Guide
1. Remove motor plate assembly.
Unplug motor. Release tab on motor plate by pushing "down" on motor plate while pushing
side of housing "out". Lift motor plate assembly out of housing and set plate aside.
2. Remove wiring cover.
Lift wiring cover from inside corner of housing and set cover aside.
3. Bend housing tabs.
Tabs are provided to aid in positioning housing for all ceiling material.
Bend the tabs outward 90o.
Steps 4 & 5 show three types of house construction
- I-Joists, Standard Joists, & Trusses. Use the appropriate steps for your
installation.
Advertisement
Table of Contents

Related Manuals for Broan NUTONE QT series


Summary of Contents for Broan NUTONE QT series
- Page 1 .com bathroomsource www.bathroomsource.com Call 1-800-667-8721 anywhere in the US and Canada - QT Fan Series Installation Guide 1. Remove motor plate assembly. Unplug motor. Release tab on motor plate by pushing “down” on motor plate while pushing side of housing “out”. Lift motor plate assembly out of housing and set plate aside. 2.
- Page 2 I-JOIST CONSTRUCTION 4. Position housing against joist. Lift housing into position - with tabs against bottom edge of joist. 5. Fasten housing to joist. Secure housing to joist through housing flanges (4 places). Use the lowest and highest holes in each housing flange. The length, width, and height of the spacer block match three of the most common I-Joist flange-to- web gaps.
- Page 3 STANDARD JOIST CONSTRUCTION 4. Position housing against joist. Lift housing into position - with tabs against bottom edge of joist. 5. Fasten housing to joist. Secure housing to joist through housing flanges (4 places). Use the lowest and highest holes in each housing flange.
- Page 4 5. Fasten housing to truss. Secure housing to truss through housing flanges (4 places). Use the lowest and highest hole in each housing flange. 6. Attach damper / duct connector. Snap damper / duct connector to housing. Make sure connector is flush with top of housing and damper flap falls closed.
- Page 5 8. Connect electrical wiring. Run 120 VAC house wiring to installation location. Use proper UL approved connector to secure house wiring to housing. Connect black to black, white to white, and green to ground (bare) wire. 9. Replace wiring cover and motor plate assembly. Replace items removed in Steps 1 &...
- Page 6 11. Install grille. After ceiling is finished, squeeze grille springs together and insert ends into tabs in sides of housing. Push grille up and against ceiling. accessories bathroom:: Broan at...
Need help?
Do you have a question about the NUTONE QT series and is the answer not in the manual?
Questions and answers