Advertisement
Advertisement
Table of Contents

Related Manuals for Backyard Creations 272-8012


Summary of Contents for Backyard Creations 272-8012
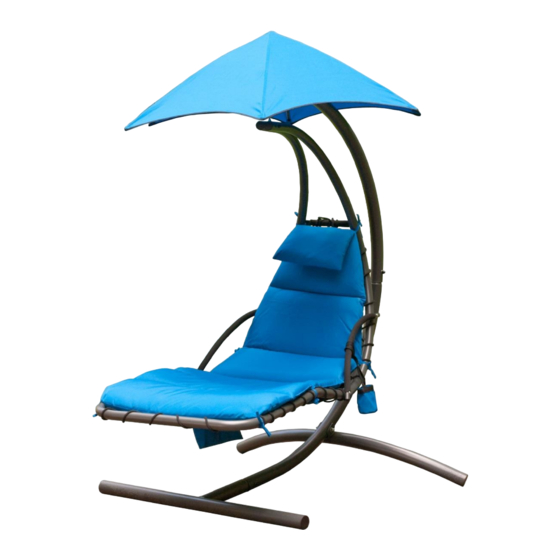
- Page 1 BLUE HANGING LOUNGER 272-8012 Instruction Manual...
- Page 2 Assembly Instructions for Hanging Lounger, SKU 272-8012 Thank you for purchasing the Hanging Lounger. We hope it provides years of enjoyment. Please read and follow the assembly and safety instructions for proper assembly and safe use of this product. If you are missing parts or if there are damaged parts, please call our customer service department at 800-295-6758 before returning to the retailer, you can also email at customerservice@algomanet.com...
- Page 3 Parts R: One 3 ½” 16mm double threaded bolt with two 16mm washers and 2 acorn nuts. HARDWARE Parts S : Two 2 ¾” x 13mm bolts with two 13 mm lock nuts and four 13mm washers. Parts T : One 3 ¾” x 13mm bolt with one 13 mm lock nut and two 13 mm washers. Parts U: Six plastic bolt caps Part V: Threaded connecting link.
- Page 4 Step 1: Locate Part A and Part B. Connect Part B to Part A by inserting end of Part B onto swedge end of Part A aligning holes as shown in (Diagram 1). Place a 13mm washer onto Part S (2 ¾” Bolt) and insert through both Part A &...
- Page 5 Step 4: Find Parts E. Identify the ends with the crimp over the hole as shown in photo. Hold both Parts E with crimps facing each other and proceed to Step 7. Step 5: Locate Parts T (3 ¾” Bolt with 13mm washer) and insert through one of Parts E. Place Part W (Closed S-Hook) onto the bolt Part T as shown in Box 8.
- Page 6 Step 7: Locate Part F. Insert ends of Part F onto swedge ends of both Parts G as shown in Box 14, by pushing down lock- pins as in Box 15 until pins are fully engaged in lock holes as shown in Box 16. Part G Part F Box 14...
- Page 7 Step 10: Locate Part H and place inside seat frame as shown in Box 21. Next, locate black rope (Part K) and attach Part H to seat frame by first threading rope through the middle grommet of Part H and pulling half of the rope through the grommet. Lace Part H with rope over frame and through each grommet working from base on each side until the two rope ends meet at top brace (Part I) as shown in Box 22.
- Page 8 Step 13: Locate the sunshade stem Part L, and the 6 sunshade splines Parts M. Slide each spline Part M into the ends of the sunshade stem branches on Part L as shown in Box 26. Locate the sunshade canopy Part Q, and place it on the ground so that the small pockets at each point of the canopy are facing up.
-
Page 9: For Your Safety
Step 16: Place the plastic protective caps (Part U) over the heads and the nuts on the chair frame as shown in photo. CONGRATULATIONS! Your Hanging Lounger is now complete. FOR YOUR SAFETY • Please always follow the safety instruction and use common sense when using the Hanging Lounger.
Need help?
Do you have a question about the 272-8012 and is the answer not in the manual?
Questions and answers