Table of Contents
Advertisement
Quick Links
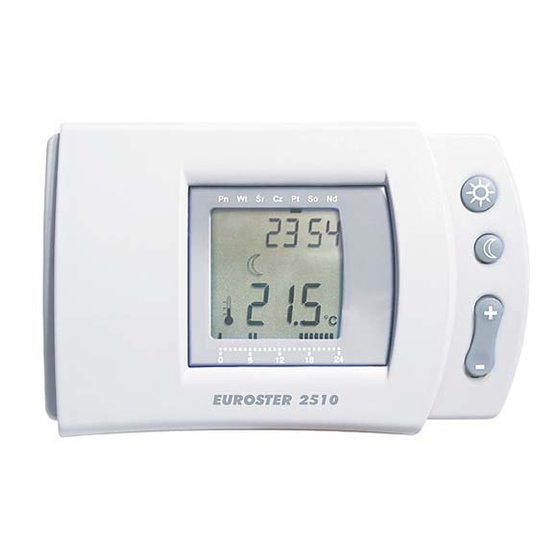
EUROSTER 2510 – USER MANUAL
Introduction
Congratulations on the purchase of your new Digital Thermostat. Thanks to the latest microprocessor
technology, the thermostat offers many convenient and energy-saving features. Please read the following
instructions fully before installing your thermostat.
B: Overview of features & functions
Your Digital Thermostat incorporates preset daily programs to suit different user lifestyles. The
thermostat can be programmed easily to accommodate exacting user needs. This user guide shows how
to get the best from your Digital Thermostat. It is powered by 2 x AA batteries and can replace most
domestic thermostats.
Caution! The Digital Thermostat has been designed to switch a 230VAC supply. The maximum load is 6
Amps (resistive)/ 2 Amps (inductive).
Installation
Caution! Electricity can be lethal. Before beginning any work, ensure that the electricity supply is turned
off at the mains. If in any doubt, contact a qualified electrician. If you currently have a thermostat
connected by two wires, you can replace it directly with your new Digital Thermostat. If you are not
replacing an existing thermostat, you must install a two-wire cable to your heating system.
1. Before carrying out any installation work, choose an appropriate location for Digital Thermostat
using the following guidelines:
a) Mount the Digital Thermostat approximately 1.6m above the
floor.
b) Only mount on interior walls (the thermostat is not for
outdoor use)
c) Avoid any location where the Digital Thermostat could be
exposed to direct sunlight.
d) Avoid any location in proximity to a heater, cooker, ventilation
outlet or any appliance/fitting that generates heat.
e) Avoid any location where there may be concealed boilers, pipework or chimney flues.
f)
Mount away from doors and the corners of rooms.
2. Detach the front cover by sliding it to the left. Remove screw in battery compartment. Open the
front housing from the base by lifting from the left hand side.
3. Unscrew the retaining screw to open the protective cover.
4. Mount the Thermostat base on the wall in the desired location, ensuring that the hole in the wall
is completely covered by the base. Check the wires come in through the protective cover hole.
EUROSTER 2510
1
Advertisement
Table of Contents

Related Manuals for EUROSTER 2510


Summary of Contents for EUROSTER 2510
- Page 1 EUROSTER 2510 – USER MANUAL EUROSTER 2510 Introduction Congratulations on the purchase of your new Digital Thermostat. Thanks to the latest microprocessor technology, the thermostat offers many convenient and energy-saving features. Please read the following instructions fully before installing your thermostat.
- Page 2 EUROSTER 2510 – USER MANUAL 5. Connect the two wires into terminals 1 & 2. The standard connections are shown on the pictures (without neutral and earth conductor) Note! If the existing installation has neutral or earth conductors, these must not be connected to the Digital Thermostat.
- Page 3 EUROSTER 2510 – USER MANUAL Key function: to enter programming mode to view the Temperatures to enter TIME and DAY adjustment mode Reset to reset the unit to INITIAL mode to turn the thermostat ON/OFF to enter Vacation mode.
- Page 4 EUROSTER 2510 – USER MANUAL Reviewing preset program To review the settings for the pre-installed program, press to enter the PROGAMMING mode. The preset program for Monday will show - 0:00 is displayed. Press +/- to show the temperature mode setting (either COMFORT or EVENING) for each hour.
- Page 5 EUROSTER 2510 – USER MANUAL until the next ET program period activates. Similarly if CT is running, press the key to change to ET mode. The thermostat will continue to run in ET mode until the next CT program period activates.
Need help?
Do you have a question about the 2510 and is the answer not in the manual?
Questions and answers