Table of Contents
Advertisement
Quick Links
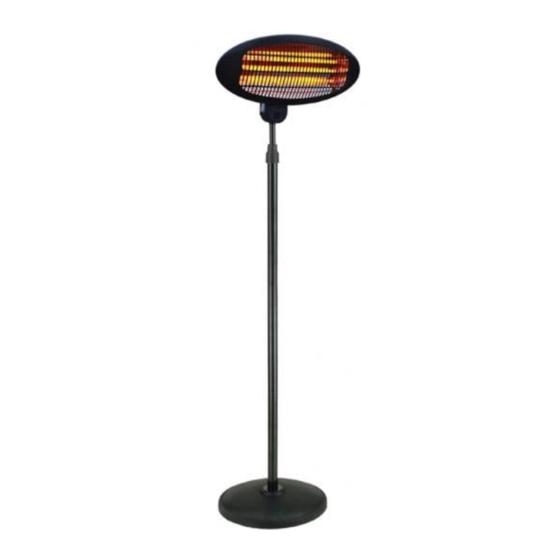
Adjustable Standing Patio Heater 2000w
User instructions - please keep for future reference
Technical information
Power Supply: 220 - 240V ~ 50Hz
Wattage: 650W/1300W/2000W
Element Type: Quartz
Life of Lamp: Approximate maximum 3000 hours
Ingress Protection Rating: IPX4
Insulation Class: I
Net Weight: 7.6Kg
Dimensions: H 180-210cm Head: H 25 x W 50cm
All measurements are approximate
IMPORTANT – Carefully remove any packaging before use, but retain the safety instructions.
These instructions form part of the product.
Please take note of all of the safety warnings listed in these instructions.
Please read these instructions in their entirety and retain them for future reference.
These instructions should be stored with the product.
Produced in China for La Hacienda Ltd
Hangar 27, Site C, Aston Down Airfield, Nr Stroud, Glos, GL6 8HR, UK
Tools required (not included)
Tools list
www.lahacienda.co.uk
69500
V1.0
Advertisement
Table of Contents

Related Manuals for La Hacienda 69500


Summary of Contents for La Hacienda 69500
- Page 1 Please read these instructions in their entirety and retain them for future reference. These instructions should be stored with the product. Produced in China for La Hacienda Ltd Hangar 27, Site C, Aston Down Airfield, Nr Stroud, Glos, GL6 8HR, UK...
- Page 2 Care and safe use guidelines IMPORTANT! KEEP FOR FUTURE REFERENCE. Thank you for choosing our indoor/outdoor Electric Heater. This manual will provide you with information necessary for the proper assembly, care and maintenance of your new product. Please take a few moments to thoroughly read the instructions and familiarise yourself with all the operational aspects of your new heater.
- Page 3 Care and safe use guidelines • DO NOT insert or allow foreign objects to enter any ventilation or opening on the heater, as this may result in electric shock, fire, or damage to the heater. To prevent a possible fire, DO NOT block the air vents. •...
- Page 4 Parts list 1 (1x) 6 (2x) 4 (1x) A (1x) 7 (1x) B (1x) Floor fixing pack. 3 x screws 8 (1x) 2 (1x) 3 x rawl plugs 5 (1x) 3 (1x) Prior to assembly: read the instructions carefully. Check all parts against the parts list. This product MUST NOT be used if the power cable is damaged.
- Page 5 Assembly instructions IMPORTANT – Remove any packaging before use, but retain safety instructions and store them with this product. ASSEMBLY STEP 1 – Remove 4 x preattached inner screws on the base (1) and connect base pole (3) to the base (1). STEP 2 –...
Need help?
Do you have a question about the 69500 and is the answer not in the manual?
Questions and answers