Tektronix TBS1052B-EDU Quick Manual
Hide thumbs
Also See for TBS1052B-EDU:
- User manual (174 pages) ,
- Security instructions (20 pages) ,
- User manual (116 pages)

Subscribe to Our Youtube Channel
Related Manuals for Tektronix TBS1052B-EDU


Summary of Contents for Tektronix TBS1052B-EDU
- Page 1 Tektronix TBS1052B-EDU Oscilloscopes UTA Quick Guide Author / Reviewer Date Revision Tige Kelley 01/10/2017 Draft...
-
Page 2: Table Of Contents
Table of Contents Tektronix TBS1052B-EDU Oscilloscopes ....................... 0 UTA Quick Guide ............................0 Basic Controls ..............................2 Probes ................................3 Probe Compensation ..........................3 Basics ................................5 Vertical Menu ............................5 Horizontal Menu ............................5 Trigger Menu ............................. 5 Run / Stop and Single Buttons ........................6 Firmware ............................... -
Page 3: Basic Controls
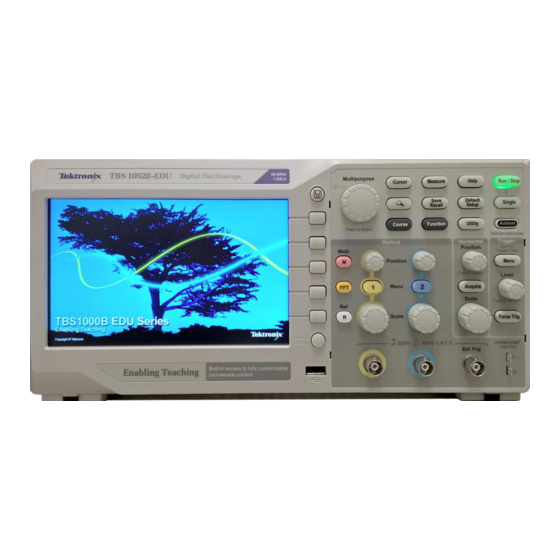
2. Press default setup to return the Oscilloscope to a known “default” state. 3. The TBS1052B-EDU has 2 channels. Pressing the channel number button will turn on/off the channel. The vertical position button is located above the channel button. The volts per division or scale knob is located below the channel button. -
Page 4: Probes
The Tektronix probes must be compensated to produce an accurate waveform. 1. Turn on the TBS1052B-EDU. Wait 40 seconds for the scope to boot up. 2. Insert the Tektronix TPP0051 probe into channel 1. To connect the Tektronix probes, align the BNC connector probe tabs vertically and insert into the channel input then twist the BNC connector right until the tabs are horizontal. - Page 5 Grabber Tip Figure 3 Ground clip Figure 4: Left is an under compensated probe and right is an over compensated probe. Figure 5: A correctly compensated probe.
-
Page 6: Basics
The probes that come with the TBS1052B-EDU are x10 probes. This means a 10 volt peak to peak signal will come into the oscilloscope at 1 volt peak to peak. Because we know the signal is actually 10 times larger, the oscilloscope is defaulted to show the signal it receives as 10 times the actual input. -
Page 7: Run / Stop And Single Buttons
It is important to know the firmware of all your test equipment and keep track of new versions of firmware for your test equipment. The current version of firmware for the Tektronix TBS1052B-EDU oscilloscope is v4.06 as of 01/10/2017. -
Page 8: Cursors
Cursors To obtain manual measurements use the Cursors button near the Multipurpose wheel. 1. Press the Cursor button to access the cursors menu. 2. The default setting is for the cursors to be off. Press the Type softkey and use the Multipurpose wheel to select either Amplitude or Time. -
Page 9: Measurements
Save / Recall – Screenshots, CSV and Setup The TBS1052B-EDU has a USB port on the front of the oscilloscope that will accommodate a USB drive. You can save screenshots, comma separated value files (CVS files), and oscilloscope setup information to your USB drive. -
Page 10: Saving Cvs To Usb Drive
Recall From -> File then Select file to browse the files on your USB Drive. More Information This UTA Quick Guide is intended to familiarize students quickly with the undergraduate lab equipment. For more information on the TBS1052B-EDU please contact EE_UG_LABS@uta.edu to schedule addition training.
Need help?
Do you have a question about the TBS1052B-EDU and is the answer not in the manual?
Questions and answers