Advertisement
Quick Links
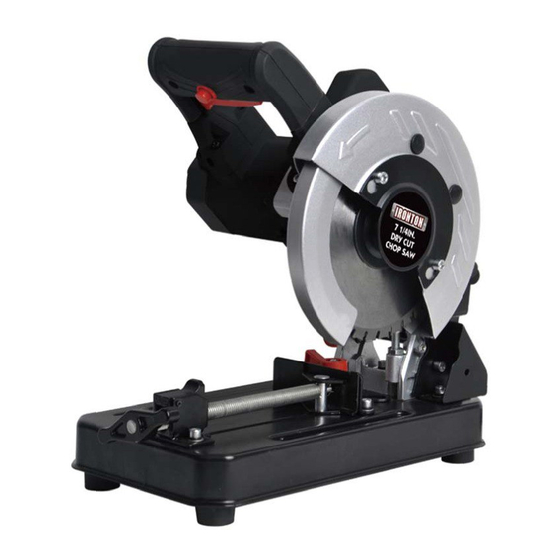
7 1/4
7
INCH
WARNIN
W
Read
d
carefull
y
OPER
RATION I
NSTRUCT
rules
and other
r basic safe
H DR
RY CU
O
WNER
R'S MA
NG:
and
understand
d
TIONS bef
fore opera
ety precaut
tions may
Item
m# 46
UT CH
HOP
ANUAL
L
all
MACHINE
M
ADJUST
ating. Failu
ure to follo
result in se
erious pers
6137
1
SAW
TMENT
AND
A
ow the sa
afety
sonal injury
y.
Advertisement

Related Manuals for Ironton 46137


Summary of Contents for Ironton 46137
- Page 1 7 1/4 INCH H DR RY CU UT CH WNER R’S MA ANUAL WARNIN Read carefull understand MACHINE ADJUST TMENT OPER RATION I NSTRUCT TIONS bef fore opera ating. Failu ure to follo ow the sa afety rules and other r basic safe ety precaut tions may...
- Page 2 1- -800-222-53 381. INTE ENDED U This I Ironton 7 1/ /4’’ Dry Cut Chop Saw w is designe ed to cut va arious types s of ferrous non-fe errous meta...
- Page 3 c) Do not expose power tools to rain or wet conditions. Water entering a power tool will increase the risk of electric shock d) Do not abuse the cord. Never use the cord for carrying, pulling or unplugging the power tool. Keep cord away from heat, oil, sharp edges or moving parts. Damaged or entangled cords increase the risk of electric shock.
- Page 4 unfam miliar with t the power t tool or thes se Instructio ons to oper rate the pow wer tool. Po ower tools a are dangero ous in the ha ands of untra ained users. f) M Maintain pow wer tools. C Check for m misalignmen nt or bindin...
- Page 5 Blade Instructions 1. Do not allow the blade to twist or bind. 2. Keep hands and body away from the rotating blade. Never reach around, under or across blade. Do not wear loose clothing when using this tool. 3. Store blades with care. Do not drop them. 4.
- Page 6 PLACING G BLADE CAUTION N:. Always e nsure that th he saw is sw witch off and d unplugged d from the po ower supply y before inst talling or rem moving a dis 1. Lo oosen and re emove the s screws for s hield guard (fig.
- Page 7 6. Pus sh in the spi ndle lock lev ver while tig htening the Hexagonal bolt in a cloc ckwise direc ction. Note: Do not ove r-tighten the e bolt, this m may damage the blade, t the flanges, and cable c clam.
- Page 8 line w with or behind d the center rline of the w workpiece, to oward the re ear of the too (fig. 7 ). The workp piece should d be resting flush with th he base of th he cut-off m machine.
- Page 9 NOTE E: Always st art the cut g gently; do no ot bang or bu ump a blade e when start ting the cut. For th he safest and d most effici ent cutting, make sure t that the cen terline of the e blade hub is in...
- Page 10 DIAG GRAM A A ND PART T S LIST...
- Page 11 Part No. Description Part No. Description Screw ST 4.2x12 Hex bolt M6x16 Rear housing Dust-sheet Housing Clasp 15 Brush holder Big gear Carbon brush Spindle deflector 6202 Brush cover 0.33 uF Front housing Bolt M5x25 Output spindle Washer 5 Wonderful key 3 Washer 5 Fasten covet Stator...
- Page 12 RRANTY One-y year limited d warranty RNIN Some dust created d by power s sanding, saw wing, grinding g, drilling, and d other const truction activ vities contai ns chemicals s known to th he State of C California to c cause cance er, birth defec cts or other...
Need help?
Do you have a question about the 46137 and is the answer not in the manual?
Questions and answers