
Related Manuals for Medion AKOYA P55491


Summary of Contents for Medion AKOYA P55491
-
Page 1: Instruction Manual
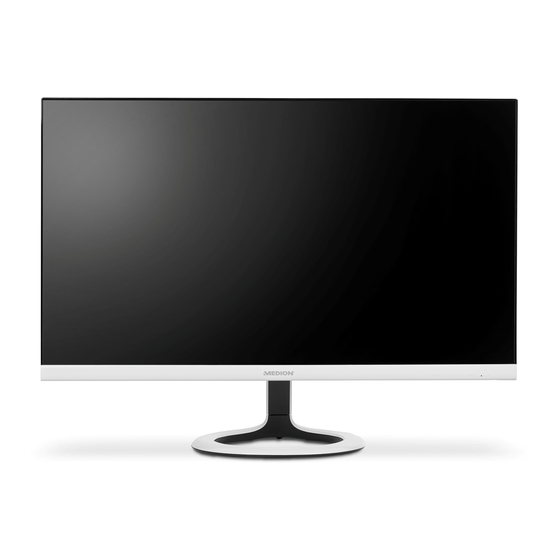
Instruction Manual 59,8 cm (23,6“) LED Backlight Monitor ® ® MEDION AKOYA P55491 (MD 20491) -
Page 2: Table Of Contents
Table of Content About these instructions............................3 1.1. Warning symbols and signal words used in these instructions ..................3 Proper use ................................3 Declaration of conformity ............................ 4 Safety instructions ............................... 4 4.1. Operating safety ....................................4 4.2. Installation location ..................................5 4.3. -
Page 3: About These Instructions
1. About these instructions Read the safety instructions carefully before using the device for the first time. Note the warnings on the de- vice and in the operating instructions. Always keep the operating instructions close to hand. If you sell the device or give it away, please ensure that you also pass on these instructions. -
Page 4: Declaration Of Conformity
3. Declaration of conformity Medion AG hereby declares that the product conforms to the following European requirements: • EMC Directive 2004/108/EC • Low Voltage Directive 2006/95/EC • RoHS Directive 2011/65/EU. • Ecodesign Directive 2009/125/EC (Commission Regulation 1275/2008) However, the device is not equipped with a full function for minimising power consumption in accordance with the Ecodesign Directive. -
Page 5: Installation Location
4.2. Installation location • Keep your monitor and all connected devices away from moisture and avoid dust, heat, direct sunlight and naked flames (such as candles, for instance). Non-compliance with these instructions can lead to faults or damage to the monitor. •... -
Page 6: Power Supply
4.5. Power supply DANGER! Risk of electric shock! Even when the mains switch is off, some components of the device are live. In order to disconnect the power to your monitor or to completely isolate the device from voltage sources, remove the mains plug from the mains socket. •... -
Page 7: Overview Of The Device
6. Overview of the device 6.1. Front MENU: This button starts the OSD; Confirm the choice of the parameter : Arrow keys to change the values and selections in the menu while the OSD menu is opened; When the OSD menu is closed, with brightness and with volume settings are activated. AUTO: Automatic adjustment of the picture (VGA connection only);... -
Page 8: Rear
6.2. Rear Loudspeakers DC IN – connection for power supply HDMI – HDMI connection D-SUB – VGA connection AUDIO – Audio connection (3.5 mm stereo jack) Opening for Kensington® lock. This serves to protect the monitor from theft... -
Page 9: Using The Device For The First Time
7. Using the device for the fi rst time 7.1. Before connecting the monitor It is possible that your existing monitor supports a physical resolution that is not supported by your new monitor. In this case, the image on your new monitor may not appear correctly after it has been connected. ... -
Page 10: Setting Up And Positioning The Monitor
7.3. Setting up and positioning the monitor The monitor should be set up in such a way as to avoid reflections, glare and excessive contrast. Use the drawing to help you select the ideal location for the monitor and achieve an ergonomic sitting position. 50 - 60 cm 40 - 45°... -
Page 11: Setting The Screen Resolution
7.6. Setting the screen resolution The monitor supports the physical resolutions listed in the table. The aspect ratio of the monitor is 16:9. You will get a distortion-free picture if you select the 1920 x 1080 pixels resolution. This is a native 16:9 aspect ratio. Picture distortions or black bars at the edge of the picture can occur with all other resolutions. -
Page 12: On-Screen Display (Osd) Menu
8. On-screen display (OSD) menu You can use the on-screen display menu to set various functions, such as those for picture, sound or language. Press the MENU button to activate the OSD. Use the buttons to select the options from the menu. ... -
Page 13: Power-Saving Features
RESET To restore the factory settings. witch the ECO on and off. AUTO POWER OFF If this function is activated, the screen turns into standby-mode automati- cally after 4 hours of inactivity (no operation of the device). 9. Power-saving features This monitor switches to different power-saving modes which are specified by the respective computer/operating sys- tem. -
Page 14: Troubleshooting
10. Troubleshooting If problems occur with your monitor, make sure that the monitor has been properly installed. If the problems persist, then read this section for information about possible solutions. 10.1. Picture interference or no picture • The mains cable must be firmly seated in the socket and the power switch (if available) must be switched on. •... -
Page 15: Pixel Defects On Screens
13. Pixel defects on screens 5 Pixel For active matrix TFTs with a resolution of 1920 x 1080 pixels, which are each made up of three sub-pixels (red, green, blue), there are a total of approxi- Rows mately 6.2 million control transistors in use. Due to this very high number of transistors and the associated extremely complex manufacturing process- es used, occasionally one or more pixels can fail or become incorrectly con- trolled. -
Page 16: Technical Data
14. Technical data Device Model P55491 (MD 20491) Nominal voltage DC 12V 2,5A Power consumption (standby) < 0.3 watt Power consumption (in operation) < 40 watt (max.) Mains adapter Model FSP GROUP INC., model number FSP030-RHAN2 Input voltage 100-240V~50/60Hz 1.5A max. Output voltage DC 12V 2,5A... -
Page 17: Product Data Sheet
14.1. Product data sheet As per regulation 1062/2010. Power consumption in standby: 0.22 watt Power consumption in off state: 0.20 watt Physical resolution: 1,920 x 1,080 pixels... -
Page 18: Legal Notice
This operating manual is protected by copyright. Mechanical, electronic and any other form of reproduction is prohibited without the written per- mission of the manufacturer Copyright is owned by the company: Medion AG Am Zehnthof 77 45307 Essen Germany The operating manual can be reordered via the service hotline and is available for download via the service portal at www.medion.com/gb/service/start/.
Need help?
Do you have a question about the AKOYA P55491 and is the answer not in the manual?
Questions and answers