Table of Contents
Advertisement
Quick Links
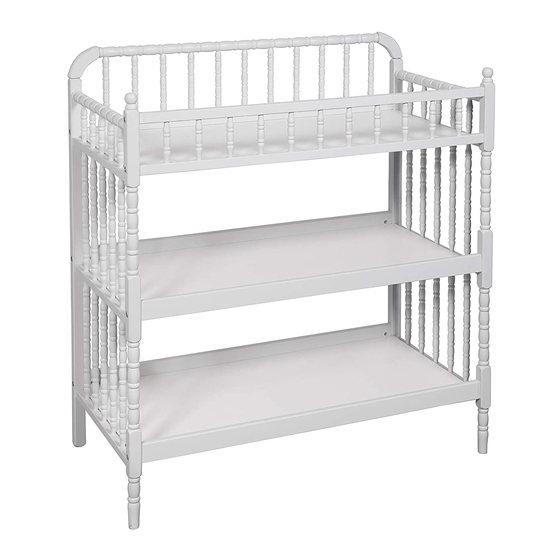
Changer (0302) - Assembly and Operation Manual
Congratulations on purchasing an MDB Family product. This product will provide many years of service if you adhere
to the following guidelines for assembly, maintenance and operation. This product is for residential use only.
Any institutional use is strictly prohibited.
Please be sure to follow the instructions for proper assembly. Use a Phillips head screwdriver for the assembling the
product. Do not use power screwdrivers. All of our products are made from natural woods. Please understand that
natural woods have color variations which are the result of nature and are not defects in workmanship.
DO NOT SUBSTITUTE PARTS. ALL MODELS HAVE THE SAME QUANTITY OF PARTS AND HARDWARE.
YOUR MODEL MAY LOOK DIFFERENT FROM THE ONE ILLUSTRATED DUE TO STYLISTIC VARIATIONS.
WARNING!
!
READ ALL INSTRUCTIONS BEFORE USE OF THE CHANGING TABLE, ADD-ON
CHANGING UNIT, OR CONTOURED CHANGING PAD.
revised 16JUL2015
page 1
Advertisement
Table of Contents

Related Manuals for DaVinci JennyLind Changer


Summary of Contents for DaVinci JennyLind Changer
- Page 1 Changer (0302) - Assembly and Operation Manual Congratulations on purchasing an MDB Family product. This product will provide many years of service if you adhere to the following guidelines for assembly, maintenance and operation. This product is for residential use only. Any institutional use is strictly prohibited.
- Page 2 Unpacked and separated all parts, bolts and screws. All holes for attachment, including the ones for an optional drawer, have been pre-drilled. No drilling by the customer is necessary. Ask your store or call us for replace- ment of missing part. Do not substitute parts.
- Page 3 BARREL NUT - ADDITIONAL INSTRUCTION Step 1 STEP 1. All barrel nuts are threaded and come pre-attached to the bolts. Please ensure you have the correct number of barrel nuts needed as indicated in the instruction manual before assembly. Step 2 Insert the barrel nuts all the way into the holes.
- Page 4 ASSEMBLY INSTRUCTIONS Step 1 Use the Allen head bolts and washers M to connect the top back rail C to the left panel A. Use the Allen head bolts and washers K and barrel nuts L to connect the shelf rails E to the same panel.
- Page 5 Step 4 Step 5 Step 6 Adjust the safety strap and test the locking mechanism. Slide the male connector into the female connector until they lock together. Press the side tabs on the male connector to release. Make sure the safety strap goes over the pad.
- Page 6 Step 7 FURNITURE ANTI-TIPPING KIT INSTALLATION Serious or fatal crushing can occur when furniture tips over on children. To help prevent tip-over, follow the steps below to install this anti-tipping strap. WARNING Serious or fatal crushing injuries can occur from furniture tip-over. To help prevent tip-over: Install tipover restraint provided.
- Page 7 Long screw Finish READ ALL INSTRUCTIONS BEFORE USING THE PRODUCT. KEEP THE The recommended maximum INSTRUCTIONS FOR FUTURE USE. weight of the occupant is 30 lbs on changing table. KEEP THIS MANUAL IN A SAFE PLACE FOR FUTURE REFERENCE. page 7...
-
Page 8: Care And Cleaning
WARNING! ONE YEAR LIMITED WARRANTY: We will replace any missing parts at the time FALL HAZARD of purchase or any defective item within a one year period from the date of original purchase. Please keep your receipt so that TO PREVENT DEATH OR SERIOUS we may process your warranty request. - Page 9 Restraint System WARNING: During the diaper changing process, be sure always to keep one hand on the baby to prevent the baby from falling off the changing pad. Falling from the changing pad could cause severe injury or even death to the baby. Step 1.
Need help?
Do you have a question about the JennyLind Changer and is the answer not in the manual?
Questions and answers