Table of Contents
Advertisement
Advertisement
Table of Contents

Summary of Contents for NewAir AF-600
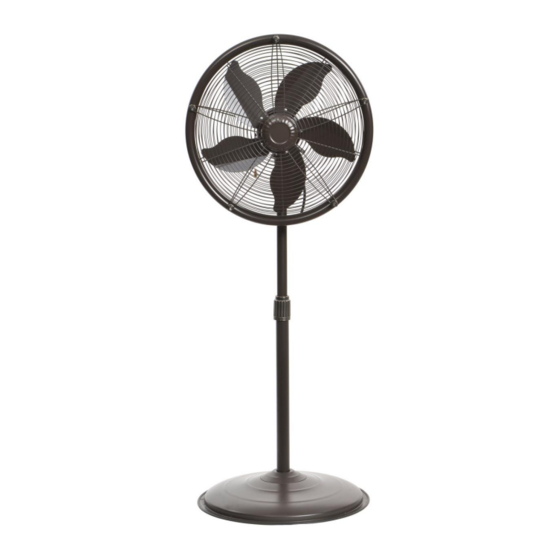
- Page 1 AF-600 18” Outdoor Misting Fan OWNERS MANUAL Read and save these instructions.
- Page 2 Count on NewAir. As a proud NewAir owner, welcome to our family. There are no robots here, real people shipped your product and real people are here to help you.
-
Page 3: Table Of Contents
User Servicing Instructions .................... 12 Leakage and Overcurrent Protection ..............12 Fuse Replacement Instructions ................12 Storage .......................... 13 Troubleshooting ......................13 Limited Manufacturer’s Warranty .................. 14 PRODUCT SPECIFICATIONS Model No.: AF-600 Voltage: 120V Frequency: 60Hz Product Weight: 21.6lbs 20.28” x 16.54” x 55.9”... -
Page 4: Safety Information & Warnings
11. The use of attachments not recommended or sold by the appliance manufacturer may cause hazards. 12. Do not let the cord hang over the edge of a table counter o come in contact with hot surfaces or leave exposed to high traffic areas. http://www.NewAir.com... - Page 5 13. To disconnect, grip plug and pull from wall outlet. Never yank on cord. 14. Always use on a dry, level surface. Do not use the fan on the carpet as the mist may get the flooring. 15. Do not operate fan until fully assembled with all parts properly in place. 16.
-
Page 6: Parts List
Make sure all contents are present, take them out of the package, the contents should have included like Fig.1. NOTICE: There will be one replacement nozzle put in a bag and attached to the manual. Please keep it properly for future replacement. http://www.NewAir.com... -
Page 7: Assembly Instructions
ASSEMBLY INSTRUCTIONS BASE ASSEMBLY 1. Remove the four screws from the center of base. 2. Place the Telescope Pole onto the Base, align the four screw holes in both parts, then insert each hole with the screw and tighten them together firmly with four washers and four nuts at the base bottom. -
Page 8: Operation Instructions
FAN HEAD ADJUSTMENT To adjust the angle of the fan head, loosen the Tilt Adjustment Knob under the Fan Motor. Adjust the fan to the angle desired and retighten the knob to secure the fan at that angle. (Fig. 7) http://www.NewAir.com... -
Page 9: Misting Fan Assembly Instructions
MISTING FAN ASSEMBLY INSTRUCTIONS 1. Turn the fan speed to off position. 2. Attach the end of the Misting Hose Valve to a standard ¾” garden hose and turn on the water. 3. Turn the Valve Handle to “ON” position to turn on water to the fan. (Fig. 8) 4. -
Page 10: Misting Nozzle Maintenance
Use a non-metallic brush to scrub them, if necessary. If the obstacle still exists, use the replacement nozzles or contact the manufacturer. (Fig. 11) http://www.NewAir.com... -
Page 11: Misting Hose Valve Maintenance
WARNING: Never clear the nozzles with pins or other sharp objects which may result in damage. MISTING HOSE VALVE MAINTENANCE If the misting hose valve becomes clogged, unscrew it from the garden hose; flush it with running water to remove the obstacle and debris. Make sure the filter washer is clean as well. -
Page 12: Fuse Replacement Instructions
When storing your fan in the off season, it is important to keep it in a safe, dry location and protect the fan head from dust. We strongly recommend using the original box from purchase to pack it or cover it with plastic or cloth. http://www.NewAir.com... -
Page 13: Troubleshooting
TROUBLESHOOTING Problem Possible Causes Solution The fan will not operate. Make sure fan is plugged The unit may be plugged in into a 120V AC, 60Hz using a different voltage polarized outlet/receptacle. The circuit breaker may be Reset the circuit breaker or tripped or there is a blown check for a broken fuse. -
Page 14: Limited Manufacturer's Warranty
When making a warranty claim, please have the original bill of purchase with purchase date available. Once confirmed that your appliance is eligible for warranty service, all repairs will be performed by a NewAir™ authorized repair facility. The purchaser will be responsible for any removal or transportation costs. Replacement parts and/or units will be new, re-manufactured or refurbished and is subject to the manufacturer’s discretion.


Need help?
Do you have a question about the AF-600 and is the answer not in the manual?
Questions and answers