Advertisement
Quick Links
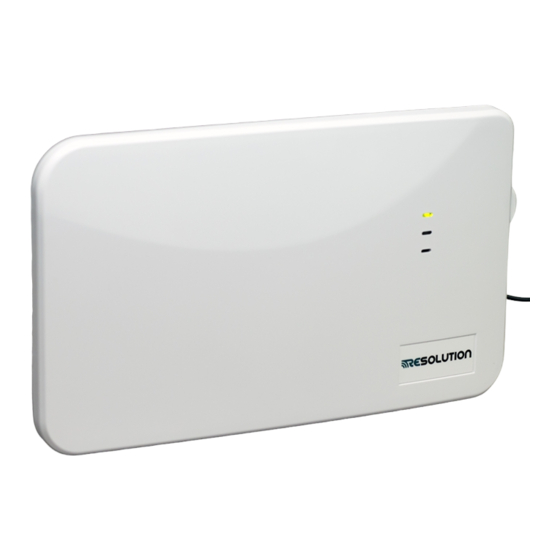
Features
•
Selectable wireless panel compatibility
•
Rechargeable backup battery
•
Accepts any existing hardwire zone type
•
Automatic zone polarity and end of line detection
•
Battery backed 12VDC output for powered zones
•
Cover tamper
•
Certified to UL1023 and ULC1023
Quick Setup
1
MOUNT AND WIRE
A Select a mounting position and location.
B Wire the zones.
C Connect 12VDC output to powered zones, if any.
D Connect the power supply to the translator.
• Ensure the translator cover is open before power-up.
2
TRANSLATOR CONFIGURATION
A Select the brand of panel that the translator must
talk to using the "PANEL SELECT" knob.
B Configure Zones.
• No zone configuration is necessary for installations with normally
closed zones that don't require tamper detection.
• Installations with other zone types: Refer to the Advanced Setup, step 2.
3
PANEL ENROLLMENT
A Enroll Translator into Panel.
• Trip the translator tamper to enroll the translator into the panel (For Honeywell® and 2GIG® panels select loop 1).
-or-
• Enter translator ID into panel. The translator's base ID is printed on the bar code label and ends with a 0.
B Enroll Zones into panel (not required for Cryptix® Installations)
• With the cover open, trip each zone to enroll into to the panel (For Honeywell® and 2GIG® panels select loop 1).
-or-
• Enter ID into panel. For non-powered zones, the zone ID is the translator's base ID with the last digit replaced with zone
number 1-8.
4
FINISH
A Close the cover. Test and verify proper operation of the sensors at the panel.
B Cut the lock wire to lock the translator (For more information on locking, refer to Advanced Setup, step 4).
C Secure cover with screw.
INSTALLATION VIDEOS and PRODUCT INFORMATION:
Installation Guide: RE508X Hardwire to Wireless Translator™
(For full zone enrollment instructions, refer to Advanced Setup, step 3)
WIRING DIAGRAM
http://resolutionproducts.com/products/translators-repeaters/universal-translator/
Wall mounting
screw locations
(Mounting hardware not included. Use two
#4 or # 6 screws for mounting )
Advertisement

Related Manuals for Resolution RE508X


Summary of Contents for Resolution RE508X
- Page 1 Installation Guide: RE508X Hardwire to Wireless Translator™ Features • Selectable wireless panel compatibility • Rechargeable backup battery • Accepts any existing hardwire zone type • Automatic zone polarity and end of line detection • Battery backed 12VDC output for powered zones •...
- Page 2 Advanced Setup MOUNT AND WIRE TRANSLATOR CONFIGURATION (continued) A Select a mounting position and location. • When re-entering translator configuration mode, zones must be • Mount the translator at least 5 feet from the Control Panel’s in their normal state. However, previously programmed receiver.
- Page 3 Notes PANEL ENROLLMENT (continued) ZONES • Powered zones have a 60 second lockout after power-up. DSC ® • Powered zones are turned off when the battery gets low. Translator enrollment: • Powered zones have a four hour minimum battery backup after Enter Wireless Enrollment mode.
-
Page 4: Specifications
Weight with Battery 10.4 Ounces RESOLUTION PRODUCTS, INC. PRODUCTS WILL FUNCTION WITH ONE OF EITHER INTERLOGIX (FOR- MERLY GE), HONEYWELL, DSC, 2GIG OR QOLSYS SYSTEMS. HOWEVER, NO RESOLUTION PRODUCT IS Tamper Activation Cover Opening PRODUCED BY, ENDORSED BY, NOR IS OFFICIALLY ASSOCIATED WITH INTERLOGIX (FORMERLY GE),...
Need help?
Do you have a question about the RE508X and is the answer not in the manual?
Questions and answers