Table of Contents
Advertisement
Advertisement
Table of Contents

Summary of Contents for ELECTROCOMPANIET RENA S-1
- Page 1 QUICK START GUIDE RENA...
-
Page 2: Package Content
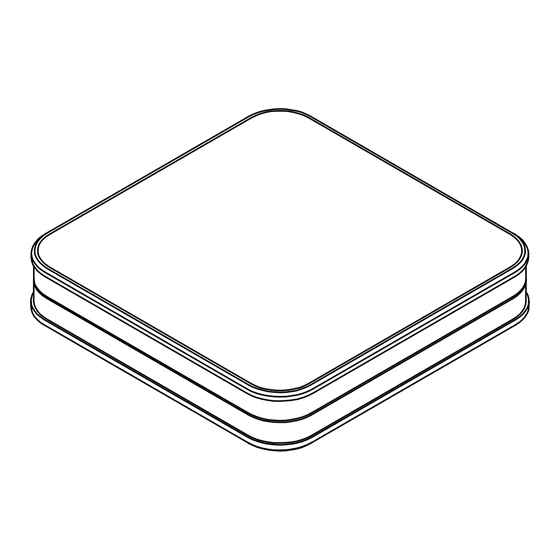
Immediately after receiving the Rena S-1 streamer, inspect the carton for possible damage during shipment. The carton and packaging have been designed to provide the safest possible protection for transport of your Rena S-1 streamer. Unpack the unit carefully. Save all packaging materials for possible future shipments. - Page 3 FIRST TIME SETUP The system supports multiple ways of doing this first time setup: A L T E R N A T I V E S E T U P R E C O M M E N D E D S E T U P 1.
-
Page 4: Connect The Power Cable
INITIAL SETUP PROCEDURE LAN CABLE CONNECTION The first time you set up your EC LIVING RENA S-1 Streamer. R E C O M M E N D E D Download the “EC Remote” App The free App is available at Apple store or Google Play. -
Page 5: Follow The On-Screen Instructions
Name your EC Living unit (Give your unit a zone name if you plan to expand ) You can give your RENA S-1 any name you want. Examples of name is Livingroom, Bedroom... Tap ENTER or Return on the keyboard when you have entered your unit name. -
Page 6: Audio Settings
Line output. (If you are using a tablet, drag an output icon to Left or Right position, tap on the output icon to play a test tone.) If you are using RENA S-1 a smartphone select the position from the pop-up menu.(Tap on the output icon to play a test tone.) If output icons are missing, tap on SCAN to search,... - Page 7 ADDING AN ADD-ON SPEAKER TANA L-1 FROM THE SETTINGS MENU ( if you buy an Add-on speaker later) Go to SETTINGS -> OUTPUT SETTING -> SPEAKER CONFIGURATION. Follow instructions from SETUP 2. Test of audio output Tap the button START TEST. A standard “white noise” sound should be played on all paired speakers. Wait until the test sound stops.
-
Page 8: Enabling Wireless Connection
ENABLING WIRELESS CONNECTION This step is only necessary if you want the system connected to your wireless network. If you want to continue using wired connection (LAN cable), simply skip this page. (We recommend using wired connection if possible to reduce Wi-Fi traffic and achieve best possible stability for the system.) Wireless network setup: 1. -
Page 9: Android Devices
PERFORMING THE INITIAL SETUP WIRELESSLY The first time you set up your EC LIVING RENA S-1 Streamer. R E C O M M E N D E D Download the “EC Remote” App The free App is available at Apple store or Use your PC, Mac or Linux Google Play. - Page 10 RENA S-1 STATUS INDICATORS There are three status LEDs indicating the status of your system. Volume Standby Volume DOWN System state Led state Colour Start-up Flashing fast, then on only for 10s Green Scanning library Flashing slow. Will turn off when...
-
Page 11: Rear Panel Overview
REAR PANEL OVERVIEW 1. Power Socket (34V DC) 3. 4. 5. 2. Gigabit Ethernet (RJ45) 3. COAX S/PDIF digital Output 4. COAX S/PDIF digital Input 5. TOSLINK S/PDIF digital Input S/PDIF S/PDIF PWR IN TOSLINK IN USB IN LINE OUT 6. -
Page 12: Tips And Troubleshooting
The unit will have restarted into the initial setup and you can then follow the steps in this quick start guide. To fully reset the software of the system, please go to support chapter of our electrocompaniet.no/ecliving website and follow the instructions for software download. -
Page 13: Service And Support
1. A sales slip or other proof of purchase if repair is claimed under warranty. 2. A proforma invoice with value of goods, stating that the RENA S-1 is returned to Norway for repair. 3. An accompanying letter describing faults, symptoms, or problems with the unit. - Page 16 www.ecliving.eu Designed and produced in Norway REV 1.0 Feb 2017...


Need help?
Do you have a question about the RENA S-1 and is the answer not in the manual?
Questions and answers