Table of Contents
Advertisement
Advertisement
Table of Contents

Summary of Contents for Irritrol RD-600
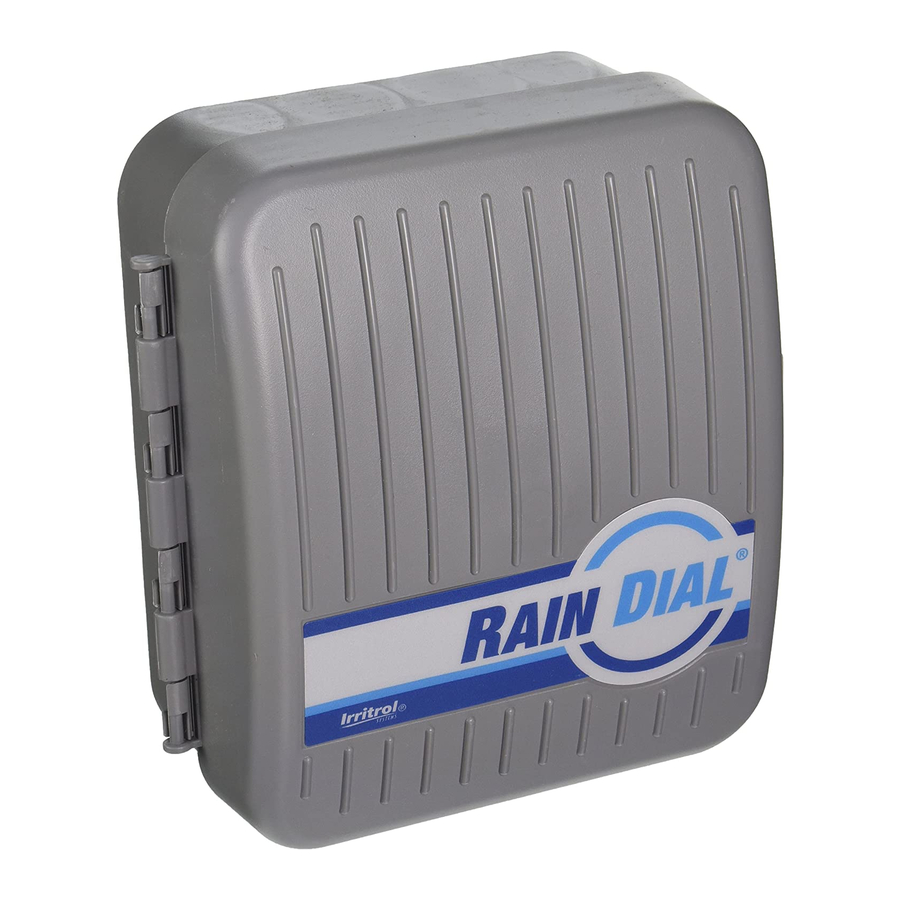
- Page 1 ® CURRENT Today TIME Skip Days RD - 1200 STOP Manual SET PROGRAMS MANUAL SEMI-AUTO Start A, B, or C Installation and Programming Guide For Models RD-600, RD-900, RD-1200 (Indoor and Outdoor Models)
-
Page 2: Table Of Contents
Table of Contents Contents and Specifications - - - - - - - - - - - - - - - - - - - - - - - - - - - - - - - - - 3 Key Features - - - - - - - - - - - - - - - - - - - - - - - - - - - - - - - - - - - - - - - - - - - - - 3 Controller Installation... -
Page 3: Contents And Specifications
Contents and Specifications Congratulations. You have purchased the easiest-to-use landscape control system ® available today. Although it is possible to install and program your Rain Dial controller with little or no instructions, we strongly recommend that you read this guide first. Your controller contains: Outdoor models Indoor Models... -
Page 4: Controller Installation
Controller Installation Selecting the proper installation site for the controller is essential to safe and reliable operation. The controller should be installed on a vertical wall or other sturdy structure near a grounded power source. For easy operation and better view of the display, install the controller so that the display is at, or slightly below, eye level. -
Page 5: Battery Installation
Battery Installation Installing a standard 9-volt alkaline battery will preserve the controller’s time and program in the memory during a power outage. CAUTION: Batteries contain hazardous material. Always handle and discard batteries properly in accordance with the battery manufacturer’s recommendations. Step 1 - Open the door to your controller cabinet and swing open the control module by flexing the release tab to the right. -
Page 6: Pump Start Relay Or Master Valve Connection
Pump Start Relay or Master Valve Connection When a pump start relay or a master valve is to be operated by the controller, a compatible device must be used. The master valve must be equipped with a 24 V a.c., 0.2 amps, 5VA solenoid. -
Page 7: Connecting Earth Ground
CAUTION: Do not connect the controller to one phase of a 3-phase power system used by a pump or other electrical equipment. Step 1 - Turn off the installation power source at Figure 3 the associated circuit breaker. Verify that Conduit power has been turned off by using an Body... -
Page 8: Buttons And Switches Functions
Buttons and Switches Functions Program Switch - Used to select from the three different programs (A, B and C) when setting program. It is also used to select which pre-set program (A, B or C) to run for semi-automatic operation. Function Switch - Used to stop a program’s watering cycle and any valves that are currently running if positioned to OFF or STOP. -
Page 9: How The Multi-Function Dial Works
How the Multi-Function Dial Works “Valve Run Time” Settings - These settings control how long each valve will water. The valve numbers on the Multi-Function Dial corresponds to the numbers on the controller’s terminal module. The valves run sequentially one at a time. Each valve can be set to run from 1 minute to 5.9 hours. -
Page 10: What The Lcd Display Indicate
What the LCD Display Indicate Information Displayed When Programming The LCD will display the following data with the Function Switch in the SET PROGRAMS position, in conjunction with the following dial settings. Valve Run Times - Shows minutes (e.g. 15 MIN) or hour (e.g. 1.5 HOUR). -
Page 11: Watering Considerations
Watering Considerations Plants, soil and climatological conditions vary from region to region. Consult your local nursery for the watering schedule best suited to your particular requirements. As a general rule, the best time to water is early morning because evaporation, wind drift and temperature are minimal. -
Page 12: Watering Schedule Chart
Watering Schedule Chart ROGRAMMING ATERING CHEDULE ATERING IMES Valve Station Program Program Program Valve / Station Description Start Times Watering Days... -
Page 13: Fail Safe Mode
Fail Safe Mode If the battery fails during a power interruption, your program will be lost. When power is restored, the Rain Dial controller will automatically default to its fail-safe mode. Upon restoration of power, the fail-safe mode will default to Sunday, 12:00 p.m. and the clock resumes from that point. -
Page 14: Setting Program Schedule
Setting Program Schedule Before setting the schedule, decide whether you want to use the controller’s daily schedule option or the interval SKIP DAYS option. The daily option gives you the option of selecting particular days to water in no particular order (for example, water every Monday, Wednesday and Saturday). -
Page 15: Semi-Auto Operation
Semi-Auto Operation Semi-Auto operation runs an entire program (A, B or C) whenever you want a supplemental watering. Step 1 - Make sure the Function Switch is in the RUN position and the Multi-Function Dial is pointing to the CURRENT TIME position. Step 2 - Use the Program Switch to select the program (A, B or C) you want to run. -
Page 16: How To Check For Valve Shorts
How to Check for Valve Shorts The Rain Dial controllers are uniquely able to detect and identify malfunctioning valves caused by electrical shorts in the wiring. Use your controller to check any or all valves for shorts. Step 1 - Make sure the Function Switch is set to RUN. Step 2 - Turn the Multi-Function Dial to the valve number you want to check. - Page 17 Troubleshooting the System Problem Possible Cause Correction Watering at wrong CURRENT TIME of day Check and reset CURRENT times. incorrectly set. TIME. Blank display. No power. Check circuit breaker panel. Check wiring connections. Check transformer. Check controller terminal board fuse. Function Switch must be in Program won’t Wrong function setting.
-
Page 18: Notes
Notes... -
Page 19: Fcc Notice
FCC Notice Domestic: This equipment has been tested and found to comply with the limits for a Class B digital device, pursuant to Part 15 of the FCC Rules. These limits are designed to provide reasonable protection against harmful interference in a residential installation. This equipment generates, uses and can radiate radio frequency energy and, if not installed and used in accordance with the instructions, may cause harmful interference to radio communications. - Page 20 Irritrol Systems offers complete lines of professional irrigation products for commercial and residential applications: Controller and Controller Accessories Valves and Valve Accessories Sprinklers, Nozzles and Sprayheads U.S.A.: Australia: P.O. Box 489 Irritrol Systems PTY Ltd. Riverside, California 92502 53 Howards Road...
Need help?
Do you have a question about the RD-600 and is the answer not in the manual?
Questions and answers
Hello, having two valves to irrigate different areas how to run settings properly one valve supposed to irrigate every 4 days the other every 20 days. The confusion is program A and B and valve 1 and 2.
To set up the Irritrol RD-600 to irrigate one valve every 4 days using Program A and another every 20 days using Program B, follow these steps:
### Setting the Current Time and Day:
1. Turn the Multi-Function Dial to CURRENT TIME.
2. Move the Function Switch to SET PROGRAMS.
3. Use the +/- Buttons to set the correct time.
4. Turn the Multi-Function Dial to TODAY.
5. Use the +/- Buttons to set the current day.
6. Return the Multi-Function Dial to CURRENT TIME and the Function Switch to RUN.
### Setting Valve 1 to Water Every 4 Days (Program A):
1. Set the Program Switch to A.
2. Move the Function Switch to SET PROGRAMS.
3. Turn the Multi-Function Dial to Skip Days.
4. Use the +/- Buttons to set 4 (watering cycle every 4 days).
5. Turn the Multi-Function Dial to Valve 1.
6. Use the +/- Buttons to set the desired run time.
7. Set start times if needed.
### Setting Valve 2 to Water Every 20 Days (Program B):
1. Set the Program Switch to B.
2. Move the Function Switch to SET PROGRAMS.
3. Turn the Multi-Function Dial to Skip Days.
4. Use the +/- Buttons to set 20 (watering cycle every 20 days).
5. Turn the Multi-Function Dial to Valve 2.
6. Use the +/- Buttons to set the desired run time.
7. Set start times if needed.
### Finalizing:
1. Return the Multi-Function Dial to CURRENT TIME.
2. Move the Function Switch to RUN.
This setup will ensure Valve 1 irrigates every 4 days and Valve 2 every 20 days.
This answer is automatically generated
How do I order a RD600 manual?
How to do for Wire connection
To connect wires for the Irritrol RD-600:
1. Open the Controller: Swing open the plug-in control module by flexing the transformer release tab to the right.
2. Connect Common Wire: Attach one lead from each valve to a single common wire. Route the common wire through the conduit opening and secure it to the “VC” (valve common) terminal.
3. Connect Valve Wires: Route each remaining valve wire through the conduit opening at the bottom of the controller cabinet. Secure each valve wire to the desired numbered terminal.
4. Waterproof Splices: Ensure all wiring splices are waterproofed using a grease cap or similar method to prevent short circuits and corrosion.
5. Check Voltage Compatibility: The controller works with 24V AC, 5VA solenoid-operated valves. A maximum of two solenoids per terminal may be used, and no more than three solenoids should operate simultaneously, including the master valve or pump start.
Following these steps ensures proper wiring and operation of the RD-600 controller.
This answer is automatically generated
How to do for wire connection on Irritrol Rain Dial RD 600
To connect wires on the Irritrol Rain Dial RD-600:
1. Install Conduit and Fittings: Ensure the conduit and associated fittings are in place.
2. Connect Power and Ground Wires:
- Use an appropriate AC voltage meter to check voltage.
- Connect the neutral line (white or blue wire).
- Connect the hot line (black or brown wire).
- Connect the ground wire (green or green/yellow) according to electrical codes.
3. Turn on Power: Switch on the power source and check for proper controller operation.
4. Check for Issues: If the controller does not work, disconnect power and inspect for wiring errors or short circuits.
5. Ensure Earth Ground Connection:
- A 12-16 gauge wire should be routed to an earth ground source.
- This protects the controller from power surges, especially in lightning-prone areas.
Following these steps ensures safe and proper wiring of the RD-600 controller.
This answer is automatically generated
How do I reset the current time?
To reset the current time on an Irritrol RD-600, follow these steps:
1. Set the Multi-Function Dial to CURRENT TIME.
2. Position the Function Switch to SET PROGRAMS.
3. Use the +/- Buttons to set the correct current time.
4. Turn the Multi-Function Dial to TODAY.
5. Use the +/- Buttons to select the current day (MO–SU).
6. Return the Multi-Function Dial to CURRENT TIME and the Function Switch to RUN when finished.
This answer is automatically generated
My solenoids keep chittering and not working. Our water was turned on today. A couple work but most just chitter.q