
Related Manuals for Roland MDX 40-A


Summary of Contents for Roland MDX 40-A
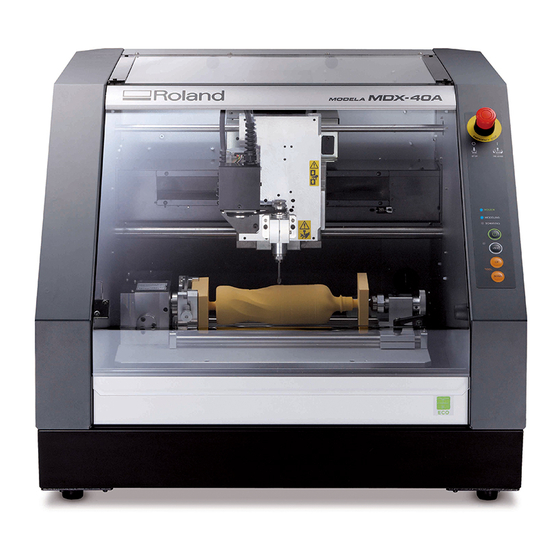
- Page 1 HARVARD GSD BEGINNER’S GUIDE TO ROLAND MDX 40-A prepared by Alexander Matthias Jacobson...
- Page 2 Max Rotations Per Minute (RPM): 8,000 Machine: ONSRUD, AXYZ, ROLAND Max Feed Rate: 120 in/minute (3000mm/min) Typical Materials: blue foam, white Software: Mastercam X7 or Roland SRP foam, high-density foam, mdf plywood, solid wood, laminated pieces of solid wood, wax 2D Contour Cut-out Goal: Cut out 2D pieces of material.
- Page 3 Roland MDX 40-A Workflow Overview 1. Create Geometry - Center on the origin - Maximum size: 11” x 11” x 3.5” - Max vertical wall height: 1.6” - Export as closed .stl 2. SRP Player Software - Import geometry - SRP Player mill settings - Available bit sizes: .25”...
- Page 4 MDX 40-A, the maximum length of a 1/4” bit is 1.7”, and the maximum length for a 1/8” bit is .9”, so be aware that you will not be able to cut features deeper than this on the Roland MDX 40-A unless you cut from more than one side.
- Page 5 1 - SRP Player 2 - SRP Player - Model Size + Orientation - Type of Milling Steps: Steps: 1) Open SRP Player software. 1) Select for Quality vs Speed 2) Open the .stl file you exported from Rhino. 2) Indicate the most prevalent characteristic of your geometry 3) Enter the scale at which you would like to mill this geometry.
- Page 6 3- SRP Player 3.1 to 3.8 - SRP Player - Create Toolpath - Create Toolpath > Edit Toolpaths Steps: Here you can see and edit the details of the toolpaths SRP Player 1) Select your material from the drop-down list. If your material is not available, consult with a automatically generates.
- Page 7 3.2) TOP OF SURFACE is where you orient the tool relative to your part. Select “Top + Z” unless 3.6) TOOL Specify the tool size and the shape of the end. Currently, the Roland MDX 40-A is equipped with a .25” flat cutter, a .25” ball cutter, a .125” flat and .125” ball, all found in the black you want to cut into your piece at an oblique angle.
- Page 8 (under Model Size and Orientation), or b) specifying that the Roland MDX 40-A ignore 3) Origin Controls are for communicating where the machine should place the origin, or the the lower part of your model in under Tool Path Depth (see Step 3.5).
- Page 9 Your Z-zero point will be set at the bottom of the sensor, which should be at the top of your material. If you do not place the sensor beneath the tool, the MDX 40-A will lower the tool until it hits something and meets resistance, possibly damaging the tool or the material.
-
Page 10: Appendix 1: Foam Cutting Parameters
5- SRP Player Appendix 1: Foam Cutting Parameters - Peform Cutting Type of toolpath Roughing Finish Finish Size of Bit 1/8” 1/4” 1/4” Feed Rate 3000 mm/min 3000 mm/min 3000 mm/min (120 in/min) (120 in/min) (120 in/min) Spindle Speed 8000 rpm 8000 rpm 8000 rpm MAX .4”... - Page 11 1) Open the template Mastercam 7 file for the Roland MDX 40-A. 2) Ensure that the machine definition and posting protocol for the Roland MDX 40A have been loaded into the file. (Right-click ‘Files’ under the Properties tab of the Operation Manager and...
- Page 12 Windows Desktop. name of the toolpath. Note the lack of a green check box on the other toolpaths (indicated with 2) Turn on the Roland MDX 40-A. First ensure that there is no material in the bed because the dotted lines).
- Page 13 Z in software X-Y in software With your material fastened, its now necessary to instruct the Roland With the origin set, all that remains is to send the tool paths one at a where 0,0,0 is relative to your part.
- Page 14 Please clean up the workspace after yourself by completing the following tasks. 1) Vacuum the bed. Do not use an airhose, as this may lodge debris in areas of the Roland MDX 40-A that will prevent it from operating properly.
- Page 16 6) Specify the bit size. Currently, the Roland is equipped with a .25” flat cutter, a .25” ball cutter, a .125” flat and .125” ball. Note, you will need to manually change the bit and re-zero the machine for each tool change.
- Page 17 - Maximum Dimension: 4’ x 8’ x 6” tall - Anchoring Strategy - Small: 6” x 12” x 2” (or whatever the Roland is) - Registration Holes - Large: more than 6” x 12” x 2” up to a maximum of 4’ x 8’ x 6”...
- Page 18 - Maximum Dimension: 4’ x 8’ x 6” tall for each half of the mold) - Up-cutting - Small: 6” x 12” x 2” (or whatever the Roland is) - Down-cutting - Large: more than 6” x 12” x 2” up to a maximum of 4’ x 8’ x 6”...
- Page 19 Robotic Arm / 6-Axis Jobs - When to consider the Robot GUIDE TO TOOL PATHS - Tolerances, Precision + expectations in planning the job - Assembling readymade pieces BY TOOLPATH - Don’t know what that toolpath does? Look here. - Fiber-winding - Circular Saw - Size &...
Need help?
Do you have a question about the MDX 40-A and is the answer not in the manual?
Questions and answers