Table of Contents
Advertisement
Advertisement
Table of Contents

Related Manuals for Ecolawn ECO250


Summary of Contents for Ecolawn ECO250
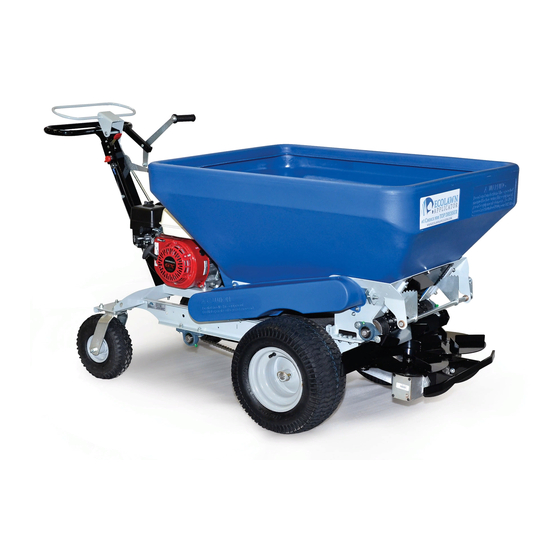
- Page 3 THANK YOU for purchasing an Ecolawn Top Dresser. Your new machine has been carefully designed and manufactured to provide years of reliable and productive service. This manual will provide you with safety instructions and general maintenance tips that will help to keep your machine in top running order. Please read this manual and assembly part/list carefully before assembling, operating, or servicing your equipment.
-
Page 4: Table Of Contents
4. HOPPER 5. DECALS OPERATING INSTRUCTIONS 1. PROPER TOPDRESSING 2. OPTIMAL OPERATION 3. MAIN USES USING THE ECOLAWN FOR THE FIRST TIME OPERATING THE ECOLAWN APPLICATOR CHOOSING AN APPROPRIATE SUBSTANCE 1. QUALITY AND CHARACTERISTICS 2. FRIABILITY 3. MOISTURE CONTENT TROUBLESHOOTING AND ADJUSTMENTS GENERAL MAINTANCE 1. -
Page 5: Engine And Warranty
Engine The Ecolawn Applicator's gear casing is filled with oil (SAE 30) before shipping, but the oil level must be checked to ensure that it is filled to the proper level before operation. The engine does not have oil and must be filled to proper level before starting. -
Page 6: Safety Instructions
• Never allow children to operate power equipment. • Do not use the Ecolawn Applicator on any grade that is too steep for a riding mower. • Do not modify the Ecolawn Applicator. Any alterations to the machine will void the warranty. -
Page 7: Operating Instructions
Operating Instructions 1.Proper Topdressing When topdressing, follow the same pattern you would use when mowing. Start with the sections of lawn that are farthest away from the supply source to avoid repeated traffic over the areas that have been top- dressed. -
Page 8: Using The Ecolawn For The First Time
Tighten these if necessary. Step 5. After 8 hours of use, inspect the nuts and bolts again and tighten if necessary. If some pulleys do not run correctly after these trials, please refer to Ecolawn Application: Troubleshooting and Adjustments (pages 11-13). -
Page 9: Operating The Ecolawn Applicator
Operating the Ecolawn Applicator Step 1. Filling the Hopper To fill the hopper, first ensure that the Feed Trap (Figure 1) is properly closed by pulling up on the Feed Trap Lever (Figure 2). Fill the hopper with the substrate to be spread. Note: Never exceed the hopper's maximum load capacity (440 lbs/200 kg);... - Page 10 Figure 1 Step 2. Starting the Engine Before starting the engine, make sure the conveyor system is not engaged. Be sure that the Conveyor Action Lever (Figure 3) is disengaged and the Feed Trap is properly closed, then start the engine. For additional information about operating or troubleshooting the engine, consult the Engine Manual.
- Page 11 Step 4. Stopping the Spreader When the hopper is empty, disengage the Conveyor Lever to stop the conveyor belt. Close the feeding trap with the Feeding Trap Lever. If filling the hopper again, propel the machine to the substrate source and release the Self-Propel Handle to stop the spreader, turn the engine off, and then refill the hopper.
-
Page 12: Choosing An Appropriate Substance
It is very important to choose a high-quality topdressing substrate. For greatest cost efficiency, Ecolawn recommends using a bulk substrate which is friable, has a moisture content lower than 65%, and contains no inorganic matter (stone, plastic, glass, etc.) or non-composed organic matter (such as wood pieces). -
Page 13: Troubleshooting And Adjustments
Troubleshooting And Adjustments Important: Be sure the engine is turned off before performing any adjustments or maintenance on the spreader. The most frequently encountered problems involve the conveyor, but these can be easily resolved with a few simple solutions. Check the following symptoms for your particular problem, and make the corresponding adjustments as needed. - Page 14 Symptom: The spreader's hopper is full. The conveyor has been activated by pulling the conveyor activation lever back, but the conveyor belt is not turning even though the stretch rod has been adjusted properly and the conveyor drive roller is turning. Solution: Adjust the tension of the conveyor belt rollers on each side, 1/2 a turn at a time, to increase the tension on the conveyor belt, as follows: do this on both sides of the unit equally.
- Page 15 Symptom: The spreader moves forward and the conveyor works, but the spreading disk does not spin. Solution: To free the disk, turn the machine off, and then turn the spreading disk backward manually to remove any debris. Visually inspect the pulleys and clean them as needed. If the pulley used to turn the spreading disk is filled with substrate, it may cause the belt to come off.
-
Page 16: General Maintance
General Maintenance 1. Shaft Bearings Grease the two crankshaft ball bearings after every 50 hours of operation. 2. Engine Oil/Filter Change the oil and filter after every 50 hours of operation. See the engine manufacturer's instructions. 3. V-belts The proper belt tension is tight enough that the belts will not slip during operation. Occasionally, belt tension must be readjusted. -
Page 17: Assembly Steps
w w w . e c o l a w n a p p l i c a t o r . c o m Turf Pros #1 Top dresser P a g e 15 | 17... - Page 18 w w w . e c o l a w n a p p l i c a t o r . c o m Turf Pros #1 Top dresser P a g e 16 | 17...
-
Page 19: Agitators
Short agitator - sand, heavy materials, for less resistance on agitator, Biochar products. Trap door opening - full range. Rotation – forward. SHORT AGITATOR Long agitator - compost, dry materials, wet materials, for greater agitator power Trap door opening - 3/4 to wide open. Rotation - forward or reverse depending on specific product.
Need help?
Do you have a question about the ECO250 and is the answer not in the manual?
Questions and answers