Table of Contents
Advertisement
Advertisement
Table of Contents

Related Manuals for HEADRUSH Pedalboard


Summary of Contents for HEADRUSH Pedalboard
- Page 1 User Guide English...
-
Page 2: Table Of Contents
Table of Contents Introduction ..........3 Adjusting Settings ......... 15 Overview ..........15 Parameters .......... 16 Box Contents ........... 3 Amp ..........16 Cab ........... 16 Support ............ 3 Effects ..........17 In ............17 Out ........... 18 Features ............4 Mix ............ -
Page 3: Introduction
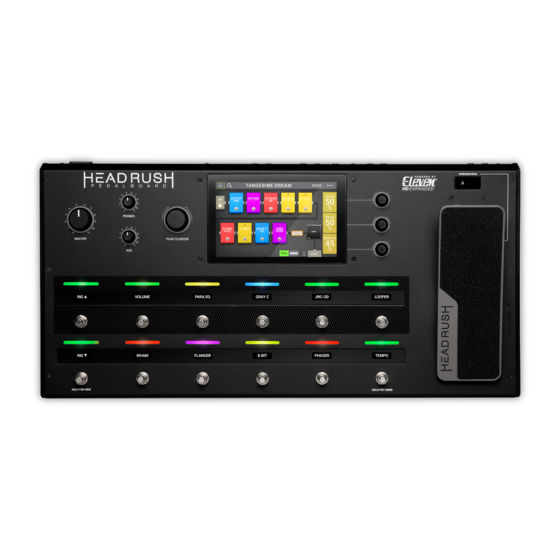
The HeadRush Pedalboard delivers a new generous and diverse offering of classic vintage and modern amp and effects models, including exclusive original boutique effects that can’t be found anywhere else, as well as the ability to load your own custom impulse response (IR) files. -
Page 4: Features
11. Aux Volume: Turn this knob to adjust the volume level of the aux input. Important: The audio signal from the aux input is routed directly to the outputs of the HeadRush Pedalboard without any modeling applied. It is also unaffected by the master volume or phones volume knobs. -
Page 5: Rear Panel
1. Power Input (IEC): Connect this input to a power outlet using the included power cable. 2. Power Switch: Press this button to turn the HeadRush Pedalboard’s power on. Press and hold this button to turn the HeadRush Pedalboard’s power off. - Page 6 17. USB Port: Connect this USB port to a computer using a standard USB cable. This connection allows the HeadRush Pedalboard to send and receive the digital audio signal to and from your computer. You can also use this connection to import or export rigs, model presets, setlists, and impulse response (IR) files. This...
-
Page 7: Setup
Setup Items not listed under Introduction > Box Contents are sold separately. Guitar PA loudspeakers or mixer Guitar amplifier Headphones Power outlet Computer External effect stompboxes, modules, etc. -
Page 8: Operation
Operation This chapter describes the HeadRush Pedalboard’s functions. Main Screen Overview Tap to search for rigs by name. Tap to view setlists. Tap and drag this bar downward to view list of rigs. Turn encoder to move Rig name. Tap to save rig. -
Page 9: Basic Operations
Basic Operations Important: The sequence of models in your signal chain is not necessarily reflected in the footswitches. You can freely assign models to available footswitches without changing your signal chain at all—and vice versa. See Hardware Assign to learn about this. To assign a model (amp, cab, or effect) to an empty slot, tap it () and then use the list that appears. -
Page 10: Signal Path
Signal Path You can easily reconfigure the path of your signal chain to split, creating more complex routings. To reconfigure the signal path, tap at the bottom of the main screen. The icon will change to match the current signal path as shown below. This straight signal path is the default and the most common. -
Page 11: Stereo Vs. Mono
Stereo vs. Mono The outgoing signal from the HeadRush Pedalboard can be mono or stereo, depending on the models in your rig, the signal path, and which outputs you are using. An indicator near the end of the signal path indicates the current configuration. -
Page 12: Views
Views The eight middle footswitches can be used to activate or bypass models (amps, cabs, or effects) as well as select rigs or setlists. These footswitches are always in one of four views: Stomp View, Rig View, Hybrid View, and Setlist View. -
Page 13: Rigs
Rigs While using the HeadRush Pedalboard, a rig is a preset: the combination of assigned models—the amps, cabs, and effects—and the parameter settings of each of them. You can create, edit, save, and load rigs, making it easy to recall the perfect sound for each part of your performance. -
Page 14: Optimizing Your Signal Chain
The signal chain is the path that the audio signal follows from your guitar through your selected models and ends at the outputs of the HeadRush Pedalboard. You can use the touchscreen to arrange your selected models in any sequence, but you may find that some configurations will sound better than others. -
Page 15: Adjusting Settings
Adjusting Settings To adjust the settings of an item in your rig, double-tap it to open its settings screen. You can adjust the settings of any model (amp, cab, or effect), the input (the In/Lock icon), the output (the Out icon), or mix (the Mix icon). Overview Tap ... -
Page 16: Parameters
The Cab category is a list of popular amp cabinets, which contain the speakers. The HeadRush Pedalboard recreates not only the sound of the cabinet but also the type of microphone recording it. -
Page 17: Effects
The available range is 1–3000 ms. USB Level: This setting controls the level of the audio signal sent from your computer to the HeadRush Pedalboard over a USB connection. The available range is -60.0 to 12.0 dB. -
Page 18: Out
0% produces a mono signal. This affects stereo signals only, not mono signals. See Main Screen > Stereo vs. Mono to learn how the HeadRush Pedalboard handles stereo and mono signals. These settings control mix of a split signal path. This is available only for rigs with split signal paths (see Main Screen >... -
Page 19: Hardware Assign
Hardware Assign screen. The MIDI Prog field determines the MIDI program change number of the rig. Use the Prog Change setting in the Global Settings screen to determine whether the HeadRush Pedalboard can send and/or receive MIDI program change messages (see Global Settings >... -
Page 20: Footswitches
Footswitches The eight boxes in the lower-left corner represent the middle eight footswitches of the HeadRush Pedalboard. You can assign any switch-based parameters (ones with only two states) to any of the footswitches—regardless of their location in the signal chain. -
Page 21: Expression Pedal
Mode). Use the toe switch to switch between them—Expression Pedal A or B. To activate the toe switch, move the “toe end” of the expression pedal so it touches the pedalboard, and then press down. The expression pedal status LED will indicate A or B. -
Page 22: Setlists
Setlists You can use setlists to organize your rigs. A setlist is a saved collection of rigs, which you can save and recall at a later time. This is useful, for instance, if you only need some of your rigs for a performance; you can save a setlist of just those rigs so you don’t have to spend time searching through all of your rigs before playing the next song. -
Page 23: Hands-Free Mode
12 footswitch to switch between the two. Looper The HeadRush Pedalboard has a built-in looper that you can use to layer your performances. While the looper’s operation is shown in the display, you can control most of it conveniently with the footswitches. - Page 24 To record the first layer of a loop, press the Record footswitch. Recording will begin immediately and the footswitch indicator will light red. Press the Record footswitch again to stop recording and start loop playback. The footswitch is now called Overdub and the footswitch indicator is yellow. To record additional layers onto the loop (overdub), press the Overdub footswitch.
-
Page 25: Global Settings
Global Settings Use the global settings to configure the HeadRush Pedalboard’s overall operation. To show the global settings, tap the button in the upper-right corner of the screen, and tap Global Settings. LCD Brightness: This setting determines the brightness of the main display. Tap this field, turn the encoder to select 1 (dim) through 5 (bright), and then press the encoder. - Page 26 These settings affect only the HeadRush Pedalboard’s MIDI input or MIDI output. MIDI Thru: Tap On to use the MIDI output as a MIDI throughput; any MIDI information sent to the HeadRush Pedalboard’s MIDI input will be sent directly to the MIDI output. Tap Off to use the HeadRush Pedalboard’s MIDI output normally;...
-
Page 27: Usb
5. Open the HeadRush drive. You can now freely click and drag contents between HeadRush and your computer. Note that any changes you make to the contents of your HeadRush will not be final until after the next step, but any changes you make to the files on your computer are immediate. -
Page 28: Recording
When the HeadRush Pedalboard’s USB port is connected to your computer, you can select and use the HeadRush Pedalboard as a 24-bit audio interface, enabling you to play audio through it or to send its audio signal to the computer. It can use sample rates of 48 kHz or 96 kHz. -
Page 29: Technical Specifications
Specifications are subject to change without notice. Trademarks & Licenses HeadRush is a trademark of inMusic Brands, Inc., registered in the U.S. and other countries. Avid and Eleven are trademarks or registered trademarks of Avid Technology, Inc. in the U.S. and other countries. - Page 30 Manual Version 1.1...
Need help?
Do you have a question about the Pedalboard and is the answer not in the manual?
Questions and answers
How do I copy and paste a rig
To copy and paste a rig on the HEADRUSH Pedalboard, you can use the "Save New Rig" function. Tap the three-dot button in the upper-right corner, then tap "Save New Rig." Enter a name using the keyboard that appears, and tap "Save." This creates a copy of the current rig under a new name.
This answer is automatically generated
my padel show a rainbow death after a power outage