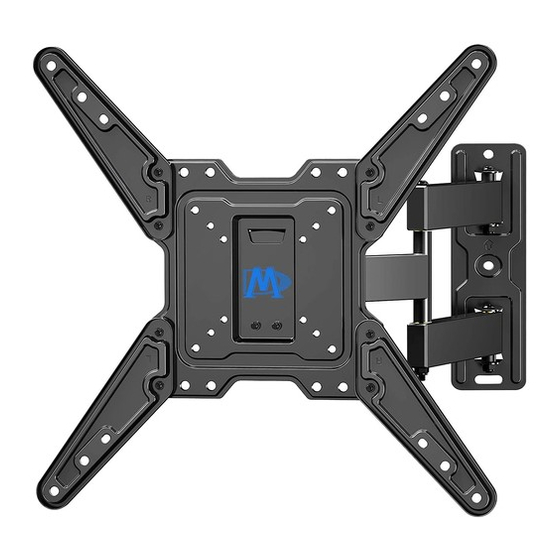
Mounting Dream MD2413-MX Installation Instruction
Hide thumbs
Also See for MD2413-MX:
- Installation instruction (20 pages) ,
- Installation instructions manual (20 pages) ,
- Troubleshooting manual (4 pages)
Table of Contents
Advertisement
Advertisement
Table of Contents

Summary of Contents for Mounting Dream MD2413-MX
- Page 6 Installation instruction Step 1 Remove the bolt s (H) with Allen key (F) to separate wall plate unit (A) into two pieces. Wall plate TV plate Step 4 Step 3 Step 2 10mm (2/5") Put 4 anchors (E) into drilled holes, and tap each anchor flush with the wall by using a hammer.
- Page 7 Select the TV hardware diameter and length Your TV type will help you determine which hardware configuration to use. Hand thread bolts (a, b, c, d, e, f, g, h) into the threaded inserts on the back of your TV to determine the correct bolt diameter(M4, M5, M6 or M8) and length.
- Page 8 Step 5 Attach TV plate to the back of TV Installation option 1: If the VESA dimension is 100 mm x 100 mm(3.94 in x 3.94 in), 200 mm x 100 mm(7.87 in x 3.94 in) or 200 mm x 200 mm(7.87 in x 7.87 in), take the following image as reference.
- Page 9 For the TV with irregular back: Use the combination of bolts (e, f, g, h), washers (k, l) and spacers ( i, j, m) to mount TV plate. Attention: Because of the TV with irregular back spacers(i,j) which makes the VESA holes recessed, you might need spacers to fill the gap.
- Page 10 Installation option 2: If the VESA dimension is 400 mm x 200 mm(15.75 in x 7.85 in), attach the extended arms (B, C) to the TV plate by fastening bolts (G) with Allen key (F) (see Configuration 1). 200mm 400mm Configuration 1 If the VESA dimension is 300 mm x 300 mm(11.81 in x 11.81 in) or 400 mm x 400 mm(15.75 in x 15.75 in) , attach the extended arms...
- Page 11 After the assembly of extended arms, attach the assembled plate to the back of TV (Following steps only take Configuration 2 as example): For the TV with flat back: Use the combination of bolts(a, b, c, d) and washers(k, l) to mount TV plate. M4 Diameter Bolt M5 Diameter Bolt M6 Diameter Bolt...
- Page 12 For the TV with irregular back: Use the combination of bolts (e, f, g, h), washers (k, l) and spacers ( i, j, m) to mount TV plate. Attention: Because of the TV with irregular back spacers(i,j) which makes the VESA holes recessed, you might need spacers to fill the Vertical view...
- Page 13 Step 6 Hang the pre-assembled TV unit on the wall plate. (Below images only show the TV plate with extended arms--Configuration 2). Attention: Cables are highly recommended to plug in before hanging the TV on the wall plate. Two people are recommended to hold and position the TV .
- Page 14 Step 8 Adjustment of tilting and swivel angles Adjust the tilting angle : You may need to loosen the knob to adjust TV to your desired angle (from +5 to -15 degrees). Please remember to fasten the bolt tightly after adjustment. Knob Grab the sides of the TV with two hands and slide the TV in the desired direction until it is in your desired angle.
- Page 15 Product dimensions: 435mm MAX:400mm MIN:100mm MAX:400mm MIN:100mm 435mm 388mm 74mm If you have any questions about the installation, please feel free to contact our after-sales mailbox: customerservice@mountingdream.com . For more information, please visit our website: www.mountingdream.com...


Need help?
Do you have a question about the MD2413-MX and is the answer not in the manual?
Questions and answers