Table of Contents
Advertisement
Advertisement
Table of Contents

Related Manuals for Whirlpool AMW 423


Summary of Contents for Whirlpool AMW 423
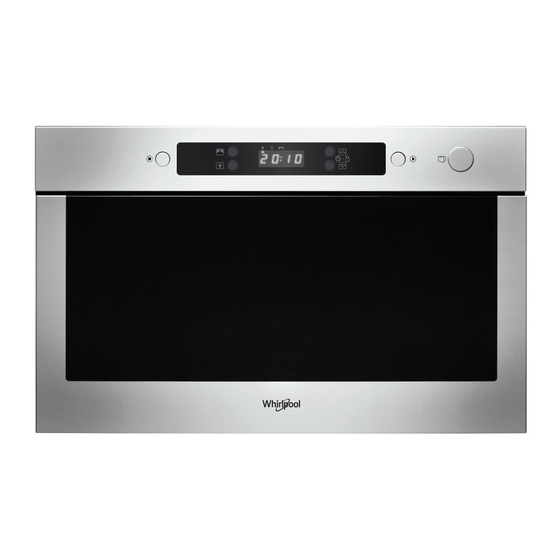
- Page 1 AMW 423 INSTALLATION, QUICK START...
-
Page 2: Important Safety Instructions
IMPORTANT SAFETY INSTRUCTIONS shall also be available on website: his insTrucTion http://docs.whirlpool.eu YOUR SAFETY AND THAT OF All safety warnings give specific OTHERS IS VERY IMPORTANT details of the potential risk present and indicate how to reduce risk of This manual and the appliance... - Page 3 - Regulations require that the - This appliance is intended to appliance is earthed. be used built-in. Do not use it freestanding or in a cabinet - The power cable must be long with door. enough for connecting the Appliance, once fitted in its - The appliance and its housing, to the main power accessible parts become hot...
- Page 4 - At the end of cooking, exercise - Overheating the liquid beyond caution when opening the boiling point can occur appliance door, letting the hot without evidence of bubbling. air or steam exit gradually This could result in a sudden before accessing the boil over of the hot liquid.
- Page 5 - If material inside/outside the - Do not remove any cover. appliance should ignite or The door seals and the door smoke is observed, keep seal areas must be regularly appliance door closed and inspected for damage. If these turn the appliance off. areas are damaged the Disconnect the power cord or appliance should not be...
-
Page 6: Scrapping Of Household Appliances
SAFEGUARDING THE ENVIRONMENT isposal of packaging maTerials crapping The proDucT The packaging material is 100% recyclable and This appliance is marked in conformity with European Directive 2012/19/EU, Waste is marked with the recycle symbol ( Electrical and Electronic Equipment (WEEE). The various parts of the packing must therefore By ensuring this product is disposed of be disposed of responsibly and in full... -
Page 7: Installation
INSTALLATION , make sure that it has , only remove the appliance fter unpAcking the AppliAnce o prevent Any dAmAge not been damaged during transport and that the from its polystyrene foam base at the time of appliance door closes properly. installation. -
Page 8: Recommended Use And Tips
RECOMMENDED USE AND TIPS HOW TO READ THE COOKING TABLE to use for any food and type of accessory used. Always cook he Table inDicaTes The besT funcTions given food. Cooking times, where indicated, food for the minimum cooking time given and start from the moment when food is placed in check that is it cooked through. -
Page 9: Start Protection / Key Lock
ACCESSORIES GENERAL TURNTABLE SUPPORT a number of accessories available on under the here are se The TurnTable supporT the market. Before you buy, ensure they are Glass turntable. Never put any oth- suitable for microwave use. er utensils on the turntable sup- port. -
Page 10: Pause Or Stop Cooking
PAUSE OR STOP COOKING ’ o pause cooking f you Don T wanT To conTinue cooking , close the door and he cooking can be pauseD emove The fooD check, turn or stir the food press the STOP button. by opening the door. The setting will be maintained for 10 minutes. -
Page 11: Kitchen Timer
KITCHEN TIMER when you need se This funcTion a kitchen timer to measure exact time for various purposes such as cooking eggs, pasta or letting the dough rise before baking etc. to set the time to measure. ress The buTTons repeatedly to set the power to 0 W. - Page 12 COOK & REHEAT WITH MICROWAVES for normal cook- se This funcTion ing and reheating, such as vege- tables, fish, potatoes and meat. to set the time. ress The buTTons repeatedly to set the power. ress The power buTTon ress The TarT buTTon nce The cooking process has been sTarTeD The time can easily be increased in 30-second steps by pressing...
-
Page 13: Jet Start
JET START for quick re- his funcTion is useD heating of food with a high water content such as clear soups, cof- fee or tea. ress The TarT buTTon with maximum microwave power his funcTion auTomaTically sTarTs level and the cooking time set to 30 seconds. Each additional press increases the time with 30 seconds. -
Page 14: Jet Defrost
JET DEFROST only if the net se This funcTion weight is between 100 g- 2 Kg. on the glass lways place The fooD turntable. ress The efrosT buTTon + / - to set the weight of the food. ress The buTTons ress The TarT buTTon... -
Page 15: Maintenance And Cleaning
MAINTENANCE & CLEANING , water and a soft cloth to leaning is The only mainTenance se a milD DeTergenT clean the interior surfaces, front and rear of the normally required. door and the door opening. in a ailure To mainTain The oven clean condition could lead to de- or food particles to o noT allow grease... -
Page 16: Troubleshooting Guide
TROUBLE SHOOTING GUIDE , do not make a service it should f The oven Does noT work f The mains corD neeDs replacing call until you have made the following checks: be replaced by the original ɳ The Turntable and turntable support is in mains cord, which is availa- place. -
Page 17: Data For Test Heating Performance
DATA FOR TEST HEATING PERFORMANCE iec 60705. n accorDance wiTh has developed a standard for comparative testing of nTernaTional lecTroTechnical ommission heating performance of different microwave ovens. We recommend the following for this oven: mounT pprox Time ower level onTainer 12.3.1 750 w 3.220... - Page 20 4 0 0 0 1 0 8 7 8 1 6 6...