Philips AJ6110 User Manual
Kitchen cd clock radio
Hide thumbs
Also See for AJ6110:
- Quick start manual (4 pages) ,
- Quick start manual (4 pages) ,
- Quick start manual (2 pages)
Table of Contents
Advertisement
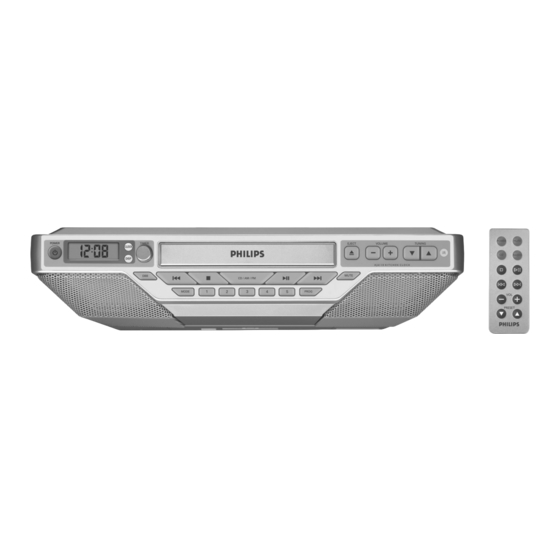
Kitchen CD Clock Radio
Register your product and get support at
www.philips.com/welcome
Thank you for choosing Philips.
Need help fast?
Read your Quick Start Guide and/or
User Manual first for quick tips
that make using your Philips product
more enjoyable.
If you have read your instructions
and still need assistance,
you may access our online help at
www.philips.com/welcome
or call
1-888-PHILIPS (744-5477)
while with your product.
(and Model / Serial number)
Philips vous remercie de
votre confiance.
Besoin d'une aide
rapide?
Le Guide rapide de début et Manuel de
l'utilisateur regorgent d'astuces destinées à
simplifier l'utilisation de votre produit Philips.
Toutefois, si vous ne parvenez pas à résoudre
votre probléme, vous pouvez accéder à
notre aide en ligne à l'adresse
www.philips.com/welcome
ou formez le
1-800-661-6162 (Francophone)
1-888-PHILIPS (744-5477) (English speaking)
Veillez à avoir votre produit à
portée de main.
(et model / serial nombre)
AJ6110
AJ6111
Gracias por escoger Philips
Necesita ayuda
inmediata?
Lea primero la Guía rápida del comienzo
o el Manual del usuario, en donde encontrará
consejos que le ayudarán a disfrutar
plenamente de su producto Philips.
Si después de leerlo aún necesita ayuda,
consulte nuestro servicio de
asistencia en línea en
www.philips.com/welcome
o llame al teléfono
1-888-PHILIPS (744-5477)
y tenga a mano el producto.
(y número de model / serial)
Advertisement
Table of Contents

Related Manuals for Philips AJ6110


Summary of Contents for Philips AJ6110
- Page 1 Thank you for choosing Philips. Need help fast? Read your Quick Start Guide and/or User Manual first for quick tips that make using your Philips product more enjoyable. If you have read your instructions and still need assistance, you may access our online help at www.philips.com/welcome...
- Page 2 Registering your model with PHILIPS makes you eligible for all of the valuable benefits listed below, so don't miss out. Complete and return your Product Registration Card at once, or register online at www.philips.com/welcome to ensure:...
- Page 3 & ¡ ™ £ ≤ ∞ POWER MUTE RADIO PRESET ≥ §...
-
Page 4: Important Safety Instructions
IMPORTANT SAFETY INSTRUCTIONS Clean only with dry cloth. Where the MAINS plug or an appliance coupler is used as the disconnet device, the disconnet device shall remain readily operable. materials Class II equipment symbol This symbol indicates that the unit has a double insulation system... - Page 5 Index English ------------------------------------------------ 6 Français -------------------------------------------- 19 Español --------------------------------------------- 34...
-
Page 6: Table Of Contents
General Information Supplied accessories ... 7 Environmental information ... 7 Maintenance ... 7 Safety information ... 7 Installation Mounting the set under a cabinet ... 8 Preparation Mounting the set Power supply ... 8 Backup battery (not included) AC power Using the remote control ... -
Page 7: General Information
General Information Congratulations on your purchase and welcome to Philips! To fully benifit from the support that Philips offers, register your product at www.philips.com/welcome The set complies with the FCC-Rules, Part 15 and with RSS-210 of Industry Canada. Operation is subject to the following two conditions: 1. -
Page 8: Installation
Mounting the set under a cabinet Preparation ● Ask a friend to help out. An extra hand to hold the set makes mounting easier and quicker. ● You may install the unit in the kitchen with or without spacers. Find a mounting location near a wall outlet. Template b Use the mounting template to test the design and thickness of your kitchen cabinet bottom. -
Page 9: Backup Battery (Not Included)
Installation Using the remote control IMPORTANT! – Remove the protective plastic tab before using the remote control. – Always point the remote control directly towards IR area . To replace the battery Press and hold 1 as indicated Simultaneously, pull the battery tray at 4 Remove the old batter y and put a new CR2025 battery in place Put back the battery tray... -
Page 10: Controls On The Set
Controls on the set POWER – switches the set on or to standby mode Display – shows status of the set CLOCK – set clock time TIMER – alarm timer with setting options from 1 to 180 minutes 5 ∞ §... -
Page 11: Basic Functions
Basic functions Switching on/ to standby and selecting functions Press POWER to switch on ➜ The set switches to the last source selected ➜ The display lights up To select your function, press CD/AM/FM once or more (or CD or RADIO on the remote control) Press POWER to switch the set to standby ➜... -
Page 12: Discs For Playback
Discs for playback With this system, you can play – all pre-recorded audio CDs (CDDA) – all finalized audio CD-Rs and CD-RWs IMPORTANT! – This system is designed for regular discs. Therefore, do not use any accessories such as disc stabilizer rings or disc treatment sheets, etc. -
Page 13: Programming Tracks
Programming tracks You may store up to 20 tracks in the desired sequence. If you like, store any track more than once. In the stop position, press PROG to start programming ➜ Display shows 01 indicating the start of the program. -
Page 14: Radio
Tuning to radio stations Press POWER to on, then press then press CD/AM/FM once or more to select radio source (AM or FM) On the remote control, press POWER to on, then press RADIO once or more to select your waveband: FM or AM ➜... -
Page 15: Timer
Timer TIMER Set the timer period to activate a beeper alarm. Setting the timer On the set, press TIMER to activate ➜ 015 flashes. TIMER appears Turn the TIMER control counter-/clockwise to adjust your timer period (from 1 to 180 minutes) ➜... -
Page 16: Specifications
Power consumption Max..30W Standby ... 1.5W Dimension ... 300mmx67mmx230mm (W/H/D) ... 11.8” x 2.64” x 9.05” (W/H/D) Weight ..2kgs Philips reserves the right to make design and specification changes for product improvement without prior notice. 4.4lbs Specifications... -
Page 17: Troubleshooting
Do not open the system as there is a risk of electric shock. If a fault occurs, first check the points listed below before taking the system for repair. If you are unable to remedy a problem by following these hints, consult your dealer or PHILIPS for help. Problem nocdor Errindication... - Page 18 Philips is not liable for any damage to or loss of any programs, data, or other information stored on any media contained within the product, or any non-Philips product or part not covered by this warranty.
- Page 19 PHILIPS CONSUMER ELECTRONICS NORTH AMERICA P.O. Box 671539, Marietta, GA. 30006-0026 Meet Philips at the Internet http://www.philips.com http://www.philips.com/support AJ6110 AJ6111 CLASS 1 LASER PRODUCT 2006 C Koninklijie Philips Electronics N.V. All rights reserved Printed in China PDCC-AL-0609...