
Subscribe to Our Youtube Channel
Related Manuals for Philips PICOPIX PPX4835


Summary of Contents for Philips PICOPIX PPX4835
-
Page 1: User Manual
User Manual Pocket Projector PPX 4835 Register your product and get support at www.philips.com/welcome... -
Page 2: Table Of Contents
Warning light ............. 11 6 Maintenance .......... 12 Battery maintenance ..........12 Cleaning ..............12 Device overheated ..........12 Firmware update with USB stick ......13 Troubleshooting ............14 7 Appendix..........16 Technical data ............16 Accessories ............... 16 Philips · PPX 4835... -
Page 3: Dear Customer
Dear customer What's in the box 1 – PicoPix Projector Thank you for purchasing our Pico Projector. 2 – Power supply with plug We hope you enjoy your device and its many functions! 3 – HDMI cable 4 – Quick Start Guide About this user manual 5 –... -
Page 4: General Safety Information
If the projector gets too hot or emits smoke, shut it down immediately and unplug the power cable. Have your device examined by trained professionals at a technical service location. To prevent the spread of fire, open flames should be kept away from the device. Philips PPX 4835... -
Page 5: Repairs
Switch the device off using the power switch before removing the power supply from the socket. DANGER! Risk of explosion with incorrect type of batteries! Do not try to replace the battery your- self. There is a risk of explosion if the incor- rect battery type is used. -
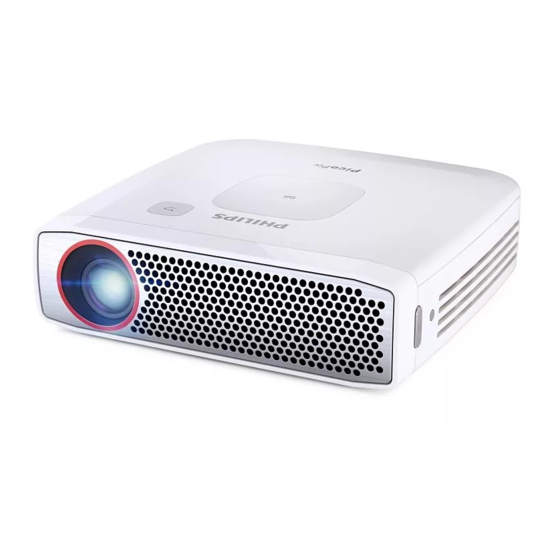
Page 6: Overview
2 Overview Top of the device Side view 1 – Focus wheel to adjust image sharpness CAUTION! The distance to the projection surface must be a minimum of 0.5 meters and a maximum of 5 meters. If the Pocket Pro- jector is located outside of this range, it will not be possible to focus the image. -
Page 7: Bottom Of The Device
Bottom of the device 1 – Tripod socket Overview of the menu func- tions 1 After switching on your projector, press the à button to enter settings menu. 2 Select the desired option using the navigation keys ¡/¢. 3 Confirm with à button to enter the corre- sponding submenu. -
Page 8: Initial Operation
3 Initial operation Setting up the device Initial installation Place the projector on a flat surface in front of 1 Push the POWER button for 3 seconds till the projection surface. In case you need to tilt the power indicator turns to green to turn the device slightly upwards (e.g.: when using a the device on. -
Page 9: Image Settings
Wall colour correction firmware to the latest version which can be Colour correction of the projected image to downloaded from the Web at www.philips.com adjust to coloured projection surfaces. Information: Display the information on the device (firmware version / device name / Smart settings model). -
Page 10: Connecting Other Devices
4 Connecting other devices Only use the supplied cable or cables that are 3 The mobile phone or other devices will be available as accessories to connect the charged. projector. Notice! Only when the projector is switched Connecting to devices with on (or in power bank mode), your mobile phone or other devices can HDMI output (HDMI func-... -
Page 11: Functions
5 Functions SOS light Your projector can also be used as: pocket flashlight, SOS light or warning light. Your Pocket Projector is CAUTION! equipped with an SOS light These functions exhaust a lot of energy, function, using the official Morse make sure the battery is full charged be- code for SOS: 3x short flashes, 3x long flashes, 3x short flashes. -
Page 12: Maintenance
6 Maintenance Battery maintenance Cleaning the lens Use a brush or lens cleaning paper for cleaning The capacity of the battery diminishes with the lens of the projector. time. To prolong the life of the battery, please observe the following instructions: DANGER! •... -
Page 13: Firmware Update With Usb Stick
Firmware update with USB stick Notice! Connect the power adapter when applying a firmware update. 1 Format a USB stick as FAT16 or FAT32 file system. 2 Copy the file of latest firmware to the root directory of the USB stick. 3 Insert the USB stick to the USB socket on the device. -
Page 14: Troubleshooting
Troubleshooting 1 Switch the device off using the on/off switch on the side. 2 Wait at least ten seconds. Power cycling 3 Switch the device on using the on/off switch If a problem occurs that cannot be corrected on the side. with the instructions in this user manual (see 4 If the problem cannot be solved, please con- also the help below), follow the steps given... - Page 15 Problems Solutions Only the initial screen appears and not the im- • Check if the cables are connected to the right age from the external device. sockets. • Please check that the external device is switched on. Only the initial screen appears and not the im- •...
-
Page 16: Appendix
7 Appendix Technical data Accessories Dimensions (L×H×W) ....115 x 115 x 32 mm Following accessories are available for your Weight ..............342 g device: Recommended Ambient ......5–35 °C Relative Humidity..20–80 % (non-condensing) Picopix MHL cable ..PPA1340 / 253641800 Video connection ..... - Page 17 The full text of the EU declaration of conformity TV technician for help. is available at the following internet address: www.philips.com Canada Regulatory Compliance: This device complies with Industry Canada CAN ICES-3 (B)/ Preservation of the environment as part of a NMB-3(B).
- Page 18 X-GEM SAS shall not be liable for any damages or problems arising from the use of any options or any consumable materials other than those designated as original X-GEM SAS / PHILIPS products or X-GEM SAS / PHILIPS approved products.
- Page 19 PHILIPS and the PHILIPS’ Shield Emblem are registered trademarks of Koninklijke Philips N.V. used under license. This product was brought to the market by X-GEM SAS, further referred to in this document as X-GEM SAS, and is the manufacturer of the product.
Need help?
Do you have a question about the PICOPIX PPX4835 and is the answer not in the manual?
Questions and answers