
Related Manuals for Parasound Zamp v.3


Summary of Contents for Parasound Zamp v.3
- Page 1 Z o n e A m p l i f i e r Protect Hi-Temp Zamp v.3 Zone Amplifier Power O w n e r’s G u i d e...
-
Page 2: Important Safety Instructions
20. Wall or Ceiling Mounting — Mount the product to a wall or ceiling only as recommended. 21. Heat — The product should be situated away from heat sources such as radiators, heat registers, stoves, and other products (including amplifiers) that produce heat. www.parasound.com... -
Page 3: Table Of Contents
TABLE OF CONTENTS Introduction ..........115v –... -
Page 4: Introduction
Congratulations and thank you for your purchase of this precision Parasound audio component. The Parasound Zamp v.3 Zone Amplifier is the third generation of one of the world’s most popular and proven audio amplifiers. It has been designed for a wide variety of applications, including multi-room, multi-zone installations, desktop audio, PC-Mac audio, bedroom or den systems. -
Page 5: Ventilation Requirements
For rack mounting, you can fasten it to another Parasound Z series model by using the Parasound SBS (Side-by-Side) mounting kit. You can also mount a single Zamp v.3 in the rack with the acces- sory Zblank panel. The SBS includes four rack mount bolts plus four pairs of plastic “shoulder washers. -
Page 6: Rear Panel Connections And Controls
The marking lets you know which wire you con- nected to the positive speaker terminal at its other end. Make sure the + wire you attach to each Zamp v.3 + speaker terminal is attached to the + terminal of the speaker for that channel. - Page 7 12V Position When the Auto On switch is set to the right in its 12V position, the Zamp v.3 is turned on and off with an external +9 V to + 12 V voltage from your controller. When the external voltage ceases the Zamp v.3 will turn off immediately.
- Page 8 REAR PANEL CONNECTIONS AND CONTROLS continued 12V In Connection The Zamp v.3 12V input uses a 2.5mm sub-mini jack. To trigger the Zamp v.3, plug one end of the provided cord into this jack and the other end into the source component’s trigger output.
-
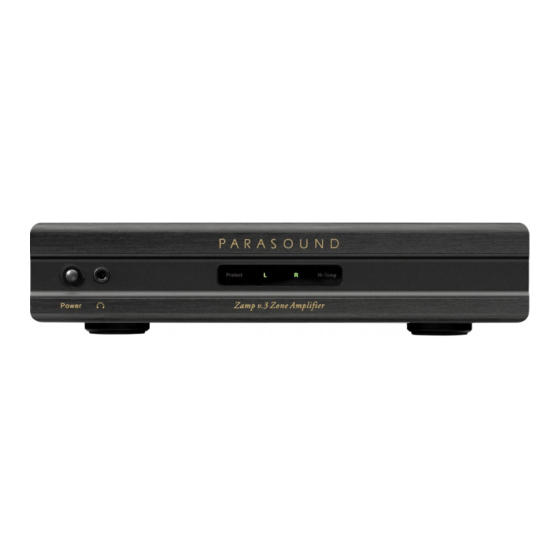
Page 9: Front Panel Controls And Indicators
FRONT PANEL CONTROLS AND INDICATORS Power Button Press the Power button once to turn the Zamp v.3 on, press it again to turn it off. Note: The Power button is inoperative when the Auto On switch is set to Audio or 12V. -
Page 10: Typical Problems And Remedies
Check the position of the Mono-ST switch. It must be in ST to play stereo. Make sure the load impedance is not below 4 ohms. Make sure the gain of the preamp is not set too low. Make sure the gain controls of the Zamp v.3 are not set too low. -
Page 11: If You Require Assistance
IF YOU REQUIRE ASSISTANCE Call your Parasound dealer first. If the dealer can’t help you with your problem we encourage you to call Parasound’s Technical Service Department, toll-free at 1-866-770-8324, Monday - Friday, 7am - 5pm Pacific time. We can suggest other diagnostic tests you can easily perform. If we determine that your Zamp v.3 should be returned to Parasound or an Authorized Parasound... -
Page 12: Specifications
116 dB, input shorted, IHF A-weighted Input Impedance 33 k Input Sensitivity 600 mV; 1.5 V for full output Parasound Products, Inc. 950 Battery Street, San Francisco, CA 94111 Customer Service 415-397-7100 / Technical Dept. 415-675-7272 / Fax 415-397-0144 Rev 0.91 Dynamic Headroom 1.5 dB Inter-Channel Crosstalk 80 dB at 1 kHz;...
Need help?
Do you have a question about the Zamp v.3 and is the answer not in the manual?
Questions and answers