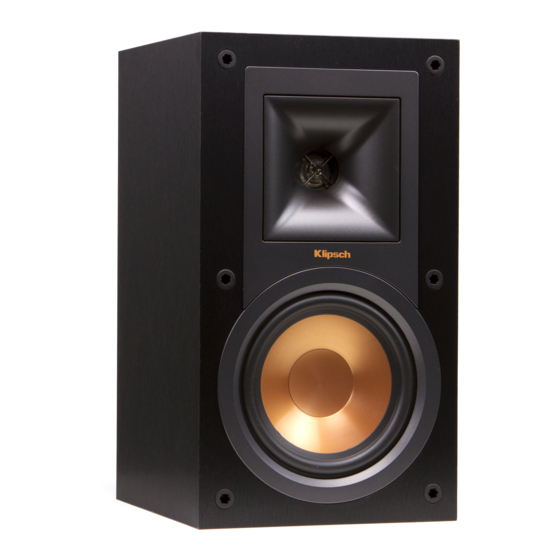
Klipsch R-15M User Manual
Hide thumbs
Also See for R-15M:
- User manual (26 pages) ,
- User manual (49 pages) ,
- User manual (11 pages)
Summary of Contents for Klipsch R-15M
- Page 1 USER MANUAL...
- Page 3 2) the embodiment of the legendary Klipsch sound LOUD AND PROUD SINCE 1946 In 1946, Paul W. Klipsch revolutionized the audio industry by creating our proprietary horn technology and the acoustic principles that are the driving force behind our highly acclaimed signature sound.
- Page 4 REFERENCE SPEAKERS R-15M R-14M R-25C R-28F R-26F R-24F R-14S...
-
Page 5: Before You Start
BEFORE YOU START Some Klipsch ® speakers have feet and other accessories that may need to be installed prior to use. Please refer to Diagrams 1, 2 and 3 for installation. DIAGRAM 1 MONITOR SPEAKERS Rubber Feet Rubber Feet DIAGRAM 2... -
Page 6: Room Placement
Amplifier Requirements — Klipsch speakers are highly efficient and The final surround speaker placement depends on your room’s will operate easily on a wide variety of amplifiers. All Klipsch speakers characteristics. They are designed to recreate the sense of space and are 8-ohm compatible and can be driven to very high levels with low ambience that many of today’s surround sound technologies provide. - Page 7 FIGURE 1 FIGURE 2 SPEAKER PLACEMENT IN LISTENING AREA CENTER CHANNEL 6’ - 15’ Above X=Y=Z Below Optional Side Surround Placement (Option A is preferred) FIGURE 3 FIGURE 4 STANDARD CONNECTIONS WALL MOUNTING SURROUND SPEAKERS Front Right Front Left CAUTION! Do not use keyhole #10 or #12 for ceiling mounting!
-
Page 8: Care And Cleaning
CARE AND CLEANING PRODUCT REGISTRATION The only thing you should ever need to do to your speakers is dust Register your product online at www.klipsch.com/register them occasionally. Never apply any abrasive or solvent-based cleaner • Keep up-to-date on new products and promotions. - Page 9 KLIPSCH.COM 1-800-KLIPSCH ©2014 KLIPSCH GROUP, INC. ALL RIGHTS RESERVED. KLIPSCH AND KEEPERS OF THE SOUND ARE REGISTERED TRADEMARKS OF KLIPSCH GROUP, INC. IN THE USA AND OTHER COUNTRIES. ESERVED. KLIPSCH AND KEEPERS OF THE SOUND ARE REGISTERED TRADEMARKS OF KLIPSCH GROUP, INC. IN THE USA AND OTHER COUN...
- Page 11 3502 WOODVIEW TRACE INDIANAPOLIS, IN 46268 | KLIPSCH.COM All specifications are subject to change without notice. ©2014 Klipsch Group, Inc. Klipsch, Keepers of the Sound and Tractrix are registered trademarks of Klipsch Group, Inc. a wholly-owned subsidiary of Voxx International Corporation...


Need help?
Do you have a question about the R-15M and is the answer not in the manual?
Questions and answers