Advertisement
Statement: The company reserves the right to improve and upgrade products, product specifica-
tions and design are subject to change without notice.
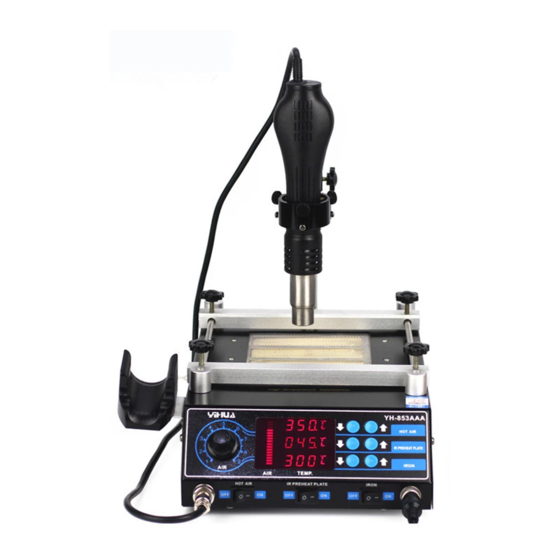
Preheating station/Hot air reworks
&soldering station combination
INSTRUCTION MANUAL
Thank you for choosing this type of product. The product is designed for soldering and unsoldering
without lead. Please read the User Guide thoroughly before use, and keep it in a safe place for future
reference.
853 Serise
English
Advertisement
Table of Contents

Summary of Contents for YIHUA 853A
- Page 1 Preheating station/Hot air reworks &soldering station combination INSTRUCTION MANUAL 853 Serise English Statement: The company reserves the right to improve and upgrade products, product specifica- Thank you for choosing this type of product. The product is designed for soldering and unsoldering tions and design are subject to change without notice.
-
Page 2: General Usage
WARNING! --Be aware that heat may be conducted to combustible materials that are out of sight; Using this machine, the following basic measures to abide by, in order to --Do not leave the appliance unattended when it is switched on. avoid electric shock or cause harm to human body. -
Page 3: Specification
≥100cm Handle cable length Meet different market needs to design the temperature display mod, you can choose under customary interest. III. Specification IV. Performance Comparison Table Model 853A 853AA 853AAA Model AC 220V ±5% AC 220V ±5% AC 220V ±5%... -
Page 4: Operation
Air gun with preheating station, to facilitate the large flat IC,dual-panel large compon- Preheating station part ents de-soldering. 853A: A. Preheating station laid out plugged power cord. Remove the components: B. Move bracket card board, preheat element is placed above the plate, tight- The successful rework first removal location of the fault on mother board, and en the four screws on the bracket, fixed need to preheat components. - Page 5 VII. Display Notes VI. Description For Function Setting The temperature correction function setting(Figure 2): When the LED digital displays “---”, it means the outlet temperature is below In the case of shutdown, to press the air gun and preheat the cool button for 3 100°C;...
-
Page 6: The Do's And Don'ts
For the replacemnet of heating core’s element can be performed by unscrewing IX. The do’s and don’ts the plastic cap NO.4,pulls out gently the heating core’s element NO.6 along with DO NOT install/De-install Nozzles with excessive force. DO NOT use pliers to the circuit board NO.7, please carefully remember the connection of spring pull the nozzle edge out, DO NOT tight the nozzle’s bolt exessively. -
Page 7: Product Certification
Handle cover 2 Product certification 1. Cover Handle cover 1 Model NO. Product ID Component handle Upon examination products meet technical Examine standards PASS 5. Preheating place 3. Preheating place bracket Sales Date Date of manufacture Skeleton-type heater 4. Fasten Mica paper Warranty Card 2.


Need help?
Do you have a question about the 853A and is the answer not in the manual?
Questions and answers