Table of Contents
Advertisement
Quick Links
Do not service the Meter unless you are qualified to do so. The service
information provided in this document is for the use of qualified personnel
only.
To avoid electrical shock or personal injury: Always remove the test leads
and input signals from the Meter before opening the case.
Use caution when working with voltages above 60V dc or 30V ac.
To avoid false readings, which could lead to possible electric shock or
personal injury, replace the battery as soon as the battery indicator appears.
The Meter is protected throughout by double insulation or reinforced
insulation. When servicing the Meter, use only specified replacement parts.
This Meter contains parts that can be damaged by static discharge. Follow
the standard practices for handling static sensitive devices.
Introduction
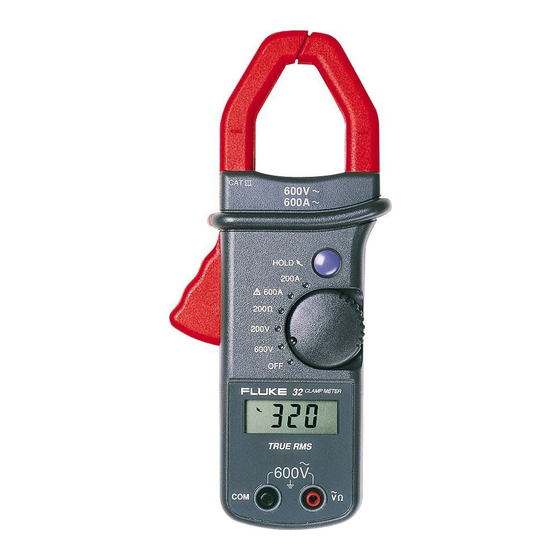
This document covers the following topics relating to the calibration of the Fluke 30 Clamp Meter,
hereafter referred to as the meter:
•
Required Test Equipment
•
Assembly/Reassembly
•
Calibration Adjustments
•
Performance Check
Service
To contact Fluke, call one of the following telephone numbers:
USA and Canada: 1-888-99-FLUKE (1-888-993-5853)
Europe: +31 402-678-200
Japan: +81-3-3434-0181
Singapore: +65-
Anywhere in the world: +1-425-356-5500
Or, visit Fluke's Web site at www.fluke.com.
To order replacement parts, call 1-800-526-4731.
Outside U.S.A. contact your nearest service center.
PN 929042 January 1994 Rev.1, 2/98
-276-6196
*
©1994, 1998 Fluke Corporation. All rights reserved. Printed in U.S.A.
WWarning
WWarning
Y Caution
Caution
30
Clamp Meter
Service Information
®
1
Advertisement
Table of Contents

Summary of Contents for Fluke 30
- Page 1 This Meter contains parts that can be damaged by static discharge. Follow the standard practices for handling static sensitive devices. Introduction This document covers the following topics relating to the calibration of the Fluke 30 Clamp Meter, hereafter referred to as the meter: •...
- Page 2 4. Turn on the meter and use a DMM to verify that the battery level is between 7 and 9 volts. If the battery does not meet this criteria, replace the battery before proceeding with the calibration procedure. Note The test equipment should be allowed to warmup and stabilize for at least 30 minutes before starting the calibration checks. 5700A/5720A...
- Page 3 Table 2. Ohms Calibration The ohms ranges are not adjustable. Continuity Beeper Calibration Connect a 30.1e resistor across the meter’s input terminals, and turn VR4 slowly until the beeper sounds. rq3f.eps Figure 2. Calibration Adjustment Locations Low Battery Indication Calibration 1.
- Page 4 Clamp Meter 2. Set the power supply to 7.0V, and verify that the low battery indicator goes off. Reassembly 1. Press and release the hold switch (so the switch is down), and fit the button over the switch housing. 2. Set the mark on the function switch axis to the 200V AC position (horizontal position), see Figure 4. 3.


Need help?
Do you have a question about the 30 and is the answer not in the manual?
Questions and answers