HP 560 Quick Start Manual
Hide thumbs
Also See for 560:
- User manual (172 pages) ,
- Quickspecs (9 pages) ,
- Quick start manual (8 pages)
Advertisement
Table of Contents
- 1 Hardware Overview
- 2 Package Contents
- 3 Radios and Antennas
- 4 Installation
- 5 Mounting on a Suspended Ceiling
- 6 Mounting Directly on a Wall
- 7 Controller Part Numbers
- 8 Configure Your Computer
- 9 Connect the Cables and Power on the AP
- 10 Configure Basic Wireless Protection
- 11 Performing Additional Configuration
- 12 Regulatory Information
- 13 Industry Canada Notice
- Download this manual
See also:
User Manual
The HP 560 is a Wi-Fi Alliance authorized Wi-Fi CERTIFIED
802.11ac product. The Wi-Fi CERTIFIED Logo is a certification
mark of the Wi-Fi Alliance.
This Quickstart shows you how to install and get started using the HP 560 Dual Radio 802.11ac Access Point [J9846A (WW), J9845A (AM), J9847A (JP),
J9848A (IL)], hereafter referred to as the AP. The latest HP documentation is available at www.hp.com/support/manuals.
Important: To work with this AP, controllers require a minimum software version. For details, see the latest release notes for Unified or MSM software.
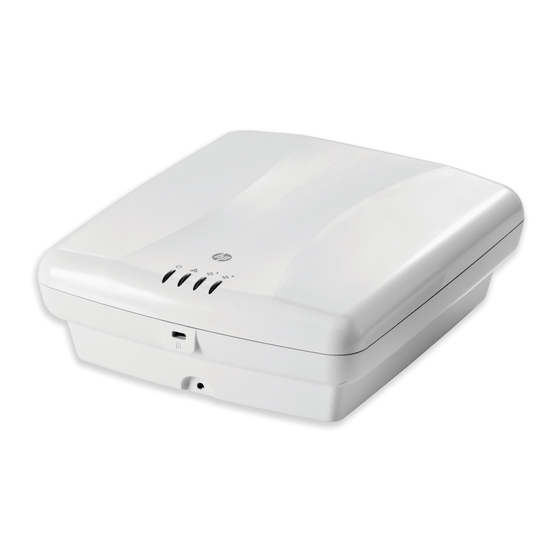
Hardware overview
Front view
1: Status LEDs (left to right) Power/System OK, Ethernet, Radio 1, Radio 2
2: Cable lock hole
3: Retention screw hole
HP 560 802.11ac Access Point Quickstart
➀
➁
➂
➂
➁
➀
➀
Back view
1: AP Bracket tab slot
2: Ethernet port
3: Console port
➀
➀
➃
➄
4: Cable channel
5: Reset button
Advertisement
Table of Contents

Related Manuals for HP 560


Summary of Contents for HP 560
-
Page 1: Hardware Overview
HP 560 802.11ac Access Point Quickstart This Quickstart shows you how to install and get started using the HP 560 Dual Radio 802.11ac Access Point [J9846A (WW), J9845A (AM), J9847A (JP), J9848A (IL)], hereafter referred to as the AP. The latest HP documentation is available at www.hp.com/support/manuals. -
Page 2: Package Contents
Console port: Standard Console (serial) port with RJ-45 connector. See country. Entering the incorrect country can result in illegal operation and can Console Ports in the HP MSM APs Configuration Guide available online. cause harmful interference to other systems. There is no need to use the Console port for initial configuration. -
Page 3: Installation
HP 560 Wireless 802.11ac Access Point Quickstart Installation Installation Insert the anchors and tap them flush with the wall surface. Pull the Ethernet cable through the hole in the wall and the AP Bracket. The AP can be mounted on a wall, a wall-mounted electrical box, or a Use the mounting screws to attach the AP Bracket to the wall. - Page 4 Secure the AP Alternatively, you can run a cable outside of the ceiling tile and through HP strongly recommends that as soon as the AP is installed, you install the the AP cable channel. retention screw that anchors the AP Bracket to the AP (callout 2 below).
-
Page 5: Controller Part Numbers
HP MSM765zl: J9370A Guide. • HP MSM775zl: J9840A For more information about using the AP with HP 10500/7500, HP 830, HP • HP 10500/7500: JG639A, JG645A (TAA) 870, or WX5002/WX5004 Controllers, see the HP 830 Series PoE+ Unified Wired-WLAN Switch and HP 10500/7500 20G Unified Wired-WLAN Module •... -
Page 6: Configure Your Computer
HP recommends that you follow the procedure in Configure basic wireless D. Log in protection on page 7. See also Wireless protection in the HP MSM APs Wait until the Power LED is on solid. Configuration Guide. -
Page 7: Configure Basic Wireless Protection
Select VSC > HP, and then enable Wireless protection and set it to WPA. By default, the AP creates a wireless network named HP in the 5 GHz band for 802.11n and 802.11a users. Connect your computer to this wireless Set Mode, to WPA or WPA2. -
Page 8: Industry Canada Notice
HP 560 Wireless 802.11ac Access Point Quickstart Regulatory information Industry Canada Notice CAN ICES-3 (B)/NMB-3(B) Contains TX IC: 466F-MRLBB1303 This device complies with Industry Canada license-exempt RSS standard(s). Operation is subject to the following two conditions: (1) this device may not cause interference, and (2) this device must accept any interference, including interference that may cause undesired operation of the device.
Need help?
Do you have a question about the 560 and is the answer not in the manual?
Questions and answers