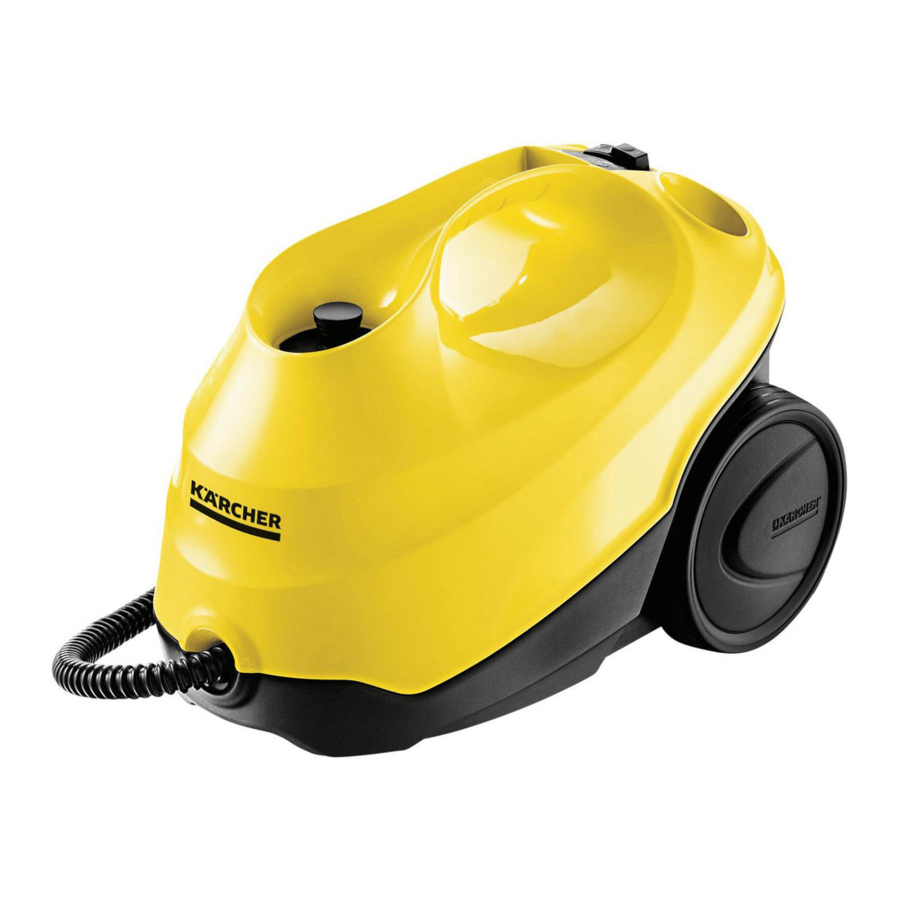
Kärcher SC 3 Operating Instructions Manual
Hide thumbs
Also See for SC 3:
- Operating instructions manual (18 pages) ,
- Original operating instructions (16 pages) ,
- Quick reference (186 pages)

Related Manuals for Kärcher SC 3


Summary of Contents for Kärcher SC 3
-
Page 1: Operating Instructions
SC 3 SC 3 Premium Operating Instructions Before first use of the unit read these operating instructions and act in accordance with them. 59653970 (02/16) - Page 2 Quick Reference...
-
Page 5: Table Of Contents
Contents Scope of delivery The scope of delivery of your appliance is il- General information ..lustrated on the packaging. Check the con- Safety Instructions for Steam Clean- tents of the appliance for completeness ers . -
Page 6: Safety Instructions For Steam Cleaners
Always disconnect the mains plug and Safety Instructions for Steam allow the steam cleaner to cool down Cleaners before performing any maintenance work. – Apart from the notes contained herein Repair works may only be performed by the general safety provisions and rules the authorized customer service. - Page 7 Only switch on the appliance when Safe handling there is water in the boiler. Otherwise DANGER the appliance might overheat (see The user must use the appliance as in- Troubleshooting). tended. The person must consider the Hot water may drip out of the accessory local conditions and must pay attention parts while you are detaching them! Al- to other persons in the vicinity when...
-
Page 8: Safety Devices
Description of the Appliance Symbols on the machine CAUTION Illustrations on fold-out Symbols depending on unit type. page 4! Surfaces are liable to get hot dur- A1 Descaler cartridge ing use! A2 Filling hole for water A3 Carrying handle Danger of scalding by steam! A4 Holder for accessories A5 Display... -
Page 9: Quick Reference
Quick Reference Effect descaler and adjustment of water hardness Illustrations on Page 2 Illustration Effect descaler cartridge Insert the descaler cartridge into the opening and push it until it is tightly fit- ATTENTION ted. Only work with a cartridge inserted. Illustration ... -
Page 10: Operation
ATTENTION Setting of the water hardness If the device is used in another area with a ATTENTION different water hardness (e.g. after reloca- In order to guarantee the optimum function- tion), the water hardness must be reset. ality of the descaler cartridge, the device Operation must be set to the local water hardness pri- or to the first operation. - Page 11 Notes Filling the Water Reservoir Fill in the water via the lid of the descal- The water reservoir may be refilled at any er cartridge. This way a steady steam time. output is always guaranteed. ATTENTION As soon as the water tank is filled with Do not use condensation water from the water again, the red indicator light goes drier!
-
Page 12: How To Use The Accessories
Turning Off the Appliance How to Use the Accessories Illustration Important application instructions Press the OFF switch to turn off the ap- pliance. Cleaning floor surfaces Disconnect the mains plug from the It is recommended to sweep or vacuum the socket. -
Page 13: Floor Nozzle
Steam gun Round brush (big) You can use the steam gun without any ad- The round brush can be installed onto the ditional accessories, e.g.: detail nozzle as an accessory. This round – to remove light wrinkles from hanging brush allows to clean large rounded surfac- clothes by steaming them at a distance es (e.g. -
Page 14: Care And Maintenance
ly on and the device switches itself off in Care and maintenance order to prevent damage to the device. Insert new descaler cartridge. Emptying the water tank Press the OFF switch to turn off the ap- ATTENTION pliance. If the device is not used for a longer period ... -
Page 15: Troubleshooting
Hold the steam lever down permanent- Care of the Accessories ly, after 30 seconds the full steam out- Note put is reached. The floor cleaning cloth and the cloth cover Steam lever cannot be pressed have been pre-washed and can be used anymore immediately for working with the steam Steam switch is secured with the lock /... -
Page 16: Technical Specifications
Protective class 1800 675 714 (Free Call) www.karcher.com.au Performance data Heating output 1900 W New Zealand Operating pressure 0,35 MPa Karcher Ltd. max. 12 Ron Driver Place Heating time 30 Sec- East Tamaki, Aukland onds Steam volume (09) 274-4603 Continuous steaming g/min www.karcher.co.nz... - Page 17 6.650-461.0 *AU 03.03.2015 59653970...
- Page 18 http://www.kaercher.com/dealersearch Alfred Kärcher GmbH & Co. KG Alfred-Kärcher-Str. 28 - 40 71364 Winnenden (Germany) Tel.: +49 7195 14-0 Fax: +49 7195 14-2212...
Need help?
Do you have a question about the SC 3 and is the answer not in the manual?
Questions and answers