
Related Manuals for Prestige CB130


Summary of Contents for Prestige CB130
-
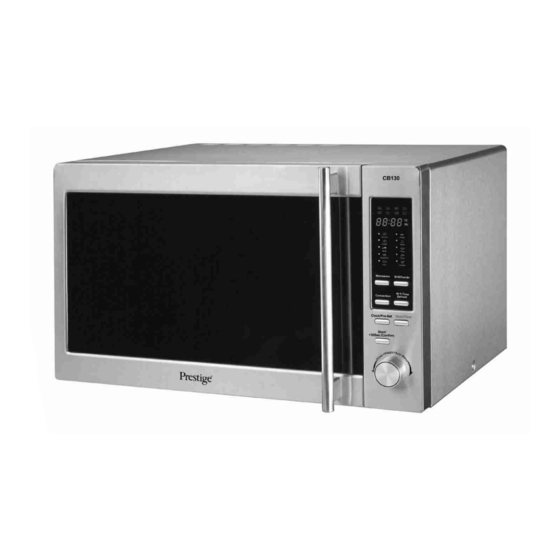
Page 1: Microwave Oven
MICROWAVE OVEN MICROWAVE OVEN MODEL CB130 Auto Menu Defrost Setting 95 Minute Setting... -
Page 2: Table Of Contents
Contents Installation..................2 Electrical Connection..............3 Important Safety Instructions............4 Cooking Utensils................5 Other Helpful Instructions...............6 Cleaning and Care................6 Setting up Your Oven..............7 Turntable Installation...............8 Installation..................8 Operation Instructions..............9 Questions and Answers..............17 Technical Specifications..............18... -
Page 3: Installation
PRECAUTIONS TO AVOID POSSIBLE EXPOSURE TO EXCESSIVE MICROWAVE ENERGY The oven cannot be operated with the door open due to the safety interlocks built in the door mechanism which switch off cooking functions when the door is opened. Operating the oven with the door open could result in harmful exposure to microwave energy. -
Page 4: Electrical Connection
ELECTRICAL CONNECTION For your safety please read the following information Warning: This appliance must be earthed. The appliance must be connected to a 220-240 volts 50 cycle AC supply by means of a three pin socket, suitably earthed and should be protected by a 13 amp fuse in the plug. The appliance is supplied with a rewireable 13 amp 3 pin plug fitted with a 13 amp fuse. -
Page 5: Important Safety Instructions
IMPORTANT SAFETY INSTRUCTIONS Read carefully and keep for future reference Do not operate the oven when empty. Do not dry clothes in the oven. They may become carbonised or burned if heated too long. Do not cook food wrapped in paper towels, unless your cookbook contains instructions for the food you are cooking. -
Page 6: Cooking Utensils
COOKING UTENSILS Utensils should be checked to ensure that they are suitable for use in the microwave oven. The following chart summarises the proper use of cooking utensils in your oven. Cooking utensils Microwave Heat resistant glass, glass ceramic Ceramic, china Metal cookware Non resistance glass Microwave plastic... -
Page 7: Other Helpful Instructions
OTHER HELPFUL INSTRUCTIONS For best results and more enjoyable cooking, please read these comments thoroughly. For Best Results: 1. When determining the time for a particular food, begin by using short times and checking the cooking process frequently. It is easy to overcook food because microwaves cook very quickly. -
Page 8: Setting Up Your Oven
Roller rest The roller rest should be removed and cleaned in hot soapy water at least once a week to prevent grease restricting the rotation of the wheels. The well in which the roller runs should be cleaned as well. Door The door and door seals should be kept clean at all times. -
Page 9: Turntable Installation
Turntable Installation a. Never place the glass tray upside down. The glass Hub (underside) tray should never be restricted. b. Both glass tray and turntable ring assembly must always be used during cooking. Glass tray c. All food and containers of food are always placed on the glass tray for cooking. -
Page 10: Operation Instructions
Operation Instructions This microwave oven applies modern electronic control to adjust cooking parameters to meet your needs better for cooking. 1. Clock Setting When the microwave oven is first plugged in the LED will display "0:00", and the buzzer will sound once. - Page 11 Power 100% Display P100 NOTE: the step quantities for the adjustment time of the coding switch are as follow: 0---1 : 5 seconds 1---5 : 10 seconds 5---10 min : 30 seconds 10---30 min : 1 minutes 30---95 min : 5 minutes 3.
- Page 12 4. Convection Cooking(without preheating function) 1) Press " "once. "140°C" displays. Press the same key for times or turn " " to choose the convection temperature,"140"-"150"-"160"-"170"-"180"-"190"-"200"- "210"-"220"-"230"-"140" will display in order. 2) Press " " to confirm the tempetature. 3) Turn " "...
- Page 13 Function Display Microwave Convection Grill Combi.1 Combi.2 Combi.3 Combi.4 7. Multi-stage cooking At most 3 stages can be input for cooking. In multi-section cooking, if one section is defrosting, then defrosting shall be placed in the first section. When one stage finishes, the buzzer sounds once and the next stage begins.
- Page 14 8. Pre-set Function 1) Set the clock first. (Consult the instruction of clock setting.) 2) Input the cooking program. Three stages can be set at most. Defrosting should not be set under this function. Example: If you want to use 10 minutes of 80% microwave power to cook. a.
- Page 15 2) Press " " to confirm the pasta menu. 3) Turn " " to choose 150g. 4) Press " " to start cooking. Automatic Menu Weight (g) Menu Display Reheat 1(about 230g) 2(about 460g) Potato 3(about 690g) Meat Vegetable Fish 50g (with 450g water) 100g(with 800g water) Pasta...
- Page 16 Menu Display Weight (g) 1000 1000 Chicken 1200 1200 10. Defrost By Weight 1) Press " " once. "dEF1" will be displayed. 2) Turn " " to adjust defrost weight. The "g" indicator will light, And the weight input should be 100-2000g. 3) Press "...
- Page 17 14. Child Lock Function Lock: Press " " for 3 seconds, after a long "deep". the lock is on, the current time will be displayed or if the time is not set. The symbol for the child lock will light. Unlock: Press "...
-
Page 18: Questions And Answers
QUESTIONS AND ANSWERS Q. What is wrong when the oven light will not glow? A. *Light bulb has blown. * Door not closed. Q. Why is steam coming out of the air exhaust vent and / or why is water dripping from the bottom of the door? A. -
Page 19: Technical Specifications
30Liters Net Weight: Approx.19.9kg "Prestige ® is a registered trademark of Meyer Intellectual Properties Limited and is sold pursuant to a license." Waste electrical and electronic products must not be disposed of with household waste. Please refer to the retailer from whom you purchased this item for disposal instructions.
Need help?
Do you have a question about the CB130 and is the answer not in the manual?
Questions and answers