Table of Contents
Advertisement
Available languages
Available languages
Users ManUal
ManUal del UsUario
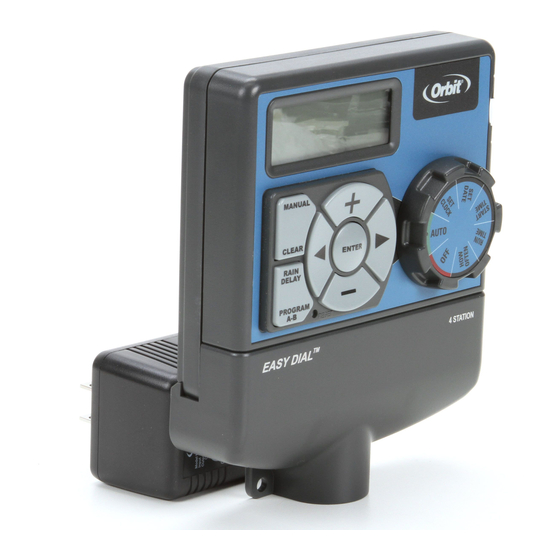
MoDels / MoDelos:
28954, 28956, 57854, 57856, 57874, 57876
proof no:
date:
09.13.11
des:
SM
client:
sku:
57874
p 801 295 9820
upc:
NA
f 801 951 5815
www.fluid-studio.net
file name:
1065 South 500 West
software:
Bountiful, Utah 84010
5
dimensions:
flat: w: 14" h: 5"
finished: w: 7" d: " h: 5"
colors
Orbit
Registration
K
additional instructions:
· Translation Approval Code: LB682594
57874-24 rD.indd
·
·
InDesign CS5
color
color
non printing
non printing
PMS
PMS
????
????
PN 57874-24 rD
Printers are responsible for
meeting print production
requirements. Any changes
must be approved by the
client and Fluid Studio.
printed piece must meet
designated specifications
on this form.
PMS
????
© 2011 Fluid Studio. This
work is the property of Fluid
Studio, and cannot be used,
reproduced or distributed
in any way without their
express permission.
Advertisement
Table of Contents

Related Manuals for Orbit Easy Dial 28954


Summary of Contents for Orbit Easy Dial 28954
- Page 1 7" d: " h: 5" must be approved by the colors des: client and Fluid Studio. printed piece must meet color color client: Orbit designated specifications Registration non printing non printing on this form. sku: 57874 ???? ???? ???? ©...
- Page 2 Table of Contents Congratulations on selecting your new easy Dial™ timer! With orbit’s exclusive easy-set logic™, simple programming and setup are Section 1: Get to know your timer . . . . . . . . . . . . . . . . .4 combined with the latest timer technology Section 2: Installation .
- Page 3 Section 1: Get to know your timer Buttons Function Dial Position Function Dial AUTo set program is running automatically eNTeR To confirm a new setting Digital Display seT CloCk set clock time Battery Compartment MANUAl To water manually seT DATe Year, Month, and Day CleAR To clear a setting...
- Page 4 In wet environments like a valve box it above 158° Fahrenheit (below 0° Celsius or above 70° Wire Nut is recommended to use Orbit Grease Caps or Speed Seals Celsius) . Figure 1: Use Mounting Template (included) to prevent corrosion of the connection and for protection •...
- Page 5 Section 3: Programming with only connect one valve to 4. Connect Electrical Transformer Power Tip: To increase or decrease more rapidly, hold down each terminal (station) or either the [+] or [-] buttons until the display goes into Easy-Set Logic ™...
- Page 6 programmed run time (how long) will run in sequence on this screen the RUN TIMe or duration for each • selecting a different option or pressing clear will at each start time . station is set . erase the previous selection . example: odd: 1st, 3rd, 5th, etc .
- Page 7 • Turn dial to [AUTO] [eNTeR] the timer will begin manual watering . Example: To manually water on station 3 for five 1 2 3 4 24VAC SENSOR COM minutes, press the [MANUAl] button then press • Press the [RAIN DelAY] button to automatically •...
- Page 8 Section 5: Reference • Insert one CR2032 battery into the compartment with the + side up. • Slide back into place. To Remove TERM DEFINITION A weak or missing battery can cause the time, date, and program to be erased after a power failure . If sTART TIMe The time the program begins watering the first programmed station .
-
Page 9: Troubleshooting
TRADEMARk NOTICE 1 . Faulty valve parts . one station is stuck on WaterMaster is a registered trademark of orbit ® ® 2 . Particles of dirt or debris stuck in valve and will not shut off To exercise your warranty, return the unit to your dealer Irrigation Products, Inc . - Page 10 065R) with this timer. designed to provide reasonable protection against harmful interference in a residential installation . This equipment logic™ exclusivo de orbit ® , la programación Sección 1: Conozca su temporizador . . . . . . . . . . . . . .20 generates, uses and can radiate radio frequency energy y configuración simples se combinan...
- Page 11 Section 1: Conozca su temporizador Posiciones del Botones Función Función selector Selector eNTeR Para confirmar una nueva configuración el programa de configuración está Pantalla digital AUTo funcionando automáticamente . Compartimiento para baterías MANUAl Para regar manualmente AjUsTe Del Ajuste de la hora del reloj Reloj CleAR Para borrar una configuración...
- Page 12 210 m (700’), utilice el conductor del regador del aislamiento de plástico de los extremos de cada Orbit o un conductor de termostato calibre 20 (AWG) con • Pinzas pelacables conductor individual . Conecte un conductor de cada recubrimiento de plástico para conectar el temporizador del...
- Page 13 Sección 3: Programación con 4. Conexión de la alimentación eléctrica del transformador sólo conecte una válvula a • Presione los botones [ ] para configurar a .m ./p .m . cada terminal (estación) o se Easy-Set Logic Interiores – Conecte el conector de alimentación al •...
- Page 14 Tenga en cuenta que la hoRA De INICIo es la hora del día sTATIoN es el área que regará cada válvula . en esta pantalla, - la pantalla mostrará la letra del programa (A o B) . Nota: Si su programa se pierde, el programa a prueba de fallos en que comienza su riego programado .
- Page 15 Reemplazo de la batería • Si desea un retraso por lluvia más largo, presione los Nota: Si no se configuraron los tiempos de funcionamiento, Nota: Consulte el manual del detector de lluvia para obtener botones [+/-] para aumentar o disminuir la el temporizador no comenzará...
- Page 16 Sección 5: Referencia Solución de problemas TÉRMINO DEFINICIÓN PROBLEMA CAuSA POSIBLE 1 . la conexión del solenoide no es la correcta . hoRA De INICIo la hora en que el programa comienza el riego la primera estación programada . 2 . el cable está dañado o cortado . suministra agua a una estación o área específicos .
- Page 17 . la Precaución: Este electrodoméstico no está pensado para ser utilizado por responsabilidad de orbit® bajo esta garantía se limita solamente al niños pequeños o por personas enfermas sin supervisión. Se debe supervisar reemplazo o la reparación de las piezas defectuosas .
Need help?
Do you have a question about the Easy Dial 28954 and is the answer not in the manual?
Questions and answers
I need detailed instructions on outdoor wiring and the full manual for Outdoor Swing Panel Timer.
The outdoor wiring instructions for the Orbit Easy Dial 28954 Outdoor Swing Panel Timer include:
1. Use Proper Wire Connectors: Use Orbit Grease Caps or Speed Seals to prevent corrosion and protect the connection from water infiltration.
2. Mount the Timer: Use the included mounting template to secure the timer in a location with easy access to the sprinkler common wire.
3. Connect Sprinkler Wires: Strip 1/4" (6mm) of plastic insulation from each wire end before connecting.
4. Connect Valves: Only connect one valve per terminal to avoid damage.
5. Connect Common Wire: Attach the common wire to the designated common terminal.
6. Connect Power: Plug the transformer into a 120V electrical outlet.
7. Activate Battery: Remove the plastic strip to activate the pre-installed CR2032 battery, which retains programming during power loss.
The full manual is not provided in the context.
This answer is automatically generated
I need outdoor wiring instructions for 27894.
1. Use Grease Caps or Speed Seals: To prevent corrosion and protect connections, use Orbit Grease Caps or Speed Seals.
2. Locate the Timer Properly: Install the timer where it is easily accessible and protected from water infiltration.
3. Mount the Timer: Use the included mounting template for proper placement. Mark the keyhole and secure it using appropriate anchors if needed.
4. Connect the Sprinkler Wires: Strip 1/4 inch (6 mm) of plastic insulation from each wire before connecting.
5. Attach Common Wire: Connect the common sprinkler wire to the terminal marked "COM."
6. Secure the Wires: Use appropriate connectors and ensure a firm connection to avoid disruptions.
This answer is automatically generated
Have Orbit 57594-50 and need to change the back up battery. Cannot find "Full Instructions for Easy Dial Timer" at orbit online.com and the user manual that came with does not show how (AND IT SHOULD). Our power is being shut off Friday so this is somewhat urgent.
To change the backup battery for the Orbit Easy Dial 28954 timer:
1. Open the battery compartment.
2. Remove the old battery.
3. Insert a fully charged replacement battery.
4. Close the battery compartment.
Tip: Replace the battery every year to avoid losing programmed settings during a power failure. Note that the battery alone will not operate the valves.
This answer is automatically generated