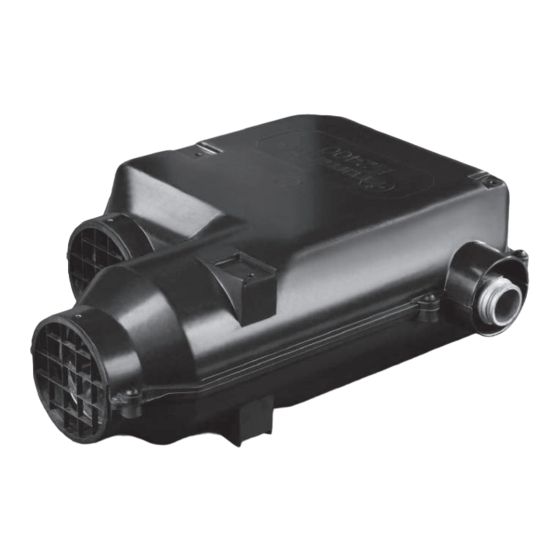
Truma Trumatic E 2400 Operating Instructions And Installation Instructions
Gas powered ducted air heating system
Hide thumbs
Also See for Trumatic E 2400:
- Operating and installation instructions (88 pages) ,
- Operating instructions manual (17 pages) ,
- Operating and installation instructions (36 pages)
Summary of Contents for Truma Trumatic E 2400
- Page 1 Trumatic E Trumatic E 2400 (Australia) Operating instructions Page 4 Installation instructions Page 7 To be kept in the vehicle!
-
Page 2: Table Of Contents
Trumatic E 2400 (Australia) Table of contents Installation example ............2 Installation instructions Symbols used ................ 3 Safety instructions ............3 Intended use ................7 Important operating notes ..........3 Approval ................7 Regulations ................7 Choice of location .............. 7 Operating instructions Exhaust duct ............... -
Page 3: Symbols Used
– modifications to the exhaust duct and the cowl, vent. Keep curtains, bedding and other flammable materials – failure to use original Truma parts as replacement parts and away from the vent. accessories, –... -
Page 4: Operating Instructions
1.6 AT – slow – pliance, to a place in the vehicle where it is clearly visible to all users (e.g. on the wardrobe door)! Ask Truma to send you The fine-wire fuse must only be replaced by a fuse of the stickers, if necessary. -
Page 5: Technical Data
Test point pressure proof of purchase, on either the Truma product, or the Car- 2.75 kPa (see type plate) avan / RV / Pleasure Craft in which the Truma product has been installed, to any authorised service agent. The pur- Nominal input chaser must allow the service agent to photocopy the proof 8.56 MJ/h... -
Page 6: Trouble-Shooting List
Trouble-shooting list Fault Cause Rectification After switching on none of – No operating voltage. – Check 12 V battery voltage, charge if necessary. the LEDs are lit. – Check all electrical plug connections. – Device fuse or vehicle fuse – Check the unit or vehicle fuse and replace if necessary defective. -
Page 7: Installation Instructions
– modifications to the unit (including accessories), – modifications to the exhaust duct and the cowl, – failure to use original Truma parts as replacement parts and accessories, – failure to follow the installation and operating instructions. -
Page 8: Exhaust Duct
Compress the corrugations of the exhaust duct (1) for the full width of the clamp (4) as shown in the diagram below. Slide With the Trumatic E 2400 (Australia) only use the Truma ex- exhaust duct over the O-Ring (2a) on the flue cowl connection haust duct AA 24 (part no. -
Page 9: Warm Air Distribution And Circulating Air Return With Interior Installation
Installing the control panel with rotary switch nozzle SCW 2). Secure all duct connections with self-tapping screws. Fasten If flush mounting is not possible, Truma will supply an ducts with clamps. on-surface frame (1 – part no. 40000-52600) as an ac- cessory on request. -
Page 10: Fitting The Electronic Control Units
Fitting the electronic control units Gas connection Unscrew the cover of the control units (A and B). The gas supply’s operating pressure (2.75 kPa) must be the same as the unit´s operating pressure (see type The plugs on the electronic control units should only be plate). -
Page 11: Function Check
Function check After installation, check gas supple line for leaks in accord- ance with the pressure drop method. Always observe the operating instructions prior to starting! Then check all functions of the appliance, as specified in the operating instructions. If the appliance can not be adjusted to perform correctly, please contact Dometic Service Centre. - Page 12 In Australia, always notify the Dometic Service Centre if problems are encountered; in other countries the relevant service partners should be contacted (www.truma.com). Having the equipment model and the serial number ready (see type plate) will speed up processing. Dometic Pty Ltd...


Need help?
Do you have a question about the Trumatic E 2400 and is the answer not in the manual?
Questions and answers