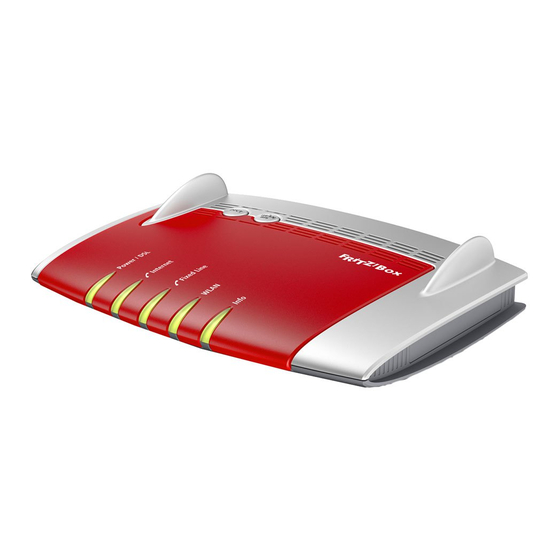
AVM Fritz!Box 7490 Configuration Manual
Hide thumbs
Also See for Fritz!Box 7490:
- Quick manual (2 pages) ,
- Installation and operation manual (196 pages)
Advertisement
Quick Links
Advertisement

Summary of Contents for AVM Fritz!Box 7490
- Page 1 Router Configuration Guide AVM Fritz!Box 7490 Sept 2016 Version 1.00...
- Page 2 Router Configuration Guide Prerequisites This guide is for congregations with ADSL or VDSL connections. Before starting this step by step process, please power up your router and connect to the default WiFi connection provided. These details can be found in the product box. If you have a Fibre connection, please see the note under Step 8. The following configuration steps will provide you with an optimized configuration for your Kingdom Hall. This process will: 1. Ensure that Vattendance VoIP traffic is prioritized, allowing the clearest sound possible. 2. Provide separate SSID’s for Administrators and Guests (everyone else) to ensure that network traffic that is critical to the meeting is separated from general traffic. 3. Employ a basic web content filtering system that blocks explicit material. 1 In your internet browser, browse to address “http://fritz.box”. Select “English” and click “Next”. 2 Select your country and click “Next”...
- Page 3 Router Configuration Guide 3 Router will now restart. Wait two minutes and connect again. 4 Enter your chosen Administrator password and click “OK”. 5 Click “Next”...
- Page 4 Router Configuration Guide 6 Click “Exit Wizard” 7 You will see this page. On the left menu select “Internet” then “Account Information” 8 Enter the name of your ISP and select “Connecting to a DSL line”. NOTE FOR THOSE WITH FIBRE: This guide is only for those with ADSL or VDSL. If you have a Fibre connection, select “External modem or router” instead. Please refer to your ISP for configuration details required for this. You will need a VLAN ID (normally “10”).
- Page 5 Router Configuration Guide 9 On the same page scroll down and enter your ISP Username and password. NOTE: If your ISP is Spark New Zealand, you may enter the same username and password that is shown in the below screenshot.
- Page 6 Router Configuration Guide 10 On the same page, click “Change connection settings”. You can either select “Detect Automatically” or enter your ISP’s DSL settings manually as below. When finished, click “Apply”. 11 Click “OK”.
- Page 7 Router Configuration Guide 12 In the top right of the page, click the three vertical dots icon to the right of “MyFRITZ!” and turn on “Advanced View”. 13 On the left menu Select “Internet”, ”Filters” then select the “Lists” TAB. Then click “Add Network Applications”.
- Page 8 Router Configuration Guide 14 Click “New Protocol” 15 Fill out this page as pictured and click “OK”.
- Page 9 Router Configuration Guide 16 Click “New Protocol” again. 17 Fill out this page as pictured and click “OK”.
- Page 10 Router Configuration Guide 18 Click “OK” 19 On the same page scroll down and select options as shown below and click “Apply”.
- Page 11 Router Configuration Guide 20 Select the “Prioritization” TAB and click “New Rule”. 21 Select the options shown below and click “OK”.
- Page 12 Router Configuration Guide 22 On the left hand menu select “Internet” then “Account Information”. Then select the “DNS Server” TAB. Configure this page as shown and click “Apply”. 23 On the left hand menu select “Home Network” then click the “Network Settings” TAB. Configure page as shown below. 24 On the same page scroll down and configure the time server. In New Zealand, enter “0.nz.pool.ntp.org”. In Australia enter “0.au.pool.ntp.org”. Click “Apply” when done.
- Page 13 Router Configuration Guide 25 You can specify your network IP address settings on this page however the default settings will suffice.
- Page 14 Router Configuration Guide 26 On the left hand menu, select “Wireless” then “Radio Network”. Configure a different name for your admin WiFi network if desire. Otherwise the default name is fine. NOTE: This WiFi SSID is for devices perform admin functions. Devices connected to this network can connect to any other devices and have full internet access. If you change this SSID name, the router will restart and you will need to reconnect to continue these configuration steps. 27 On the left hand menu, select “Wireless” then “Security”. Configure as below but specify your own Network Key. NOTE: The router will restart and you will need to reconnect to the router.
- Page 15 Router Configuration Guide 28 On the left hand menu, select “Wireless” then “Guest Access”. Configure page as shown below, using your own unique SSID and Network key (password). Then click “Apply”. This is the SSID that most in the congregation will use. Devices using this network cannot access other devices on the network and have access only to websites and email. There is also a basic Web Content Filter applied that blocks explicit material. 29 On the left hand menu, select “System” then “Update”. Click “Find New FRITZ!OS”.
- Page 16 Router Configuration Guide 30 The router will search for the latest firmware version and install automatically. 31 On the left hand menu select “System” then “Backup”. Enter a password of your choice and click “Save”. This is a backup of your configuration if you ever need to configure your router again. Store this on your computer and remember the password.
- Page 17 Router Configuration Guide 32 And that’s it! Enjoy your new router.


Need help?
Do you have a question about the Fritz!Box 7490 and is the answer not in the manual?
Questions and answers