Table of Contents
Advertisement
Advertisement
Table of Contents

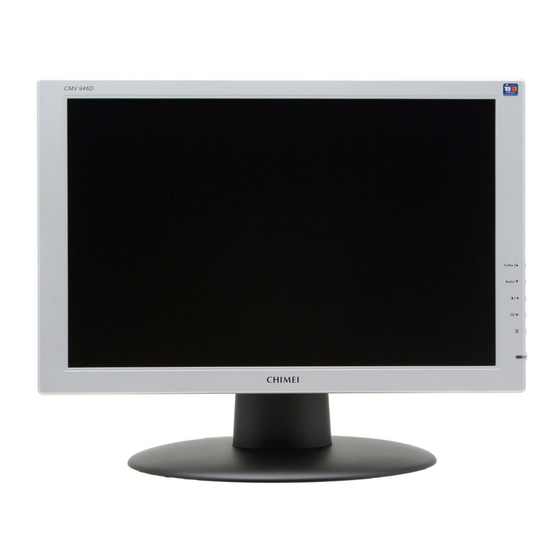
Summary of Contents for Chimei cmv946d
- Page 1 60 cm...
-
Page 2: Table Of Contents
Contents PRODUCT............................2 Contents ..................................2 Features ..................................2 Power saver ................................2 Plug & play ................................2 SAFETY ............................3 Electrical..................................3 Common..................................4 SET UP YOUR LCD MONITOR .......................5 Installation .................................5 Screen Adjustments ..............................5 OSD Control................................6 Description ................................7 TROUBLE SHOOTING ........................10 MAINTENANCE ..........................11... -
Page 3: Product
PRODUCT Note Save the original box and packing material for future shipping needs. Contents ‹ LCD monitor and Base. Please refer to Quick Setup. ‹ Accessories for this LCD monitor Model. Please refer to Quick Setup. Features ‹ Bright image ‹... -
Page 4: Safety
SAFETY Note: Note the following safety precautions before using this monitor. Electrical ‹ Check the Voltage This product should be operated from the type of power indicated on the marking label. If you are not sure of the type of power available, consult your dealer or local power company. -
Page 5: Common
Common ‹ Avoid touching the screen with your fingers or any hard objects. Oil from the skin is Monitor and Screen Care difficult to remove, and touching the screen with anything may damage the panel. Clean the monitor using a soft, dry cloth after first turning it off. ‹... -
Page 6: Set Up Your Lcd Monitor
SET UP YOUR LCD MONITOR Note: Read the last section “Safety” before you install the LCD monitor. Installation Notes Note the instructions below prior to installing your LCD monitor. ‹ Installation Position For the best image quality, choose a position away from any windows to minimize reflection of light on the panel. -
Page 7: Osd Control
The user-friendly OSD (On Screen Display) design enables you to adjust your monitor OSD Control using the keypad on the front panel. Keypad Button Definition 1 2 3 4 5 • Change Input Soruce Auto/ Source (D-SUB /DVI/HDMI). • Press continuously to automatically optimize positions phase, and clock •... - Page 8 Operation Your LCD monitor has been adjusted to its optimal settings before shipment. You can also adjust the image using the following illustrations and steps. 1) Press the MENU-button to activate the OSD window. 2) Press + or - to navigate through the functions. Once the desired function is highlighted, press the MENU-button to activate it.
- Page 9 OSD T ree D-SUB HDMI D-SUB HDMI DDC/CI Reset Resolution H. Frequency V. Frequency...
-
Page 10: Description
Description Main Menu Sub Menu Item Function Definition Item Luminance Contrast Contrast from Digital register. Brightness Backlight Adjustment Black Level Blacklevel Adjustment Dynamic luminance ratio Dynamic contrast ratio Image Setup Clock Adjust picture Clock to reduce Vertical Line noise. Focus Adjust Picture Phase to reduce Horizontal Line noise. -
Page 11: Trouble Shooting
TROUBLE SHOOTING Check the information in this section to see if problems can be solved before requesting repair. Note Users should only attempt to solve the problems described below. Any unauthorized product modification, or failure to follow instructions supplied with the product, will void the warranty immediately. ‹... -
Page 12: Maintenance
MAINTENANCE This product has undergone strict quality control during the production process. For maintenance of the LCD monitor, refer to the information below. Maintenance is important for maximizing the display performance and product life. Warning: To prevent electrical shock, do not open the LCD monitor casing. Users should not attempt to repair the LCD monitor on their own.


Need help?
Do you have a question about the cmv946d and is the answer not in the manual?
Questions and answers