Table of Contents
Advertisement
Advertisement
Table of Contents

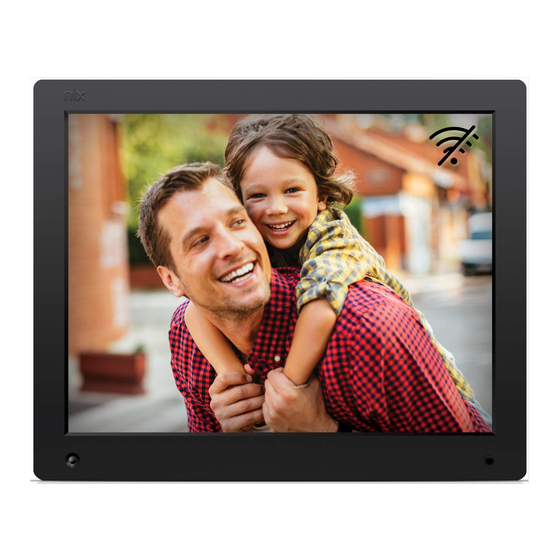
Summary of Contents for NIX X10G
- Page 1 Digital Frame X10G User Manual...
-
Page 2: Table Of Contents
Contents FRAME OVERVIEW Front of Frame Back of Frame Remote Control Box Contents 2. FRAME SETUP 3. GETTING STARTED Main Menu Play On-screen Options Calendar Settings TROUBLESHOOTING ONE-YEAR WARRANTY SAFETY & COMPLIANCE Notes of Importance Important Safety Information Adaptor Information Compliance Information 6.41 FCC Compliance... -
Page 3: Frame Overview
Frame Overview Front of Frame Motion Sensor Infra-red Sensor Receives signals from the remote Senses movement and turns the control Digital Frame ON and OFF Back of Frame 4-way Navigation Pad USB Port and Play/Pause button Connect your USB memory stick Helps you navigate and select and view photos and videos Power Button... -
Page 4: Box Contents
Box Contents Digital Frame Power Adaptor USB Memory Stick Remote Control... -
Page 5: Frame Setup
Frame Setup Plug in the Power Adaptor to your Digital Frame: Then plug your Digital Frame cable into a power source and remove the plastic tab from your Remote. -
Page 6: Getting Started
Getting Started Once powered on, the digital frame will load and you will be greeted by the Main Menu screen. Main Menu Navigate the Main Menu using the 4-way navigation pad on the remote control or back of the frame. View content from your inserted storage devices Play View photos within a calendar... -
Page 7: On-Screen Options
On-screen Options During photo and video playback, you can select on the remote control to bring up the on-screen settings for the media content you are displaying. Once you have finished adjusting the on-screen settings, press to return to media. Picture Settings ITEM DESCRIPTION... -
Page 8: Video Settings
Video Settings ITEM DESCRIPTION OPTION Brightness Adjust brightness of display 0-100 Contrast Adjust contrast of display 0-100 Saturation Adjust saturation of display 0-100 Adjust hue of display 0-100 Fill Select how videos are displayed on your Screen Mode Digital Frame screen None Rotate Adjust orientation of video... -
Page 9: Calendar
Calendar Display a Calendar and Clock over your photos from your inserted default media device. Please note that videos will not play in Calendar mode. To configure the time, this can be changed in Time Settings in the Settings Menu (Sect 3.5) Settings Navigate the Settings Menu using the 4-way navigation pad on the remote control... - Page 10 Display ITEM DESCRIPTION OPTION Brightness Adjust brightness of display 0-100 Contrast Adjust contrast of display 0-100 Saturation Adjust saturation of display 0-100 Adjust hue of display 0-100 None Rotate Screen Change orientation of user interface Persian Blind H Persian Blind V Slide Up Slide Down Select a transition effect in between...
- Page 11 Time ITEM DESCRIPTION OPTION Time Clock on Slideshow Select Time Option Display Time & Date Disable 12 HR Time Format Adjust Time Format 24 HR Sunday-Saturday Calendar Format Adjust Calendar Format Monday-Sunday Set Date Set Calendar Date YYYY/MM/DD Set Time Set Clock Time HH:MM:SS General...
-
Page 12: Troubleshooting
Troubleshooting Q: Why will my Digital Frame not turn on? If you suspect the power adaptor might be faulty, contact us at http://support.nixplay.com and we will send you a new one. Be sure to provide the frame model you have and your address. - Page 13 Q: If I rotate a Photo or Video, why are there black bars on either side of the image? It simply is not possible to fit a vertically oriented image into an entire horizontal screen or fit a horizontally oriented image into the entire vertical screen. This would distort the image. Q: Why is my Remote Control not working properly? If the Remote Control is new, firstly make sure you have removed the plastic tab from between the battery and the tray.
-
Page 14: One-Year Warranty
You must contact the Customer Care Department to receive an RMA (Return Merchandise Authorization). Returned NIX / Nixplay products should be sent, by the buyer, with the postage-prepaid (provided by NIX during the RMA process) and packaged appropriately for safe shipment. -
Page 15: Safety & Compliance
Your warranty does not cover damage caused by incorrect use of memory devices Important Safety Information Always follow the basic safety precautions when using your NIX Digital Frame. This will reduce the risk of fire, electric shock, product damage and personal injury. -
Page 16: Adaptor Information
Date of Purchase Your Mailing Address Do not attempt to fix the adaptor yourself or replace the unit with anything other than an authorized NIX power adaptor. We will provide a replacement adaptor, FREE OF CHARGE. Compliance Information Waste Electrical and Electronic Equipment Directive (Applicable to Europe): This symbol on the product or on its packaging indicates that this product shall not be treated as household waste. -
Page 17: Fcc Compliance
6.4.1 FCC Compliance WARNING: This device complies with Part 15 of the FCC Rules. Operation is subject to the following two conditions: this device may not cause harmful interference, and this device must accept any interference received, including interference that may cause undesired operation.Changes or modifications not expressly approved by the party responsible for compliance could void the user’s authority to operate the equipment. -
Page 18: Ic Compliance
6.4.2 IC Compliance WARNING: This device complies with Industry Canada license-exempt RSS standard(s). Operation is subject to the following two conditions: this device may not cause interference, and this device must accept any interference, including interference that may cause undesired operation of the device. - Page 19 ©2015 Creedon Technologies. All rights reserved. nix and nixplay are registered trademarks of Creedon Technologies USA. All trademarks and design copyrights are held exclusively by Creedon Technologies USA LLC, Minnesota, USA.


Need help?
Do you have a question about the X10G and is the answer not in the manual?
Questions and answers