Advertisement
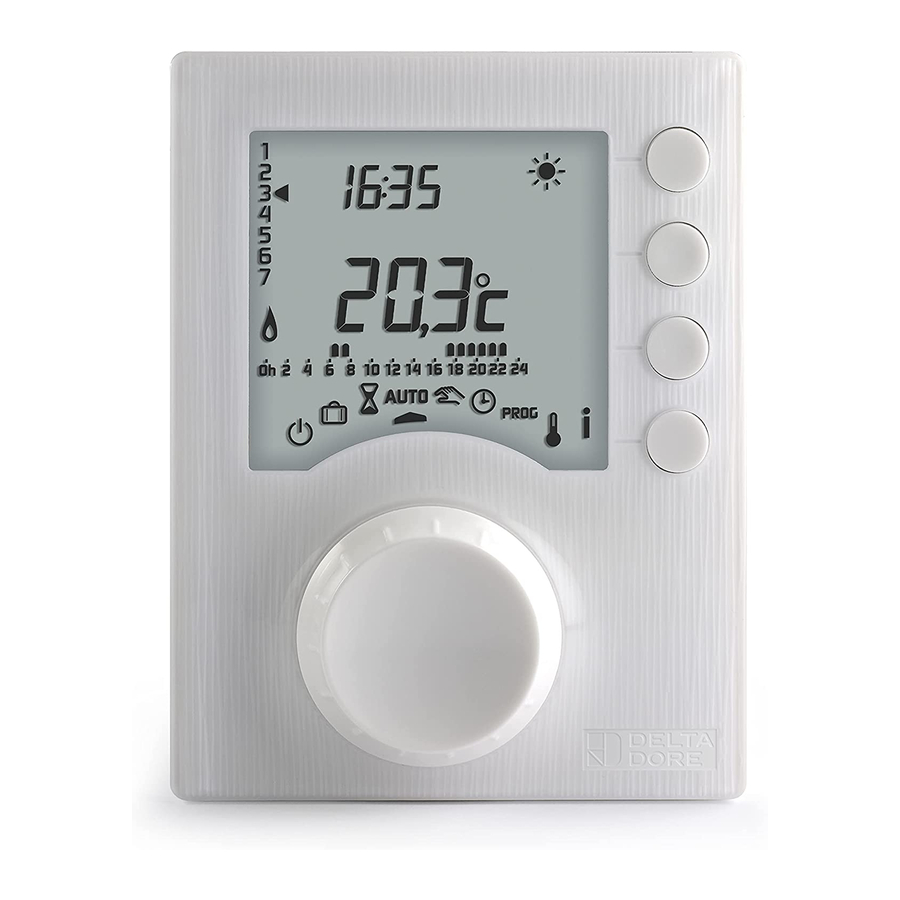
TYBOX 137 - 237 - 337
www.deltadore.com
Important product
information (➋➍)
2 x 1,5V LR03 - AAA Alkaline
/
°C
-5°C / +40°C
80 x 103 x 25 mm
> 5s
... ... ...
OFF
Lithium 3,6 V - 2,6Ah
230V~, 50 Hz +/- 10%
(10 years autonomy)
0,5 VA
R6 / AA
868 MHz (EN 300 220)
100 m
8 max.
5 A max., 230V~ (Type 1.C)
-10°C / +70°C
54 x 102 x 20 mm
78 x 92 x 42 mm
IP 30
IP 45
R&TTE 1999/5/CE
PROG
x1
PROG
5+2
PROG
x7
Install the outdoor sensor (TYBOX 337 only)
S
1
TYBOX 337
A
~1,50 m
/
Mini 20 cm
B
2
4
The outdoor sensor must be attached using screws and plugs (not provided)
suitable for the surface you are attaching it to:
- it must be installed vertically as shown on the
diagram opposite.
- The recommended position is on a wall facing north
or north-west, so that it is not directly exposed to
adverse weather conditions, and away from heat
3
sources such as chimneys,
air vents and thermal bridges.
ON
2
Getting started
• Unscrew the 3 screws on the front of the sensor,
then lift the cover.
• Set the 2 switches to ON to activate the sensor
A
B
1
3
TYBOX 1x7
TYBOX 2x7
A
PROG
A
x 7
B
B
PROG
PROG
x 1
5 + 2
Operate the switch to select
the type of programming
5
1
2
4
5
Advertisement
Table of Contents

Related Manuals for DELTA DORE Tybox 137


Summary of Contents for DELTA DORE Tybox 137
- Page 1 Install the outdoor sensor (TYBOX 337 only) The outdoor sensor must be attached using screws and plugs (not provided) suitable for the surface you are attaching it to: TYBOX 137 - 237 - 337 - it must be installed vertically as shown on the diagram opposite.
-
Page 2: Installing The Receiver
Installing the receiver Circulator control for the Input control for boiler boiler thermostat NO : Normally Open Blue Brown NC : Normally Closed Black Gray ..You can change the direction of operation of the relay Thermostat input >10s When there is an "on"... -
Page 3: Menu 1
MENU 1 Tybox Tybox Tybox 60', 30', 15' Prog Length of a programme stage 60 min. >5s Press button 1. 30 min. To change the different settings, press the + or - buttons, then press the OK button to confirm and move on to the next setting. EXIT 15 min. -
Page 4: Menu 2
+/- 3°C to confirm and move on to the next setting. 5°C < < 11°C Tybox 137: Comfort setting To exit the mode, limited between 16 and 22°C. Turn the selector dial to turn the selector dial Tybox 237-337: +/- 3°C either then press the i button for 5 seconds side of the last setting. - Page 5 Tybox Tybox Tybox Tybox Tybox Tybox Optimisation Automatic time change (summer/winter time) Prog Start Prog OPTIM. OPTIM + OPTIM. Anticipation to reach the desired temperature at the programmed time (according to the outside temperature). OPTIM + Anticipation to reach the desired temperature at the programmed time (according to the outside temperature) + Automatic correction based on history from previous days (auto-adapt).
-
Page 6: Restoring Factory Settings
Press the button for 5 seconds Press OK to on the menu you wish to reset. confirm the reset. TYBOX 137-237 The products are associated when delivered. To exit the mode, To associate a new product or re-associate the products turn the selector dial.
Need help?
Do you have a question about the Tybox 137 and is the answer not in the manual?
Questions and answers