Table of Contents
Advertisement
Advertisement
Table of Contents

Related Manuals for Zte ZXV10


Summary of Contents for Zte ZXV10
-
Page 1: Installation Guide
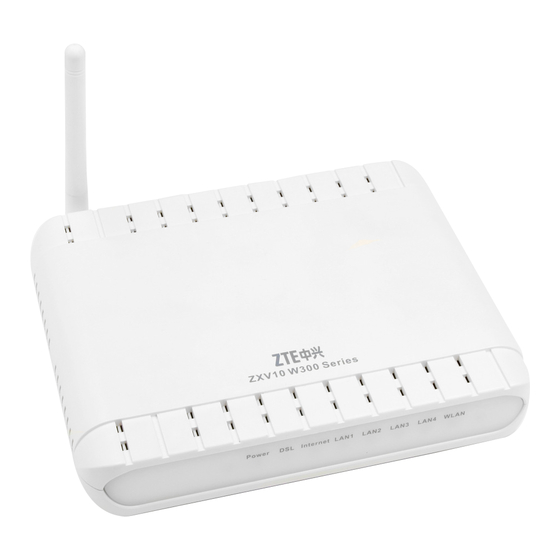
Installation Guide Wireless ADSL2+ Router ZTE ZXV10 W300 v5.2/ ZXV10 W300B v5.2... -
Page 2: Table Of Contents
Contents Περιετόμενα Minimum System Requirements ............................ 3 Package Contents ................................4 LED Indications ................................5 Ports ....................................6 Connection of ADSL2+ Router ............................7 PSTN Line..................................ISDN Line ..................................11 Internet Settings ................................14 Wireless Connection ............................... -
Page 3: Minimum System Requirements
Eλάτιστες Απαιτήσεις Σσστήματος Minimum System Requirements 1. Processor Pentium 4 2. Windows XP/Vista/7 or Mac OS 9.x 3. 1 GB RAM 4. 25 MB free space on hard disc 5. Ethernet Network Card 10/100 Mbps... -
Page 4: Package Contents
Περιετόμενα Σσσκεσασίας Package Contents 2 Phone Cables (RJ-11) 1 ADSL2+ Wireless Router 1 Ethernet Cable (RJ-45) 1 Installation CD 1 Power adapter 1 Splitter Installation Guide 1 Filter (for PSTN) -
Page 5: Led Indications
LED Indications There are the following LEDs in the front panel of the ADSL2+ Router. Check the meaning of each LED below (Image 1). Image 1 Color Status Description Power off (Red) Blinking Software upgrade in progress (Green) On solid Power is on POWER Non detectable signal... -
Page 6: Ports
Port connections The ADSL2+ Router has the following switches and port connections (Image 2) DESCRIPTION OPERATION POWER Power Inlet Connection with 220V power adapter SWITCH Power switch Turns router ON / OFF Wireless network Wi-Fi Turns wireless network ON / OFF. button Ethernet port Connection with OTE subscription TV... -
Page 7: Connection Of Adsl2+ Router
Connection of ADSL2+ Router Connection of ADSL2+ Router Follow the instructions below to connect the ADSL2+ Router over a PSTN or ISDN phone line. -
Page 8: Pstn Line
PSTN Line If you have a PSTN phone line(simple analog line), connect the ADSL2+ Router as shown below. - Page 9 PSTN Line You must unplug any other telephone device connected to the phone jack. Use the blue cable to connect the blue port of the splitter to the phone jack. A. Use the grey cable to connect the grey port of the splitter to the grey port on the Conn-x router.
- Page 10 PSTN Line Connect the power adaptor to the Conn-x power inlet and plug it in. Press the power button SWITCH in the back panel of the router to turn your router on. The Power, DSL, Internet, LAN and WLAN LEDs will light up. If you wish to connect additional phones to other plugs, you must use a filter for each phone device.
-
Page 11: Isdn Line
ISDN Line If you have an ISDN phone line, connect the ADSL2+ Router as shown below. - Page 12 ISDN Line Disconnect the phone cable from the ISDN (N.T. 1) device and connect it to the black port of the splitter. A. Use the blue cable to connect the blue port of the splitter to the phone jack. B. Use the grey cable to connect the grey splitter port to the grey port on the Conn-x router.
- Page 13 ISDN Line Use the yellow cable to connect the ETHERNET port on your computer to one of the first three yellow ports of the Conn-x router. ATTENTION: The purple port (STB) is used only for connection of a decoder required for the OTE subscription TV over the Internet.
-
Page 14: Internet Settings
Internet Settings Internet Settings To install the ADSL2+ Router, insert the CD in your CD-ROM drive. The CD should run automatically. If the CD does not run automatically, go to Windows Explorer, select the CD-ROM drive where your CD is located, double click on setup.exe and follow the instructions. - Page 15 Internet Settings Go to your Browser. In the field “Address” (Image 1) type http://192.168.1.1 and Press « Enter» . Image 1 The next screen will appear (Image 2): The indications for ADSL, ATM and Internet Status must be green. If one of them is red, check your cable connections and try again.
- Page 16 Internet Settings Click on “Administration”. The next screen will appear (Image Image 3...
- Page 17 Internet Settings In the field « Username» type « admin» . In the field « Password» type the password that is written on the label on the underside of your ADSL2+ Router and click ΟΚ. Make a note of the Username and Password on the last page of this manual.
- Page 18 Internet Settings The next screen will appear (Image 4): In the field « Username» fill in the username provided to you when you purchased Conn-x package followed by @otenet.gr In the field « Password» fill in the password provided to you when you purchased Coon-x package.
-
Page 19: Wireless Connection
Wireless Connection Wireless Connection Follow the following instructions for a wireless connection to the internet. - Page 20 Wireless Connection To make a wireless internet connection you must have completed the Internet Settings. If you wish to make a wireless connection with a desktop computer, you must have a wireless USB stick or wireless network card installed and activated on your computer. If you wish to make a wireless connection with a laptop, you must first activate the wireless function (check your laptop’s manual).
- Page 21 Wireless Connection Double-click on the wireless network icon on your computer screen to see the available wireless networks.
- Page 22 Wireless Connection The name of your wireless network to look for is the same as the SSID name that is written on the label on the underside of your router or on the CD cover. Make a note of the SSID name on the last page of the manual. Click on the wireless network that corresponds to your SSID name and click Connect.
- Page 23 Wireless Connection In the screen that appears, enter the network security key (WPA) which you can find on the label on the underside of your router or on the CD cover with the WPA name and click ΟΚ. Make a note of the network security key (WPA) on the last page of the manual.
-
Page 24: Activation/Deactivation Of Wireless Network & Reset Of Adsl2+ Router
Activation/Deactivation of Wireless Network & Reset of ADSL2+ Router Wireless operation is activated. To deactivate it, press and hold pressed the Wi-Fi button on the back of the ADSL2+ Router until the WLAN LED on the front side of the ADSL2+ Router is off. To activate wireless operation, press and hold pressed the same button for more than 1 second. -
Page 25: Change Internet Access Username & Password
Change Internet access Username & Password If you want to change the Username and Password (you can only change the Username once but you can change the password as many times as you wish), open your web browser and on the address line type http://www.oteshop.gr/myservices/myid In the webpage that appears, under MY e-SERVICES or Internet Services Administration... -
Page 26: Hardware Warranty
Equipment Warranty Your equipment comes with a one (1) year warranty from the date of purchase. Online Security Conn-x offers you 2 months free Online Security for better and safer internet surfing and for protection of your computer from viruses, hackers & spam e-mails. Online Security includes: •... -
Page 27: Connection Data
You can fill in here your connection information: Username SSID code for Internet access Password for Internet access Network Security Key (WPA) Online Security Registration key Equipment Username Equipment Password... - Page 28 24-hour Technical Support For questions and assistance before and during ADSL installation call (local rate for all Greece)
Need help?
Do you have a question about the ZXV10 and is the answer not in the manual?
Questions and answers