Table of Contents
Advertisement
Advertisement
Table of Contents

Related Manuals for Nextar N7-202


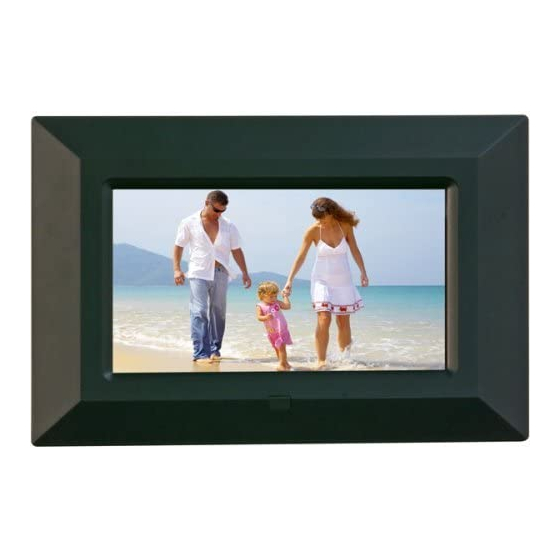
Summary of Contents for Nextar N7-202
-
Page 2: Note
Note It may cause damage the unit when any memory card or USB device is inserted or removed without turning off the unit. Safety precaution 1) Use only the supplied adaptor with Input 100-240V, Output 5V. 2) Turn off power before cleaning. Use only a soft cloth to clean the unit Do not use liquid cleaners. -
Page 3: Table Of Contents
A. Top View ... 5 B. Front View... 5 C. Rear View ... 6 D. Side View... 6 Changing the Front Panel ...7 Using Your Digital Photo Frame...8 Viewing Modes ... 8 File Saving... 8 Technical Notes...9 Question/Troubleshooting Guide ...9... -
Page 4: Introduction
Introduction Your new Digital Photo Frame lets you view digital pictures from memory cards easily and quickly. No computer or printer is needed Includes convenient slide show mode, which starts automatically when the Frame is turned on. Supports many popular memory card types. Easy to take with you to share photos with family and friends anywhere. -
Page 5: Packaging Check List
2、Packaging Check List Digital Photo Frame Changeable Front Panel (X2) User Manual 3、Specifications Panel Size Resolution Brightness Contrast View Angle (U/D/L/R) (CR≥10) Response Time Screen Size Mode File Format Type Max.Photo Size Power Requirement Power Consumption Operating Temperature Storage Temperature Quick Start Guide AC Adaptor 7 inches... -
Page 6: Product Diagram
Product Diagram A. Top View Button Pause or resume the playback. Button Go to the previous picture. Button Go to the next picture. 4. Rotate Button Rotate the current picture. 5. MODE Button Change the display mode B. Front View between Pan Scan, Fill, Original and Auto Fit. -
Page 7: Rear View
C. Rear View D. Side View 1. Stand Support the Digital 1. SD/MS /MMC Card Port Insert SD/MS/MMC card into this port. Or pull out the SD/MMC/MS card from the port. 2. USB Port Connect USB device, such as USB flash disk. 3. -
Page 8: Changing The Front Panel
Changing the Front Panel You can change the front panel of the Digital of the two different colors supplied: Attach the Frontal Panel 1. Slide the left fasteners of the Digital of the Front Panel as shown on ① Detach the Frontal Panel NOTE: Change the Front Panel carefully to avoid damages. -
Page 9: Using Your Digital Photo Frame
Using Your Digital Photo Frame Install the stand for tabletop display. Connect the AC adaptor. Insert a memory card in the Digital Photo Frame (with the card’s electrical contacts towards the front of the unit.). A slide show will begin automatically. To enter the power save, press the P-SAVE button. -
Page 10: Technical Notes
Technical Notes Your Digital Photo Do not drop or subject the unit to jarring or strong vibrations. Avoid placing the Digital or where it might be subjected to splashing. The panel is made of plastic and can be easily damaged. Avoid sharp objects. - Page 11 3.Question: Why is the memory card not recognized? Answer: The memory card might be inserted rearwards or is not pushed in far enough. After inserting the memory card in the right direction, if the card still cannot be read, please turn off the unit and then power it again.
- Page 12 This device complies with part 15 of the FCC Rules. Operation is subject to the following two conditions: (1) This device may not cause harmful interference. (2) This device must accept any interference received, including interference that may cause undesired operation. Note: This equipment has been tested and found to comply with limits for Class B digital device, pursuant to part 15 of the FCC Rules.
- Page 13 Nextar™ a trademark of Nextar (Hong Kong) Limited Nextar may find it necessary to modify, amend or otherwise change or update this manual. We may reserve the right to do this at any time, without any prior notice. All specifications and features are subject to change without notice.
Need help?
Do you have a question about the N7-202 and is the answer not in the manual?
Questions and answers