Nice TOO3000 User & Installation Manual
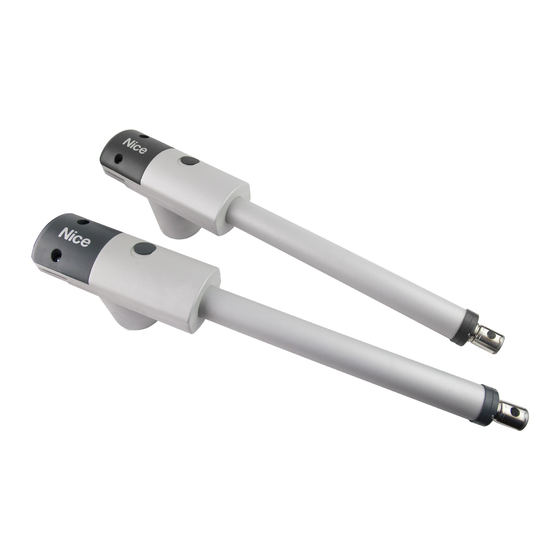
Swing gate opener
Hide thumbs
Also See for TOO3000:
- Instructions and warnings for installation and use (44 pages) ,
- Quick manual (2 pages)

Related Manuals for Nice TOO3000


Summary of Contents for Nice TOO3000
- Page 1 Nice TOO3000 TOO3024 TOO4500 TOO4524 TOO3000/V1 TOO4500/V1 Swing gate opener EN - User, installation and safety instructions...
-
Page 3: Table Of Contents
CONTENTS GENERAL WARNINGS: SAFETY - INSTALLATION - USE 1 - PRODUCT DESCRIPTION AND INTENDED USE 2 - OPERATING LIMITS 3 - INSTALLATION 3.1 - Manually releasing the gearmotor 3.2 - Manually locking the gearmotor 4 - ELECTRICAL CONNECTIONS 5 - AUTOMATION TESTING 5.1 - Testing 5.2 - Commissioning 6 - OPTIONAL ACCESSORIES... -
Page 4: General Warnings: Safety - Installation - Use
GENERAL WARNINGS: SAFETY - INSTALLATION - USE (original instructions in Italian) ATTENTION Important safety instructions. Follow all instructions as improper installation may cause serious damage ATTENTION Important safety instructions. It is important for you to comply with these instructions for your own and other people’s safety. -
Page 5: Product Description And Intended Use
The product is an electromechanical gearmotor, available in two versions: 24V : TOO3024 - TOO4524 230V : TOO3000 - TOO4500 120V : TOO3000/V1 - TOO4500/V1 It is equipped with a 24V - 120 V DC motor or 220V AC motor (depending on the version) and a worm screw reduction unit. -
Page 6: Installation
- photocell pair d - mechanical limit switch pair (opening) e - photocell pillars f - flasher g - keyswitch/digital keypad h - control unit A60: TOO3000 - TOO4500 MC424: TOO3024 - TOO4524 A60/V1: TOO3000/V1 - TOO4500/V1 4 – English... - Page 7 WARNINGS • Incorrect installation may cause serious physical injury to those working on or using the system. Identify the front and rear bracket mounting positions Secure the rear bracket with reference to its specified installation positions Mount the gearmotor to the rear bracket 120V 230V English –...
- Page 8 Manually release the gearmotor Pull the rod completely out Provisionally locate the front bracket onto the gate Check that the gearmotor is level, then fit and secure the rod to the front bracket 6 – English...
- Page 9 Check manually that: - when the gate is fully open, it halts against its mechanical stops - the gate swings freely and without resistance Correct any defects a - Unhook the rod from the front bracket b - Mount the latter to the gate permanently c - Permanently mount the rod to the front bracket English –...
-
Page 10: Manually Releasing The Gearmotor
Lock the gearmotor Follow this procedure for both gearmotors. 3.1 - Manually releasing the gearmotor Raise the rubber cap Fit the provided wrench and rotate it CW by 90° Follow this procedure for both gearmotors. 3.2 - Manually locking the gearmotor Move the gate to the halfway open position by hand Raise the rubber cap Fit the provided wrench and rotate it CCW by 90°... -
Page 11: Electrical Connections
ELECTRICAL CONNECTIONS CAUTION! – Incorrect connections can cause faults or hazards; therefore ensure that the specified connections are strictly observed. – Hook up the unit with the electrical power shut off. Remove the gearmotor’s cover (a) Loosen the cable clamp (b) and run the cable through it (c) 120V 230V Hook up the cables and connect the earth cable to its eyebolt... -
Page 12: Automation Testing
Tighten down the cable clamp and put the cover back on AUTOMATION TESTING These are the most important stages in the automation’s construction in order to ensure maximum safety. Testing can also be adopted as a method for periodically checking that all the various devices in the system are functioning correctly. Testing of the entire system must be performed by qualified and experienced personnel who must establish which tests to conduct on the basis of the risks involved, and verify the compliance of the system with applicable regulations, legislation and standards, in particular with all the provisions of EN12445 which establishes the test methods for automation systems for gates. -
Page 13: Optional Accessories
Declaration in accordance with the following Directives: 12004/108/EC (EMC); 2006/42/EC (MD) annex II, part B Note – The content of this declaration corresponds to that specified in the official document deposited at the Nice S.p.A. headquarters and, in particular, to the latest revised edition available prior to the publishing of this manual. The text herein has been re-edited for edi- torial purposes. -
Page 14: Disposal Of The Product
TECHNICAL SPECIFICATIONS WARNINGS: • All technical specifications stated in this section refer to an ambient temperature of 20°C (± 5°C). • Nice S.p.a. reserves the right to apply modifications to products at any time when deemed necessary, while maintaining the same intended use and functionality. -
Page 15: Operation Manual (To Be Given To The Final User)
Nice recommends that maintenance checks be carried out risks; take a few minutes to read the user manual giv- every six months for normal domestic use, but this interval en you by the installer. - Page 16 Nice SpA Oderzo TV Italia www.niceforyou.com info@niceforyou.com...
Need help?
Do you have a question about the TOO3000 and is the answer not in the manual?
Questions and answers