Table of Contents
Advertisement
Advertisement
Table of Contents

Related Manuals for NAD T770


Summary of Contents for NAD T770
- Page 1 T770 Surround Sound Receiver Owner’s Manual...
-
Page 2: Important Safety Instructions
IMPORTANT SAFETY INSTRUCTIONS CAUTION ATTENTION: RISK OF ELECTRIC RISQUE DE CHOC ELECTRIQUE NE PAS OUVRIR SHOCK DO NOT OPEN CAUTION: TO REDUCE THE RISK OF ELECTRIC SHOCK, DO NOT REMOVE COVER (OR BACK). NO USER SERVICEABLE PARTS INSIDE. REFER SERVICING TO QUALIFIED SERVICE PERSONNEL. -
Page 3: Rear Panel Connections
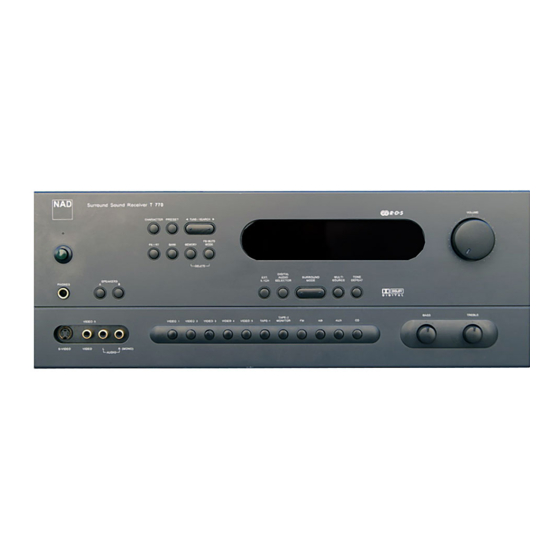
REAR PANEL CONNECTIONS FRONT PANEL CONTROLS... - Page 5 FIGURE A FIGURE B...
- Page 6 FIGURE 3 FIGURE 1 FIGURE 2 FIGURE 4...
- Page 7 FIGURE 5...
- Page 8 REAR PANEL CONNECTIONS 1. AM ANTENNA An AM loop antenna is supplied with the T770 and is required for AM reception. Open the clip terminal lever and insert the wire from the antenna. Closing the lever will lock the wire in place (Fig. 3). Test various positions for the antenna, but always ensure the loop is placed vertically for best reception.
-
Page 9: Channel Inputs
Video Composite standard. If your video components have an S-Video connector use dedicated S-Video leads to connect them to the T770 in the same way as described with the Video composite equivalents (No. 9, 10 and 11 above). - Page 10 NAD-Link to be controlled with the receiver’s remote control. To function with such other units, connect the T770’s NAD-Link Out to the NAD-Link In on the other unit. NAD-Link connectors can be daisy-chained, IN to OUT, so that a whole system can be controlled from the remote control facilities of one unit.
-
Page 11: Remote Control
6. INPUT AND MONITOR SELECTORS These buttons select the active input to the T770 and the signal sent to the loudspeakers, Tape 1 & 2, Video 1 & 2 and TV monitor outputs. The name of the Input and Surround Mode will be shown in the Display Panel. - Page 12 8. BASS & TREBLE CONTROLS The T770 is fitted with BASS and TREBLE tone controls to adjust the overall tonality of your system. The 12 o’clock position is ‘flat’ with no boost or cut and a detent indicates this position.
-
Page 13: Surround Mode
0.05 MHz steps on FM so you can accurately tune into the desired frequency. For AM the tuning steps can be 9 kHz or 10 kHz, depending on the version of your T770. This tuning mode can also be useful when trying to receive a radio station which is too weak for the auto search mode. -
Page 14: On-Screen Display (Osd)
Screen Display” and “Setting up the Surround System”. 20. MULTI SOURCE The NAD T770 allows you to change source and alter volume for another room by remote control, independently from the main listening room. This means you could be enjoying a DVD in Dolby Digital Surround Mode CD in the main room and somebody else to a radio broadcast in another room at the same time. -
Page 15: Speaker B Setup
The other Menus available are: INPUT SELECTOR (FIG. 8) • When calling the “INPUT SELECTOR” up for the first time, both “Picture and “Audio” will be highlighted. By using the cursor button you can scroll through and choose one of the inputs. -
Page 16: Recalling A Preset Station
The EXT 5.1, Video 1 to 5, Tape 1, 2, Aux and CD Input selector, Speakers and Bank buttons perform the same function as those on the front panel of the T770. There are a few differences and extra functions with the remote control handset however (numbers refer to Fig. -
Page 17: Mode (Surround)
The Mode button scrolls through the available surround sound modes. This button functions in the same way as the right section of the Surround Mode buttons on the T770 front panel (No. 19 front panel drawing). Refer also to chapters “Front Panel Controls, section No. 19, “On Screen Display”... -
Page 18: Setting Up The Surround System
16. CASSETTE DECK CONTROL (For use with single (DECK B) or double transport (A and B) NAD Cassette Decks) engages Forward Play or Reverse Play. Record / Pause. Press to put cassette deck into record- pause. Press Play to start recording. -
Page 19: Level Calibration
LEVEL CALIBRATION The output levels of each of the speakers connected to the T770 need to be adjusted so that there is an even balance of sound from all the speakers in the system. If, for instance, the relative volume level to the Left and Right speakers the center is set too low, most of dialogue may be difficult to follow. -
Page 20: Troubleshooting
• Check Speaker and connection • Increase center volume level • Connect analogue connections from digital source as well • Connect digital output of source to T770 • Assign the digital input used to selected input • Check connections to all speakers in the system •... - Page 22 WWW.NAD.CO.UK ©1998 NAD ELECTRONICS LTD LONDON ENGLAND All rights reserved. No part of this publication may be reproduced, stored or transmitted in any form without the written permission of NAD Electronics Limited T770 Manual (GB/I/P/S) 07/98 Printed in Malaysia SN29342662...
Need help?
Do you have a question about the T770 and is the answer not in the manual?
Questions and answers