Table of Contents
Advertisement
Advertisement
Table of Contents

Related Manuals for Siemens Gigaset C670


Summary of Contents for Siemens Gigaset C670
- Page 1 Gigaset C670 Issued by Gigaset Communications GmbH Schlavenhorst 66, D-46395 Bocholt Gigaset Communications GmbH is a trademark licensee of Siemens AG © Gigaset Communications GmbH 2008 All rights reserved. Subject to availability. Rights of modifications reserved. Gigaset www.gigaset.com...
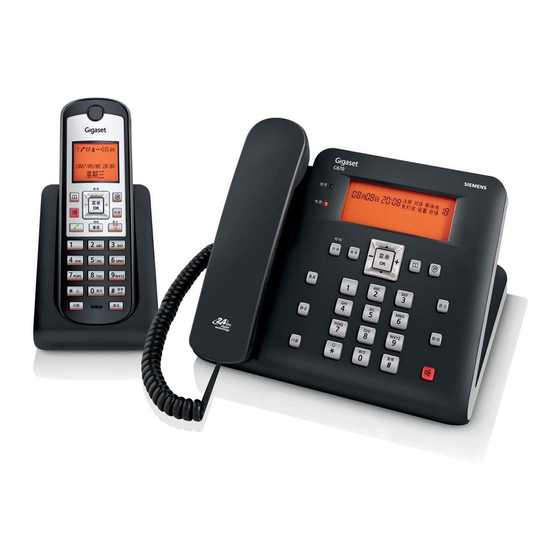
- Page 2 The handset at a glance The handset at a glance 1 Display 2 Directory 3 Navi key up/down, é ê Menu/OK ñ ð Volume Call Log 4 Hands free 5 Talk 6 Digital keys 7 * Key (Ringer off by long press) 8 Flash Key 9 Call-by-call list key 10 Intercom Key...
-
Page 3: The Handset At A Glance
The base at a glance The base at a glance 1 Display 7 Call-by-call list key 2 Using LED 8 Directory 3 Power LED 9 Back 4 Intercom/Paging 10 Delete 5 Call log 11 Hands free 6 Navi-key 12 # Key 13 Digital Keys up/down, é... -
Page 4: The Base At A Glance
The base at a glance Base LCD 1 Date 2 3 4 5 6 7 8 2 Time 3 Menu mode 4 Registering 5 Intercom/Internal call 6 Ringer off 7 Missed call 8 Incoming call 9 If call (8):Number of incoming calls If directory (10): Record number 10 Directory 11 Missed call... -
Page 5: Table Of Contents
Contents Contents Setting the handset ..16 Changing audio settings ... 16 Setting the contrast ....16 The handset at a glance . - Page 6 Safety precautions Safety precautions Warning: Read the safety precautions and the user guide before use. Explain their contents and the potential hazards associated with using the telephone to your children. Only use the mains adapter supplied, as indicated on the underside of the base station or charging cradle.
-
Page 7: Safety Precautions
Safety precautions All electrical and electronic equipment must be disposed of separately from gen- eral household waste using the sites designated by local authorities. If a product displays this symbol of a crossed-out rubbish bin, the product is sub- ject to European Directive 2002/96/EC. The appropriate disposal and separate collection of used equipment serve to prevent potential harm to the environment and to health. -
Page 8: First Steps
Range and reception strength * Gigaset Communications GmbH is a trademark licensee of Siemens AG. ¤ Range: Insert the batteries the right way Outdoors: up to 300 m round. -
Page 9: First Steps
First steps until click sound is heard, means the cover After a while the charge capacity of the is fixed properly. batteries will decrease for technical rea- sons. Registering handsets You can register up to four handsets to your base. Registering the handset to the base sta- tion occurs automatically on first using. -
Page 10: Locating A Handset ("Paging")
Operating the handset ê ¤ Operating the handset Confirm the message with ¤ is displayed. DEREGISTERED Handset will ask for registering after deregistered, otherwise you will not able Activating/deactivating the to dial by handset. keypad lock Locating a handset ("paging") Long press (handset) to toggle lock and unlock. -
Page 11: Operating The Handset
Operating the handset Ringer OFF/ON Long press to turn off ringer tone. Ú Handset displays and the base displays Ö Long press once again to turn on ringer. Reverting to idle status You can revert to idle status as follows: ¤... -
Page 12: Menu Trees
Menu trees Menu trees Menu tree (Handset) AUDIO SETTING RINGER VOLUME HIGH MEDIUM ASCENDING RINGER MELODY MELODY 1 MELODY 10 CONFERENCE TIME SETTING PERSONAL SET. CALL LOGS ALL CALLS MISSED CALL AUTO ANSWER CONTRAST LEVEL 1 LEVEL 2 LEVEL 3 KEY BEEP LANGUAGE FRENCH... -
Page 13: Menu Tree (Base)
Menu trees Menu tree (Base) TIME SETTING AUDIO SETTING RINGER VOLUME HIGH MEDIUM RINGER MELODY MELODY 1 MELODY 10 KEY BEEP CONTRAST LEVEL 1 LEVEL 2 LEVEL 3 FLASH TIME TONE/PULSE TONE PULSE NETWORK PUBLIC NET. PRIVATE NET. BASE RESET PABX PREFIX... -
Page 14: Making Calls
Making calls Making calls Activating/deactivating auto answer Making an external call If you activate this function, when you receive a call you can simply lift the hand- set out of the charging cradle without hav- External calls are calls using the public tel- ing to press the talk key ephone network. -
Page 15: Using The Directory And Lists
Using the directory and lists Using the directory and lists Editing an entry in the directory é ¤ Press to open the directory menu. The options are: ¤ with q and confirm Select EDIT ENTRY Directory ê with Last number redial list ê... -
Page 16: Call-By-Call List
Using the directory and lists Call-by-call list Call history ë ¤ Press t(Handset)/ (Basestation) and select a number with q. In the call-by-call list, you can store net- ¤ work provider prefixes ("call-by-call num- Press to dial. bers"). Precondition: Calling Line Identification (page 12) is applied and there are stored Store a call-by-call number calls. -
Page 17: Using Several Handsets
Using several handsets Using several handsets Conference calls When you are speaking to an external participant, an internal caller can listen in Making internal calls/Intercom on this call and take part in a conference call. Internal calls to other handsets registered to the same base are free. -
Page 18: Setting The Handset
Setting the handset Setting the handset Changing the display language You can view the display texts in different Your handset is preconfigured, but you languages. é can change the settings to suit your indi- ¤ Press vidual requirements. ¤ with q and con- Select PERSONAL SET. -
Page 19: Setting The Base
Setting the base Setting the base Setting the contrast é ¤ Press ¤ The base settings are carried out using a with q and confirm Select CONTRAST ê registered Gigaset C67H handset. with ¤ Choose between three levels (LEVEL ê Setting the date and time LEVEL LEVEL... -
Page 20: Connecting The Base
Connecting the base to PABX Connecting the base Network Setting é ¤ to PABX Press ¤ with q and confirm Select NETWORK ê with The following settings are only necessary ¤ Select PUBLIC NET. PRIVATE NET. ê when your PABX requires them; see the confirm with PABX user guide. -
Page 21: Appendix
Appendix Appendix Authorisation This device is intended for connection to analogue networks outside the EEA (with Care the exception of Switzerland) depending on national type approval. Wipe the base station, charging cradle and Country-specific requirements have been handset with a damp cloth (do not use taken into consideration. -
Page 22: Service (Customer Care)
Appendix Service (Customer Care) You can get assistance easily when you have technical questions or questions about how to use your device by using our online support service on the Internet at: www.gigaset.com/customercare This site can be accessed at any time wherever you are. It will give you 24/7 support for all our prod- ucts. -
Page 23: General Specifications
Appendix General Specifications Writing and editing text The following rules apply when writing Range up to 300 m outdoors, text: Control the cursor with u v t s. up to 50 m indoors Base station Characters are inserted on the left of power supply 230 V ~/50 Hz the cursor. - Page 24 Appendix Standard characters on the handset ’ 1)Space 2)black rectangle 3)without effect when entering names...
-
Page 25: Index
Index Index Correcting incorrect entries ..Customer Care ....Deactivating Access code ....call acceptance . - Page 26 Index editing in the directory ..saving in the directory ..Icon Numbers list battery ..... . . network provider .