Advertisement
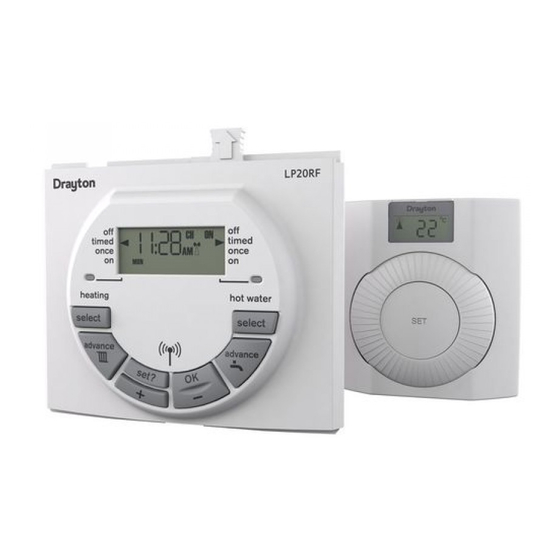
LP20RF & DIGISTAT+RF
Radio frequency controlled room thermostat with dual
channel programmer
Part number RF562DR
Spares Part number 22590DR
For GREENSTAR CDi, GREENSTAR i JUNIOR and GREENSTAR Si MODELS also
!
GREENSTAR i SYSTEM and GREENSTAR CDi SYSTEM MODEL(only when used with
the optional integral diverter).
Installation & User Guide
Client
Artworker
Creative Director
Modification Date
Drayton
File Name
7342 Drayton Amends LP20RF 06515085001 ISSB
-
PRINT
Mike Lane
Proof Stage
19/03/15 9:21AM
Spares Part number 31003
Finished Size
A5 148x210mm
Artwork %
100%
Bleed
3mm
Advertisement
Table of Contents

Related Manuals for Drayton LP20RF


Summary of Contents for Drayton LP20RF
- Page 1 For GREENSTAR CDi, GREENSTAR i JUNIOR and GREENSTAR Si MODELS also GREENSTAR i SYSTEM and GREENSTAR CDi SYSTEM MODEL(only when used with the optional integral diverter). Installation & User Guide Client Drayton File Name 7342 Drayton Amends LP20RF 06515085001 ISSB Artworker Finished Size A5 148x210mm PRINT Creative Director Mike Lane...
- Page 2 CAREFULLY BEFORE STARTING. These instructions are applicable to the Definitions (DLS/BST) Drayton model(s) stated on the front cover of this manual only and must not Summer time begins: Last Sunday in March at be used with any other make or model.
-
Page 3: Table Of Contents
........................8 Digistat+RF Room Thermostat ....................9 Advanced Features ...................... 10-12 Tamper Proofing / Fault Diagnosis / Battery Replacement ........... 12 LP20RF Programmer & Receiver ....................13 The Standard Program....................14 Changing the Program ....................15-20 Maintenance ..........................21 LP20RF & DIGISTAT+RF... -
Page 4: Technical Data
433 MHz 433 MHz Radio signal range 30m typically. The range may be affected by the composition / density and number of walls between the Digistat+RF and LP20RF. Temperature setting range 5°C to 30°C Control Accuracy + 0.5°C @ 20°C Better than ±1 second per day... -
Page 5: Installation Guide
Installation Guide LP20RF & DIGISTAT+RF LP20RF & DIGISTAT+RF Client Drayton File Name 7342 Drayton Amends LP20RF 06515085001 ISSB Artworker Finished Size A5 148x210mm PRINT Creative Director Mike Lane Artwork % 100% Proof Stage Modification Date 19/03/15 9:21AM Bleed... -
Page 6: Lp20Rf Installation
Installation Guide LP20RF Programmer & Receiver LP20RF Installation NOTE: This accessory must be fitted by a competent person. Failure to comply could lead to prosecution. DANGER: Cover panel 230 volts do not touch the electrical Screw Remove the boiler outer casing and control panel components or circuits. -
Page 7: Wireless Commissioning & Signal Strength
To do this, after initial start up, the colon, CH and antenna The receiver display will now show the ‘learnt’ symbols should be flashing on the LP20RF display. transmitter code and the antenna’ as well as the signal strength as indicated by the chevrons on the right hand side of the display. - Page 8 The back cover can now be secured to the wall. Press ‘OK’ on the LP20RF receiver and the display will return to the time with the ‘CH and Antenna’ flashing.
-
Page 9: Signal Strength
To check signal strength on previously installed and paired units: Transmitter code Signal strength indicators Press the ‘set’ button 4 times on the LP20RF. (may be different) Press ‘OK’ once. LED indicator shows different colour depending Transmitter code on signal strength (see table below) Press the ‘set’... -
Page 10: User Guide
User Guide LP20RF & DIGISTAT+RF Installation & User Guide... -
Page 11: Digistat+Rf Room Thermostat
Nearby fires, televisions, wall or table lamps may prevent the thermostat from working properly. LP20RF & DIGISTAT+RF Client Drayton File Name 7342 Drayton Amends LP20RF 06515085001 ISSB Artworker Finished Size A5 148x210mm PRINT Creative Director Mike Lane... -
Page 12: Advanced Features
User Guide Digistat+RF Room Thermostat To cancel the Preset Mode & return to normal Advanced Features operation Adjusting the Setpoint using the Preset You can either: Temperature Mode If you want to return to your previous setpoint (before you entered the Preset mode) then press Change the temperature at the press of a button, for the SET button. - Page 13 To return to normal operation, either press the Set button for more than 5 seconds or wait for 1 minute and it will return automatically. LP20RF & DIGISTAT+RF Client Drayton File Name 7342 Drayton Amends LP20RF 06515085001 ISSB Artworker Finished Size A5 148x210mm PRINT Creative Director Mike Lane...
-
Page 14: Tamper Proofing / Fault Diagnosis / Battery Replacement
User Guide Digistat+RF Room Thermostat Changing the Minimum Temperature Setting Tamper Proofing To adjust the “Preset” temperature enter the User To tamper proof the product i.e. prevent unauthorised menu by pressing and holding the Set button for adjustment of the product, set the Min. and Max. (HI and more than 5 but less than 10 seconds. -
Page 15: Lp20Rf Programmer & Receiver
The green light on the front of the programmer shows LP20RF Programmer & Receiver when each one is on. LP20RF has a 7-day program allowing for different timings on each day of the If the engineer has set your program and timings – you do week, with central heating and hot water working not need to do anything else. -
Page 16: The Standard Program
User Guide LP20RF Programmer & Receiver The Standard Program LP20RF NOTE: NOTE: The ON/OFF periods pre-programmed for Central Two ON/OFF periods can be used instead of three, Heating and Hot Water pre-heat are shown in the by setting the second ON/OFF periods to 12:00 as table below. -
Page 17: Changing The Program
MON TUE WED THU FRI HW ON 6:30 PROG MON TUE WED THU FRI PROG LP20RF & DIGISTAT+RF Client Drayton File Name 7342 Drayton Amends LP20RF 06515085001 ISSB Artworker Finished Size A5 148x210mm PRINT Creative Director Mike Lane Artwork % 100% Proof Stage... - Page 18 User Guide LP20RF Programmer & Receiver Setting individual weekdays: Press + or - to change the OFF time. TUE WED THU FRI PROG? Press set? to set the OFF time and select the next TUE WED THU FRI ON time.
- Page 19 HW ON 9:00 PROG PROG LP20RF & DIGISTAT+RF Client Drayton File Name 7342 Drayton Amends LP20RF 06515085001 ISSB Artworker Finished Size A5 148x210mm PRINT Creative Director Mike Lane Artwork % 100%...
- Page 20 User Guide PROG? LP20RF Programmer & Receiver PROG? Setting individual weekend days: Repeat operations 3 to 6 to set the second and third ON/OFF times. PROG? NOTE: 6:30 NOTE: If you do not require individual weekend day times,...
- Page 21 If the day and date are correct, press set? to ■ ■ return to the normal display. DATE? DATE? LP20RF & DIGISTAT+RF Client Drayton File Name 7342 Drayton Amends LP20RF 06515085001 ISSB Artworker Finished Size A5 148x210mm PRINT Creative Director Mike Lane Artwork % 100%...
- Page 22 8:08 DATE DATE User Guide LP20RF Programmer & Receiver DATE DATE Setting the date: When the correct day has been chosen, press set? to select, now dLS will be displayed and ON will DATE Press the set? button until SET and DATE? are flash.
-
Page 23: Maintenance
These units can not be serviced. part number 22590DR Should the existing units fail to function correctly, check that the: LP20RF Receiver times and program settings are ■ ■ correct. RF signal link is set up (Refer to page 2 for RF signal ■... - Page 24 Support Sales: +44(0)845 1305522 Technical: +44(0)845 1307722 customer.care@draytoncontrols.co.uk www.draytoncontrols.co.uk @DraytonHeating /DraytonControls 06515085001 ISSB...
Need help?
Do you have a question about the LP20RF and is the answer not in the manual?
Questions and answers