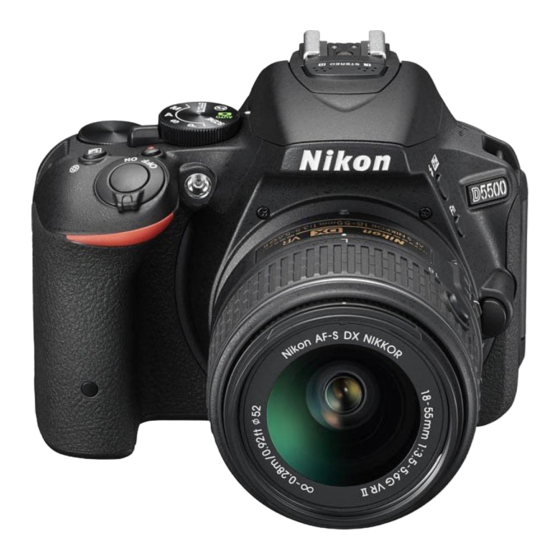
Nikon D5500 Quick Setup Manual
Hide thumbs
Also See for D5500:
- User manual (583 pages) ,
- User manual (160 pages) ,
- Reference manual (428 pages)
Table of Contents
Advertisement
Quick Links
Quick Setup Guide
This chapter contains the essential information you need to get your Nikon
D5500 prepped and ready to go. You'll learn how to use a few of the basic
controls and features, and how to transfer your photos to your computer. If you
want a more complete map of the functions of your camera, skip ahead to
Chapter 2. Live view is touched on only briefly in this chapter; if you want to
begin using live view or shoot movies immediately, check out Chapter 6.
Pre-Flight Checklist
The initial setup of your Nikon D5500 is fast and easy. You just need to learn
a few controls, charge the battery, attach a lens, and insert a memory card.
Charging the Battery
When the EN-EL14a battery is inserted into the MH-24 charger properly (it's
impossible to insert it incorrectly), an orange Charge light begins flashing, and
remains flashing until the status lamp glows steadily, indicating that charging
is finished, generally within about 90 minutes. When the battery is charged,
slide the latch on the bottom of the camera and ease the battery in, as shown
in Figure 1.1.
Chapter 1
Figure 1.1
Insert the battery in
the camera; it only
fits one way.
Advertisement
Table of Contents

Subscribe to Our Youtube Channel
Summary of Contents for Nikon D5500
-
Page 1: Charging The Battery
This chapter contains the essential information you need to get your Nikon D5500 prepped and ready to go. You’ll learn how to use a few of the basic controls and features, and how to transfer your photos to your computer. If you want a more complete map of the functions of your camera, skip ahead to Chapter 2. - Page 2 David Busch’s Compact Field Guide for the Nikon D5500 Introducing the Basic Controls You’ll find descriptions of most of the controls used with the Nikon D5500 in Chapter 2, which provides a complete “roadmap” of the camera’s buttons and dials and switches. However, you may need to perform a few tasks during this initial setup process, and most of them will require the MENU button, the multi selector pad, and command dial.
-
Page 3: The Touch Screen
“press OK or tap the Return icon on the LCD monitor.” Nikon really needs to redesign the camera interface to take full advantage of the touch screen capabilities. Cameras from other vendors, for example, use slider controls instead of left/right touch arrows to make many adjustments. -
Page 4: Setting The Clock
I have a “skin” over my D5500’s monitor and it works just fine; your experience may vary, depending on the covering you use. Don’t use a stylus, pen, or sharp object instead of a finger;... - Page 5 (just above the Trash button on the back of the camera) that indicates the D5500 is writing to the card is not illuminated.
-
Page 6: Selecting An Exposure Mode
The two Auto modes and 16 Scene modes can be selected by rotating the mode dial on the top right of the Nikon D5500. The Auto and Auto (Flash Off) settings have their own positions on the dial, while the Scene modes can be selected by rotating the mode dial to the SCENE position, and then rotating the main command dial to select one of the additional modes. - Page 7 The D5500 focuses on the closest subject in the center of the frame, but you can use the multi selector right and left buttons to focus on a different point.
- Page 8 Effect, and Selective Color are available in both still and live view/movie- shooting modes. Night Vision. Produces images of the darkest scenes using the D5500’s high ISO sensitivity settings. Use a tripod, because blur is likely with the longer shutter speeds. Under this dim lighting, you’ll need to focus manu- ally if working with the optical viewfinder;...
- Page 9 Figure 1.6 shows the position of the modes described next. P (Program). This mode allows the D5500 to select the basic exposure settings, but you can still override the camera’s choices to fine-tune your image, while maintaining metered exposure.
- Page 10 A (Aperture-priority). Choose when you want to use a particular lens opening, especially to control sharpness or how much of your image is in focus. Specify the f/stop you want, and the D5500 will select the appropri- ate shutter speed for you.


Need help?
Do you have a question about the D5500 and is the answer not in the manual?
Questions and answers