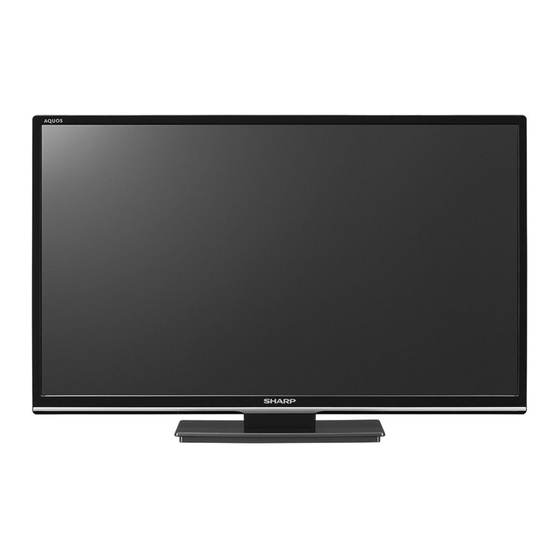
Summary of Contents for Sharp LC-24LE440M
-
Page 1: Operation Manual
LC-24LE440M LCD COLOUR TELEVISION OPERATION MANUAL Printed in Thailand J3NC0101C_EN_Cover.indd 1 J3NC0101C_EN_Cover.indd 1 5/27/2013 1:48:40 PM 5/27/2013 1:48:40 PM... -
Page 2: Table Of Contents
Page Page Supplied accessories ..........1 Programme Edit ............8 Contents ..............1 Basic Operation ............8 Dear SHARP customer ..........2 Teletext ..............9 Important Safety Precautions ........2 Stereo reception in analogue cable TV Trademark ..............2 channel mode ............10 Attaching the stand ..........3 Picture Format ............ -
Page 3: Dear Sharp Customer
Dear SHARP customer Thank you for your purchase of the SHARP LCD colour TV product. To ensure safety and many years of trouble-free operation of your product, please read the Important Safety Precautions carefully before using this product. Important Safety Precautions •... -
Page 4: Attaching The Stand
Attaching the stand • Before attaching (or detaching) the stand, unplug the AC cord from the AC outlet. • Before performing work spread cushioning over the base area to lay the TV on. This will prevent it from being damaged. Confi... -
Page 5: Connecting External Devices
Connecting external devices You can connect many types of external equipment to your TV, like a VCR, game console, camcorder, DVD player. To view external source images, select the input source from INPUT SELECT on the remote control unit or ENTER on the TV. -
Page 6: Remote Control Unit
Remote control unit 8 MENU Activate the menu / In menu, return 1 step 9 RETURN Exit menu / In Media browser, return 1 step 10 a / b / c / d (Cursor) Cursor buttons 11 ENTER/CH LIST Memorize Channel List 12 ¬... -
Page 7: Part Names
Part names TV (Front) Remote control sensor Power Indicator POWER indicator Lighted (Red) The TV is off (standby mode). Lighted (Green) The TV is on. TV (Rear/Location of controls) /ENTER button P (Channel) / / / buttons (Volume) +/–/ / /MENU buttons Press hold (Volume) +/–... -
Page 8: Auto Setup
Auto setup Quick guide for Menu operation Your television has an Automatic Tuning System which makes tuning in your television easy. This Automatic Tuning System scans the entire reception range in your Call Menu and for example: Select “Auto Tuning”. area and automatically stores all available analogue Press INPUT SELECT. -
Page 9: On-Screen Language Selection
On-screen Language Programme Edit Selection You can preset your favorite channel (Channel List). Press MENU. Select “Channel/Program Edit”, then press d or ENTER. Press MENU (unless you have already selected when the set was fi rst switched on). Then press c / d to select “Setup”, then press b or ENTER. -
Page 10: Teletext
Information display Switch on / off Teletext Press . The program information will appear for Teletext is not transmitted by all channels. approx. 5 seconds. Select a channel that shows teletext. Press . You will now see a teletext page. Quick View (If “100”... -
Page 11: Stereo Reception In Analogue Cable Tv Channel Mode
Cinema Stereo reception in Use Cinema to increase a small 4:3 letterbox signal. analogue cable TV channel mode 4:3 Letterbox picture increased to Cinema format. You can see the each signal type you selected on the Real (HDMI mode only) TV-screen when you press . -
Page 12: Other Convenience Functions
Other convenience functions You can change the default settings to convenience use. Selected Items Setup hint Picture Picture Mode Standard Standard picture quality (factory-set) Mild Intended for bad-quality signals (factory-set) Dynamic Enhanced picture contrast and sharpness (factory-set) User Your personal preferences Contrast / Brightness / Color / Tint / Sharpness You can adjust the picture to your preference. - Page 13 Other convenience functions (Continued) Selected Items Setup hint Setup OSD Language See page 8. TT Language See page 9. OSD Timer OSD is cleared automatically as per this setting. “INPUT SELECT/ (info)” OSD will disappear after 5 • 5/10/15/20/25/30 Sec seconds in spite of this setting.
-
Page 14: Media Operation
Media Operation Playback fi les You can enjoy viewing pictures and playing music fi les Press a / b to select the desired Drive and from your USB storage device. (see page 6) press ENTER. Connect the USB storage device into the Media Press c/d to select the Media (Photo or Input terminal. -
Page 15: Operation Window
Operation Window Playable File Types Press ENTER during playback the fi le. Photo Operation window will appear. Extension File Type Detail Spec Name Press c / d to select the desired command, then Max Resolution: 15360×8640 (Base- press ENTER to execute. JPEG .jpg, .jpeg line), 1024x768 (Progressive) -
Page 16: Appendix
Appendix Troubleshooting The problems described below are not always caused by malfunctions. Check the TV again before having the TV serviced. Problem Possible Solution • When the a (POWER) switch does not work, remove the power plug and insert it again, •... -
Page 17: Specifi Cations
0°C — +40°C • As a part of policy of continuous improvement, SHARP reserves the right to make design and specifi cation changes for product improvement without prior notice. The performance specifi cation fi gures indicated are nominal values of production units. There may be some deviations from these values in individual units. - Page 18 Unit:mm J3NC0101C_EN.indd 17 J3NC0101C_EN.indd 17 5/27/2013 1:48:49 PM 5/27/2013 1:48:49 PM...
- Page 19 J3NC0101C SH 13/05 J3NC0101C_EN_Cover.indd 3 J3NC0101C_EN_Cover.indd 3 5/27/2013 1:48:40 PM 5/27/2013 1:48:40 PM...


