Advertisement
English
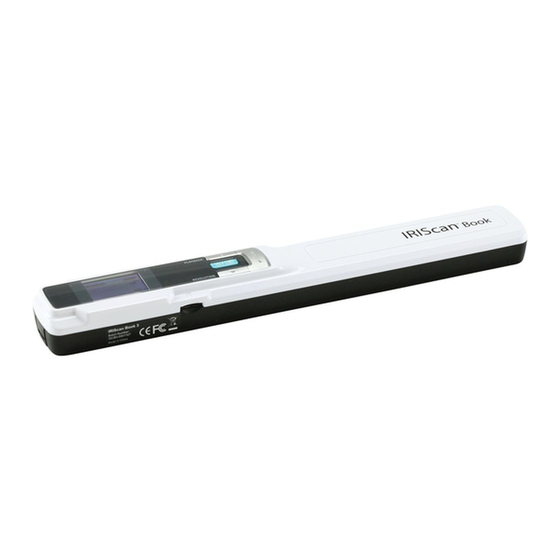
This Quick User Guide helps you get started with the IRIScan™ Book 3 scanner.
This scanner is supplied with the software applications Readiris™ Pro 12 and
IRIScan™ Direct (Windows only). Corresponding Quick User Guides can be found
on the IRIScan™ Book CD-ROM. For detailed information about their full range of
features, consult the latest User Guides on www.irislink.com/support.
The descriptions in this guide are based on the Windows 7, Mac OS Lion and iOS 6
Operating Systems. Please read this guide before operating this scanner and its
software. All information is subject to change without prior notice.
Table of Contents
1.
2.
3.
4.
5.
6.
7.
8.
Transfer Documents to your Computer / Tablet
English
1
Advertisement

Related Manuals for IRIScan BOOK 3


Summary of Contents for IRIScan BOOK 3
-
Page 1: Table Of Contents
English English This Quick User Guide helps you get started with the IRIScan™ Book 3 scanner. This scanner is supplied with the software applications Readiris™ Pro 12 and IRIScan™ Direct (Windows only). Corresponding Quick User Guides can be found on the IRIScan™ Book CD-ROM. For detailed information about their full range of features, consult the latest User Guides on www.irislink.com/support. -
Page 2: Check The Accessories
Insert the included microSD card 1. Insert the microSD card gently into the card slot until the card is latched. Note: on a Windows PC, the IRIScan Book can also be used without batteries or microSD card. See the section... -
Page 3: Choose The Scanner Settings
English English Format the microSD card Some new microSD cards can only be used after formatting them. See section 3. Choose the Scanner Settings to learn how to format the card. 3. Choose the Scanner Settings Note: before you try to access the scanner settings, make sure the provided microSD card is inserted in the card slot. -
Page 4: Scan Documents
4. Scan Documents Attention: The IRIScan™ Book 3 is designed to scan one page at a time. It does not generate multi-page PDF files. Follow steps 2 to 5 below for each page that you scan. - Page 5 English English 5. When you have reached the bottom of the page, press the Scan button again to stop scanning. Note: in case an error occurs during scanning - when scanning too fast or not levelly for instance - ERROR appears on the display. See the section Troubleshooting Info for help.
- Page 6 Using the mini USB cable (Windows and Mac OS) 1. Power on the IRIScan™ Book. 2. Plug in the provided mini USB cable in both the IRIScan™ Book and your computer. 3. The card memory containing your documents is displayed on your computer.
- Page 7 English English Using the microSD card adapter (Windows, Mac OS and Tablet) 1. Press the microSD card to unlatch it. Then remove it from the card slot. 2. Insert it in the provided microSD card adapter. 3. Insert the adapter into the SD card slot on your computer, or insert it in a Camera Connection kit (not included) to connect it to a tablet.
-
Page 8: Scan With Iriscan™ Direct (Windows Only)
Direct (Windows only) With IRIScan™ Direct you can use the IRIScan™ Book even without batteries or microSD card. You simply connect it to a Windows PC using the included mini USB cable. The scans you make are stored as images on the Clipboard. - Page 9 English English Using IRIScan™ Direct 1. Connect the IRIScan™ Book to your Windows PC using the included mini USB cable. 2. Press the button for 2 seconds to power on the scanner. Make sure the following icon is displayed on the display: 3.
- Page 10 8. Press the Scan button again to stop scanning. The scanned image is now pasted inside the application. Note: when connected to a Windows PC, IRIScan™ Book uses a resolution of 300 dpi. The images are not stored on the microSD card but on the Clipboard.
-
Page 11: Technical Info
English English 7. Technical Info Minimum System Requirements Windows PC Operating System Windows 8.1, Windows 8, Windows 7 and Windows Vista (no driver installation required) 1 GHz or higher 1 GB HD space 300 MB Hardware CD-ROM drive, 1 free USB port Minimum System Requirements Mac OS Operating System Mac OS Leopard, Snow Leopard, Lion and Mountain Lion (no driver installation required) -
Page 12: Troubleshooting Info
3 new AAA alkaline or NiMh rechargeable batteries. Or connect the scanner to your computer and use IRIScan™ Direct. My scanner generates The scanner lens is Clean the lens with a soft blurry images. probably dirty. - Page 13 Press the Scan button to scanning a document. too quickly over your scan your document again, documents. steadily and slowly. Should you experience issues when using IRIScan™ Book 3, consult the Frequently Asked Questions on our website or contact Technical Support at www.irislink.com/support/iriscanbook3.
Need help?
Do you have a question about the BOOK 3 and is the answer not in the manual?
Questions and answers